코드를 작성하고 검토하고 수정하거나 코드에 관한 질문에 답하는 일은 오늘날 OpenAI 모델의 주요 용도 중 하나입니다. 이 가이드에서는 gpt-6-astra 모델과 Codex로 코드를 생성하는 방법을 살펴봅니다.
Codex는 소프트웨어 개발을 위한 OpenAI의 코딩 에이전트입니다. 코드 작성, 검토, 디버깅을 도와줍니다. IDE, CLI, 웹 및 모바일 사이트에서 Codex를 사용할 수 있으며, SDK를 사용하면 CI/CD 파이프라인에서도 활용할 수 있습니다. 프로젝트에 소프트웨어 엔지니어링 에이전트를 도입하는 가장 좋은 방법은 Codex를 사용하는 것입니다.
Codex는 gpt-6.1-sol 같은 최신 범용 모델과 함께 사용할 때 가장 좋은 성능을 발휘합니다.
설정 가이드, 참고 자료, 요금 등 자세한 내용은 ChatGPT 문서를 참고하세요.
API로 코드를 생성하는 대부분의 작업에는 gpt-6-astra 모델부터 사용해 보세요. 이 모델은 범용 작업과 코딩을 모두 처리합니다. 하나의 애플리케이션에서 코드를 작성하고 요구 사항을 분석하고 문서를 검토하는 것은 물론, 더 폭넓은 워크플로우까지 처리해야 할 때 기본 모델로 적합합니다.
다음은 Responses API를 사용해 코드를 생성하는 예시입니다.
1
2
3
4
5
6
7
8
9
10
11
12
13
14
15
16import OpenAI from "openai";
const openai = new OpenAI();

const result = await openai.responses.create({
  model: "gpt-6-astra",
  input: `Find the null pointer exception in this code:

def display_name(user):
    return user.profile.name

print(display_name(None))
`,
  reasoning: { effort: "high" },
});

console.log(result.output_text);
1
2
3
4
5
6
7
8
9
10
11
12
13
14
15
16
17from openai import OpenAI

client = OpenAI()

result = client.responses.create(
    model="gpt-6-astra",
    input="""Find the null pointer exception in this code:

def display_name(user):
    return user.profile.name

print(display_name(None))
""",
    reasoning={"effort": "high"},
)

print(result.output_text)
1
2
3
4
5
6
7
8
9
10
11
12
13
14
15
16
17
18
19
20
21
22
23
24
25
26
27
28package main

import (
	"context"
	"fmt"

	"github.com/openai/openai-go/v3"
	"github.com/openai/openai-go/v3/responses"
	"github.com/openai/openai-go/v3/shared"
)

func main() {
	client := openai.NewClient()
	response, err := client.Responses.New(context.Background(), responses.ResponseNewParams{
		Model: "gpt-6-astra",
		Input: responses.ResponseNewParamsInputUnion{OfString: openai.String(`Find the null pointer exception in this code:

def display_name(user):
    return user.profile.name

print(display_name(None))`)},
		Reasoning: shared.ReasoningParam{Effort: shared.ReasoningEffortHigh},
	})
	if err != nil {
		panic(err)
	}
	fmt.Println(response.OutputText())
}
1
2
3
4
5
6
7
8
9
10
11
12
13
14
15
16
17
18
19
20
21
22
23
24
25
26import com.openai.client.OpenAIClient;
import com.openai.client.okhttp.OpenAIOkHttpClient;
import com.openai.models.Reasoning;
import com.openai.models.ReasoningEffort;
import com.openai.models.responses.ResponseCreateParams;

String code =
    """
    def display_name(user):
        return user.profile.name

    print(display_name(None))
    """;

ResponseCreateParams params =
    ResponseCreateParams.builder()
        .model("gpt-6-astra")
        .input("Find the null pointer exception in this code:\n\n" + code)
        .reasoning(Reasoning.builder().effort(ReasoningEffort.HIGH).build())
        .build();

client.responses().create(params).output().stream()
    .flatMap(item -> item.message().stream())
    .flatMap(message -> message.content().stream())
    .flatMap(content -> content.outputText().stream())
    .forEach(text -> System.out.println(text.text()));
1
2
3
4
5
6
7
8
9
10
11
12
13
14
15
16
17
18
19
20
21
22
23
24
25
26
27
28
29using OpenAI.Responses;
#pragma warning disable OPENAI001

string key = Environment.GetEnvironmentVariable("OPENAI_API_KEY")!;
ResponsesClient client = new(key);

CreateResponseOptions options = new()
{
    Model = "gpt-6-astra",
    ReasoningOptions = new ResponseReasoningOptions
    {
        ReasoningEffortLevel = ResponseReasoningEffortLevel.High,
    },
};
options.InputItems.Add(
    ResponseItem.CreateUserMessageItem(
        """
        Find the null pointer exception in this code:

        def display_name(user):
            return user.profile.name

        print(display_name(None))
        """
    )
);

ResponseResult response = await client.CreateResponseAsync(options);
Console.WriteLine(response.GetOutputText());
1
2
3
4
5
6
7
8
9
10
11
12
13
14
15
16
17require "openai"

client = OpenAI::Client.new
code = <<~PYTHON
  def display_name(user):
      return user.profile.name

  print(display_name(None))
PYTHON

response = client.responses.create(
  model: "gpt-6-astra",
  input: "Find the null pointer exception in this code:\n\n#{code}",
  reasoning: { effort: :high }
)

puts(response.output_text)
1
2
3
4
5
6
7
8curl https://api.openai.com/v1/responses \
  -H "Content-Type: application/json" \
  -H "Authorization: Bearer $OPENAI_API_KEY" \
  -d '{
    "model": "gpt-6-astra",
    "input": "Find the null pointer exception in this code:\n\ndef display_name(user):\n    return user.profile.name\n\nprint(display_name(None))\n",
    "reasoning": { "effort": "high" }
  }'
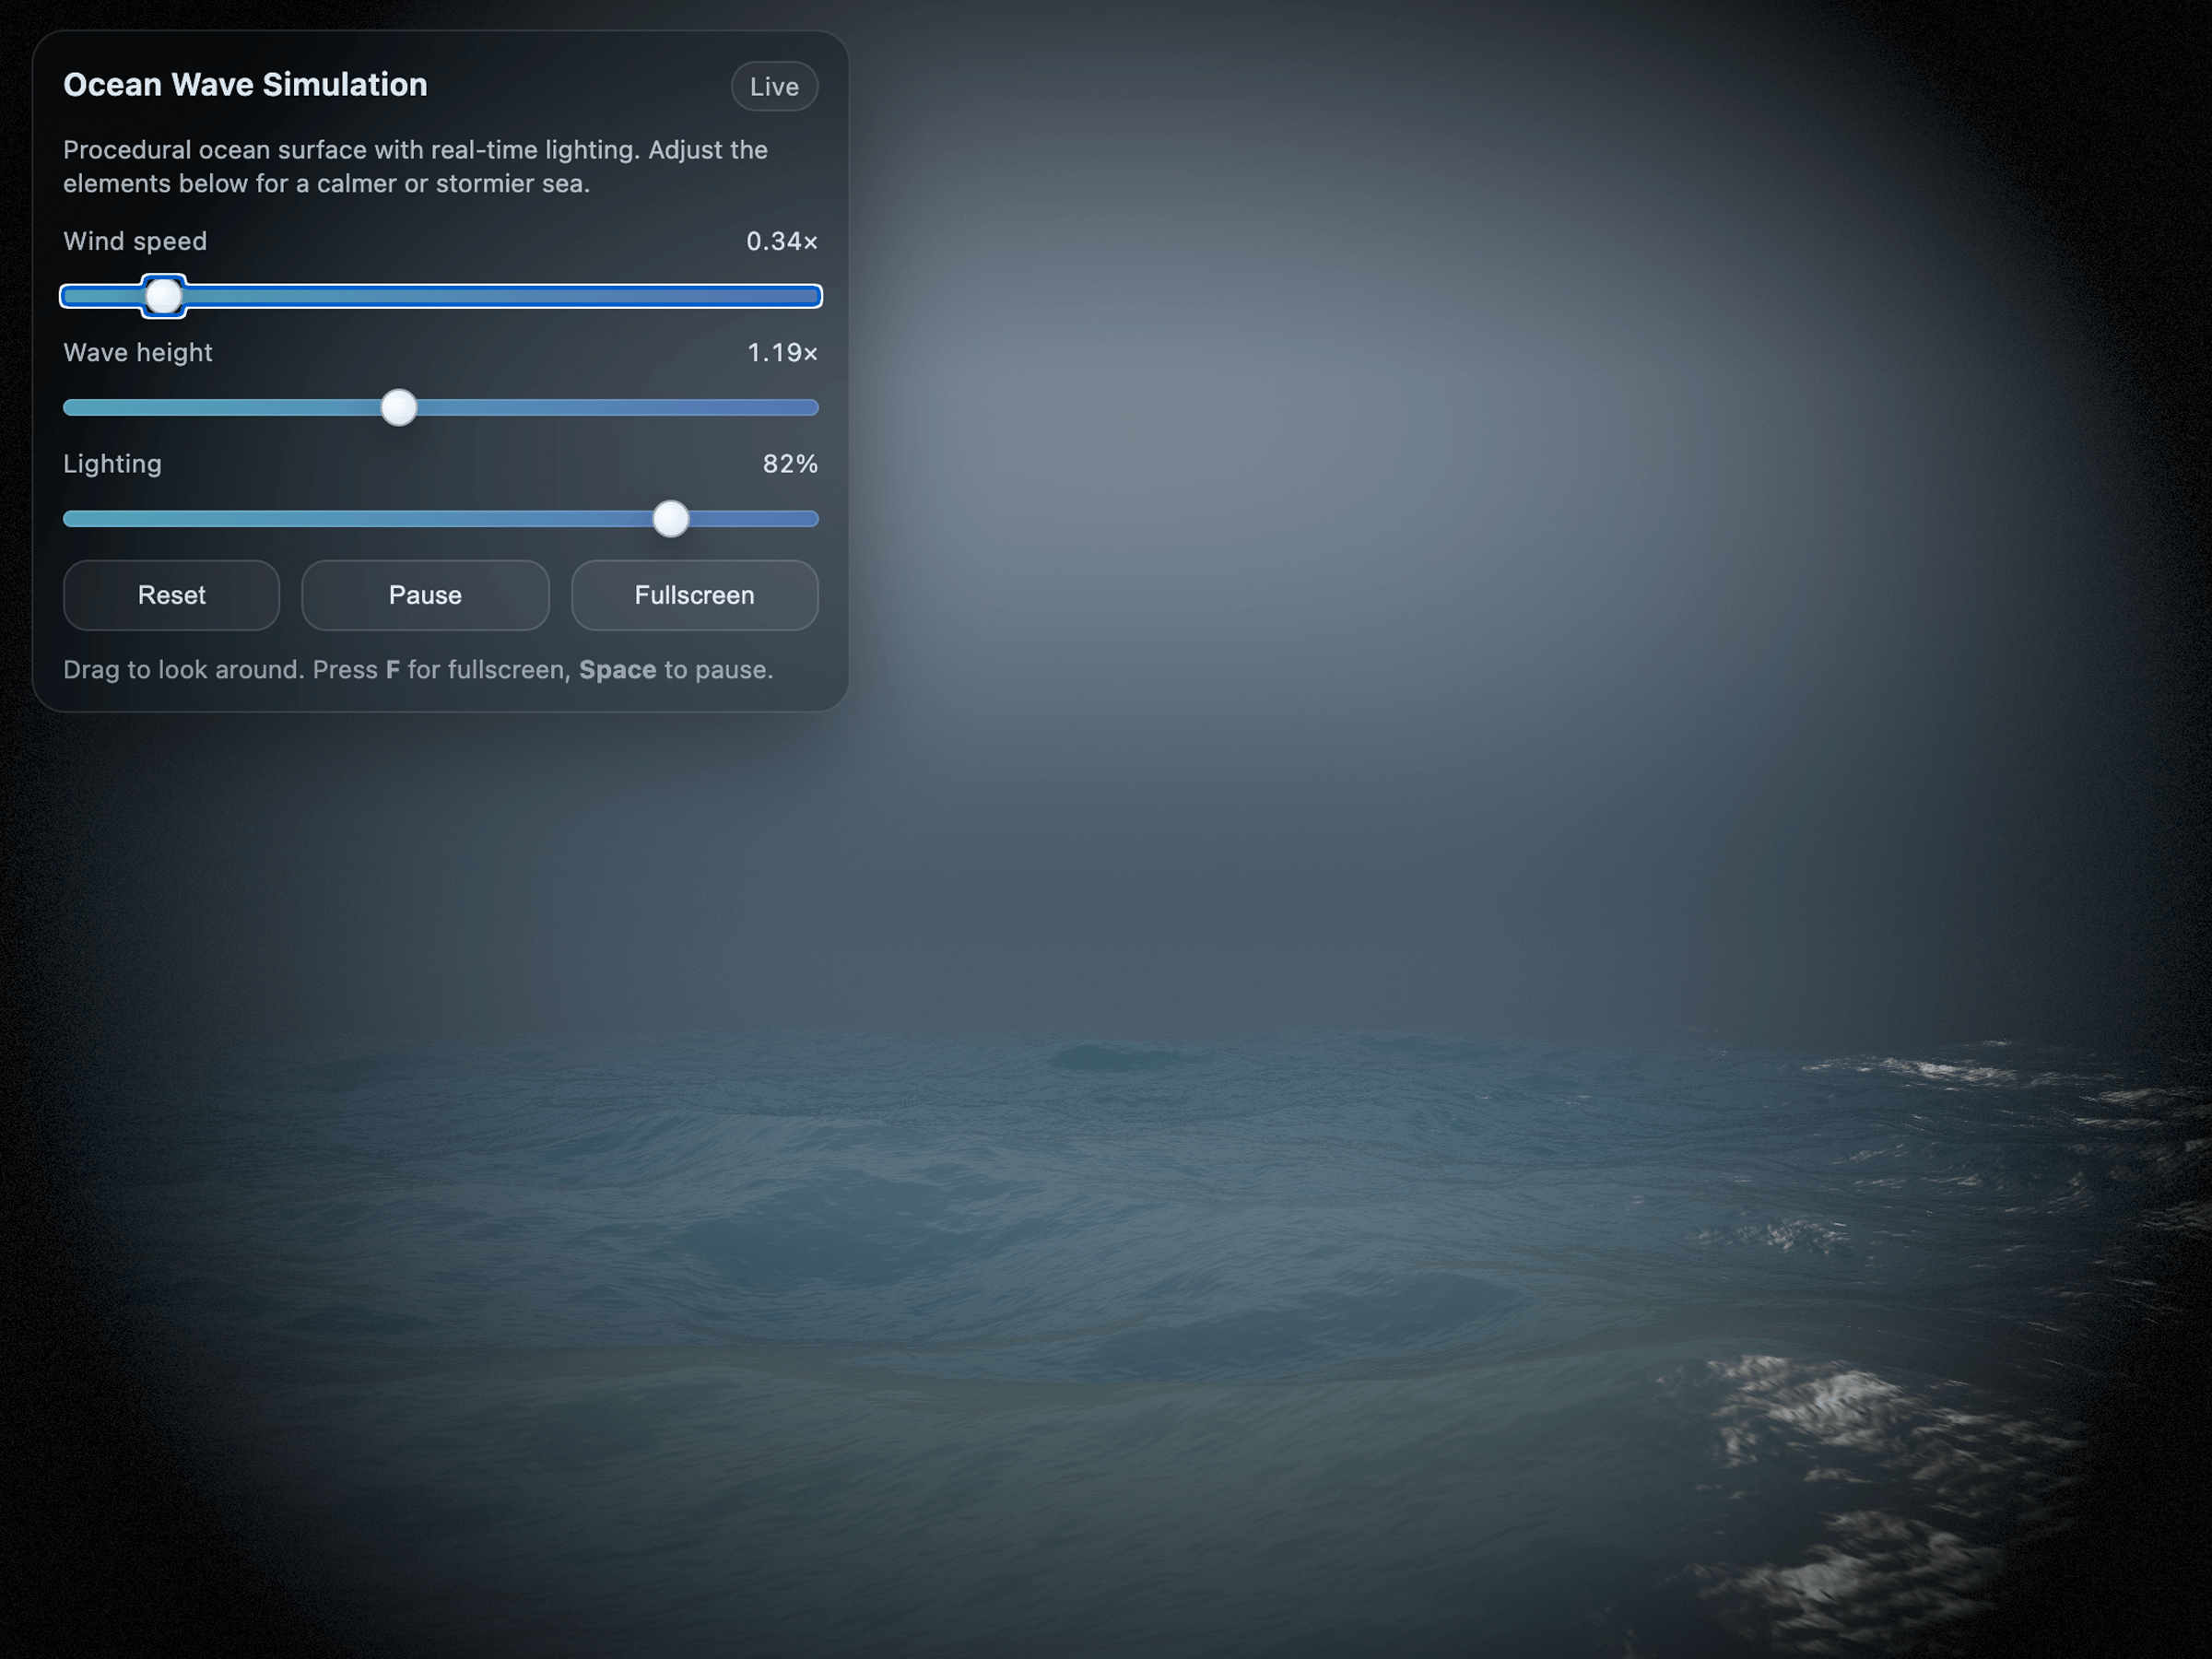
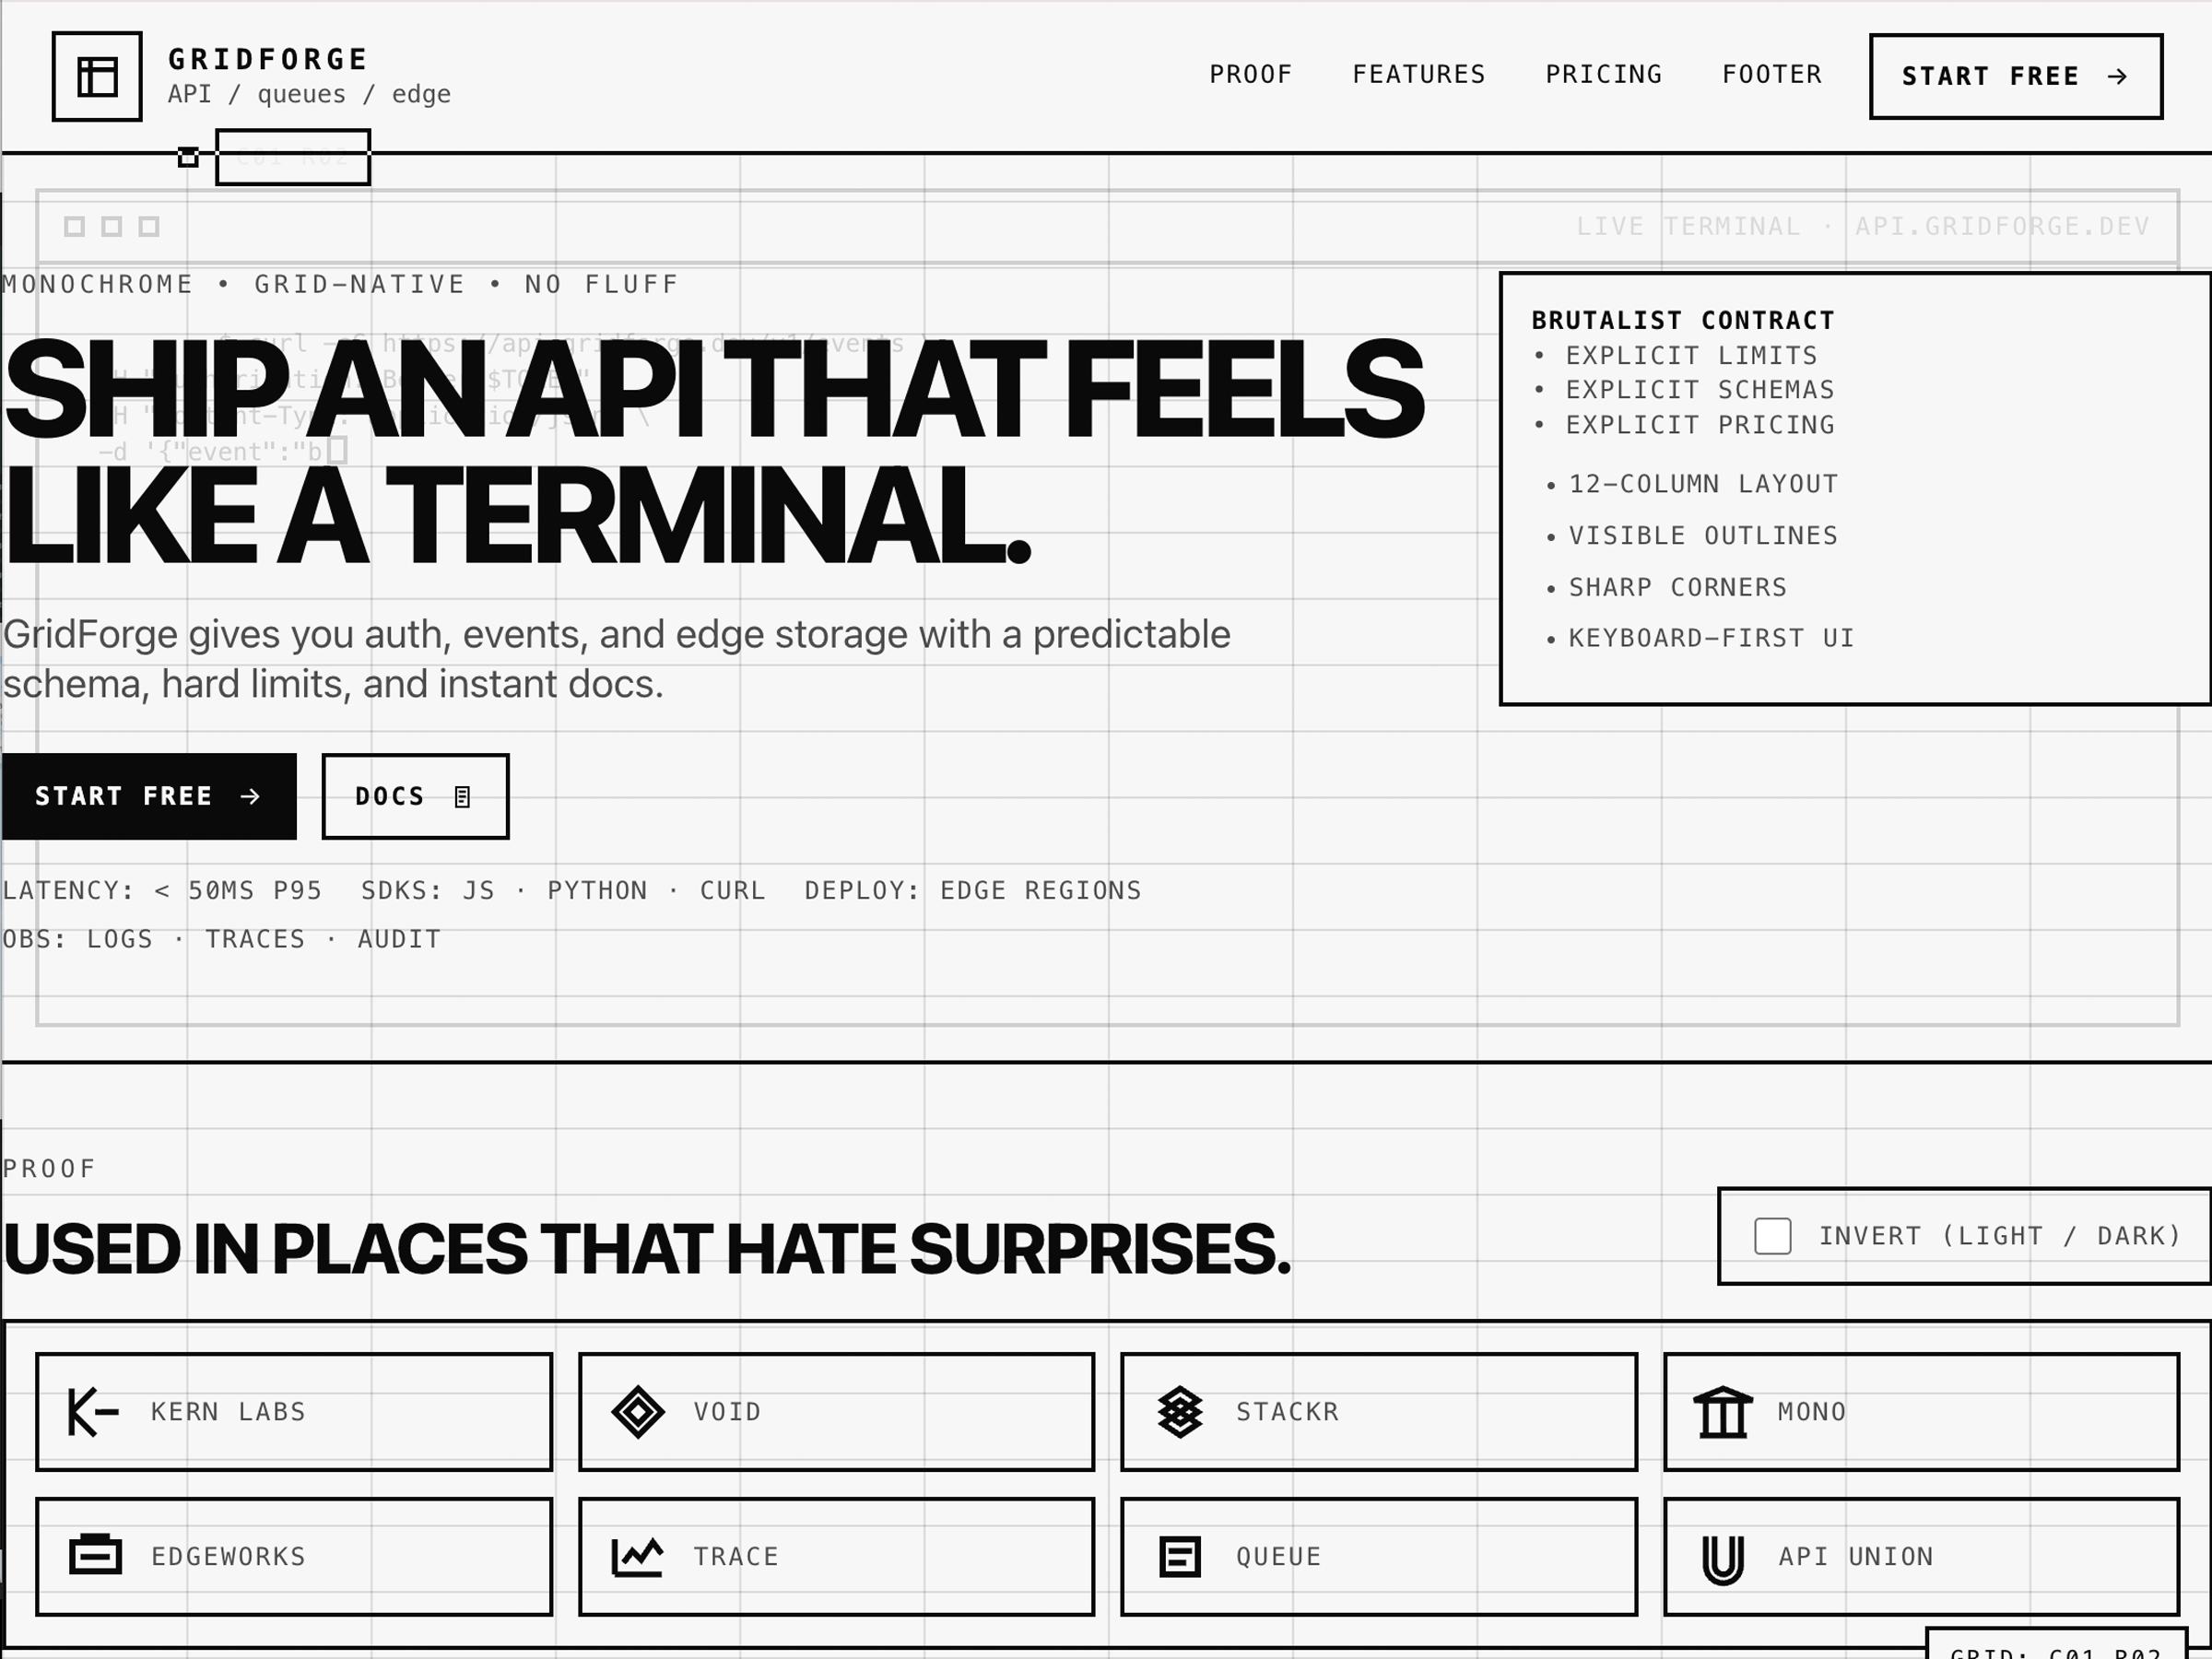
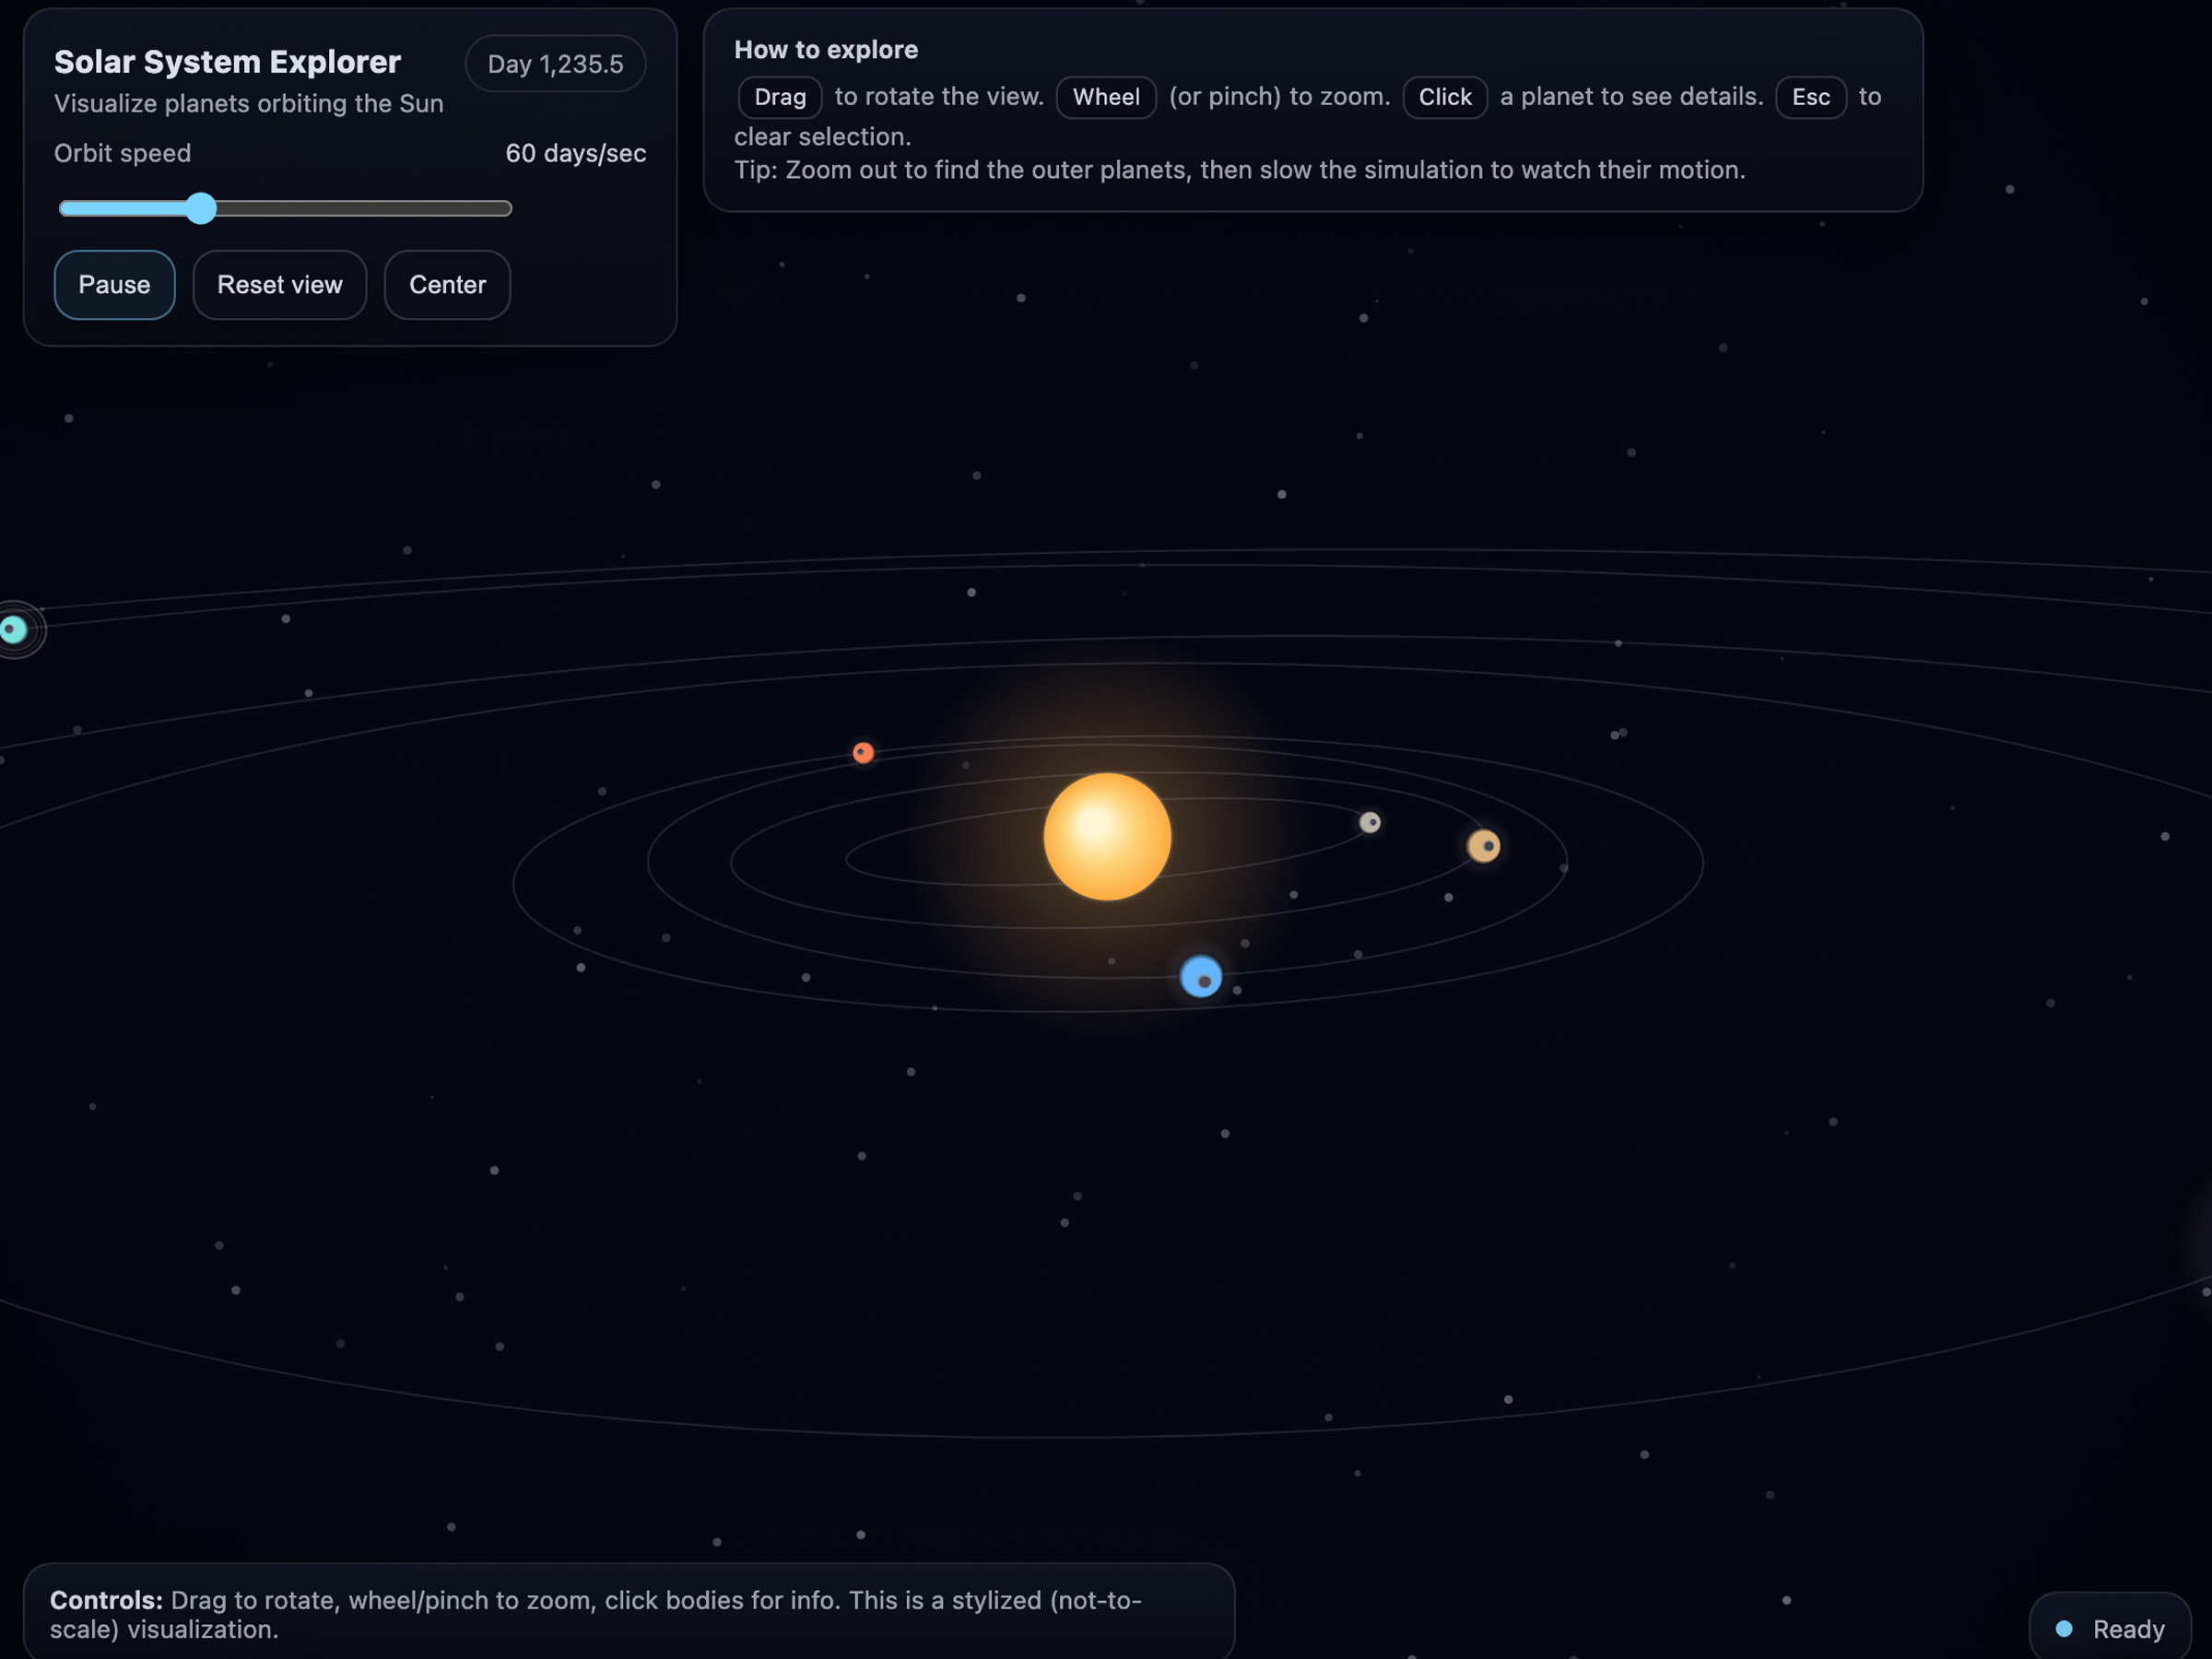
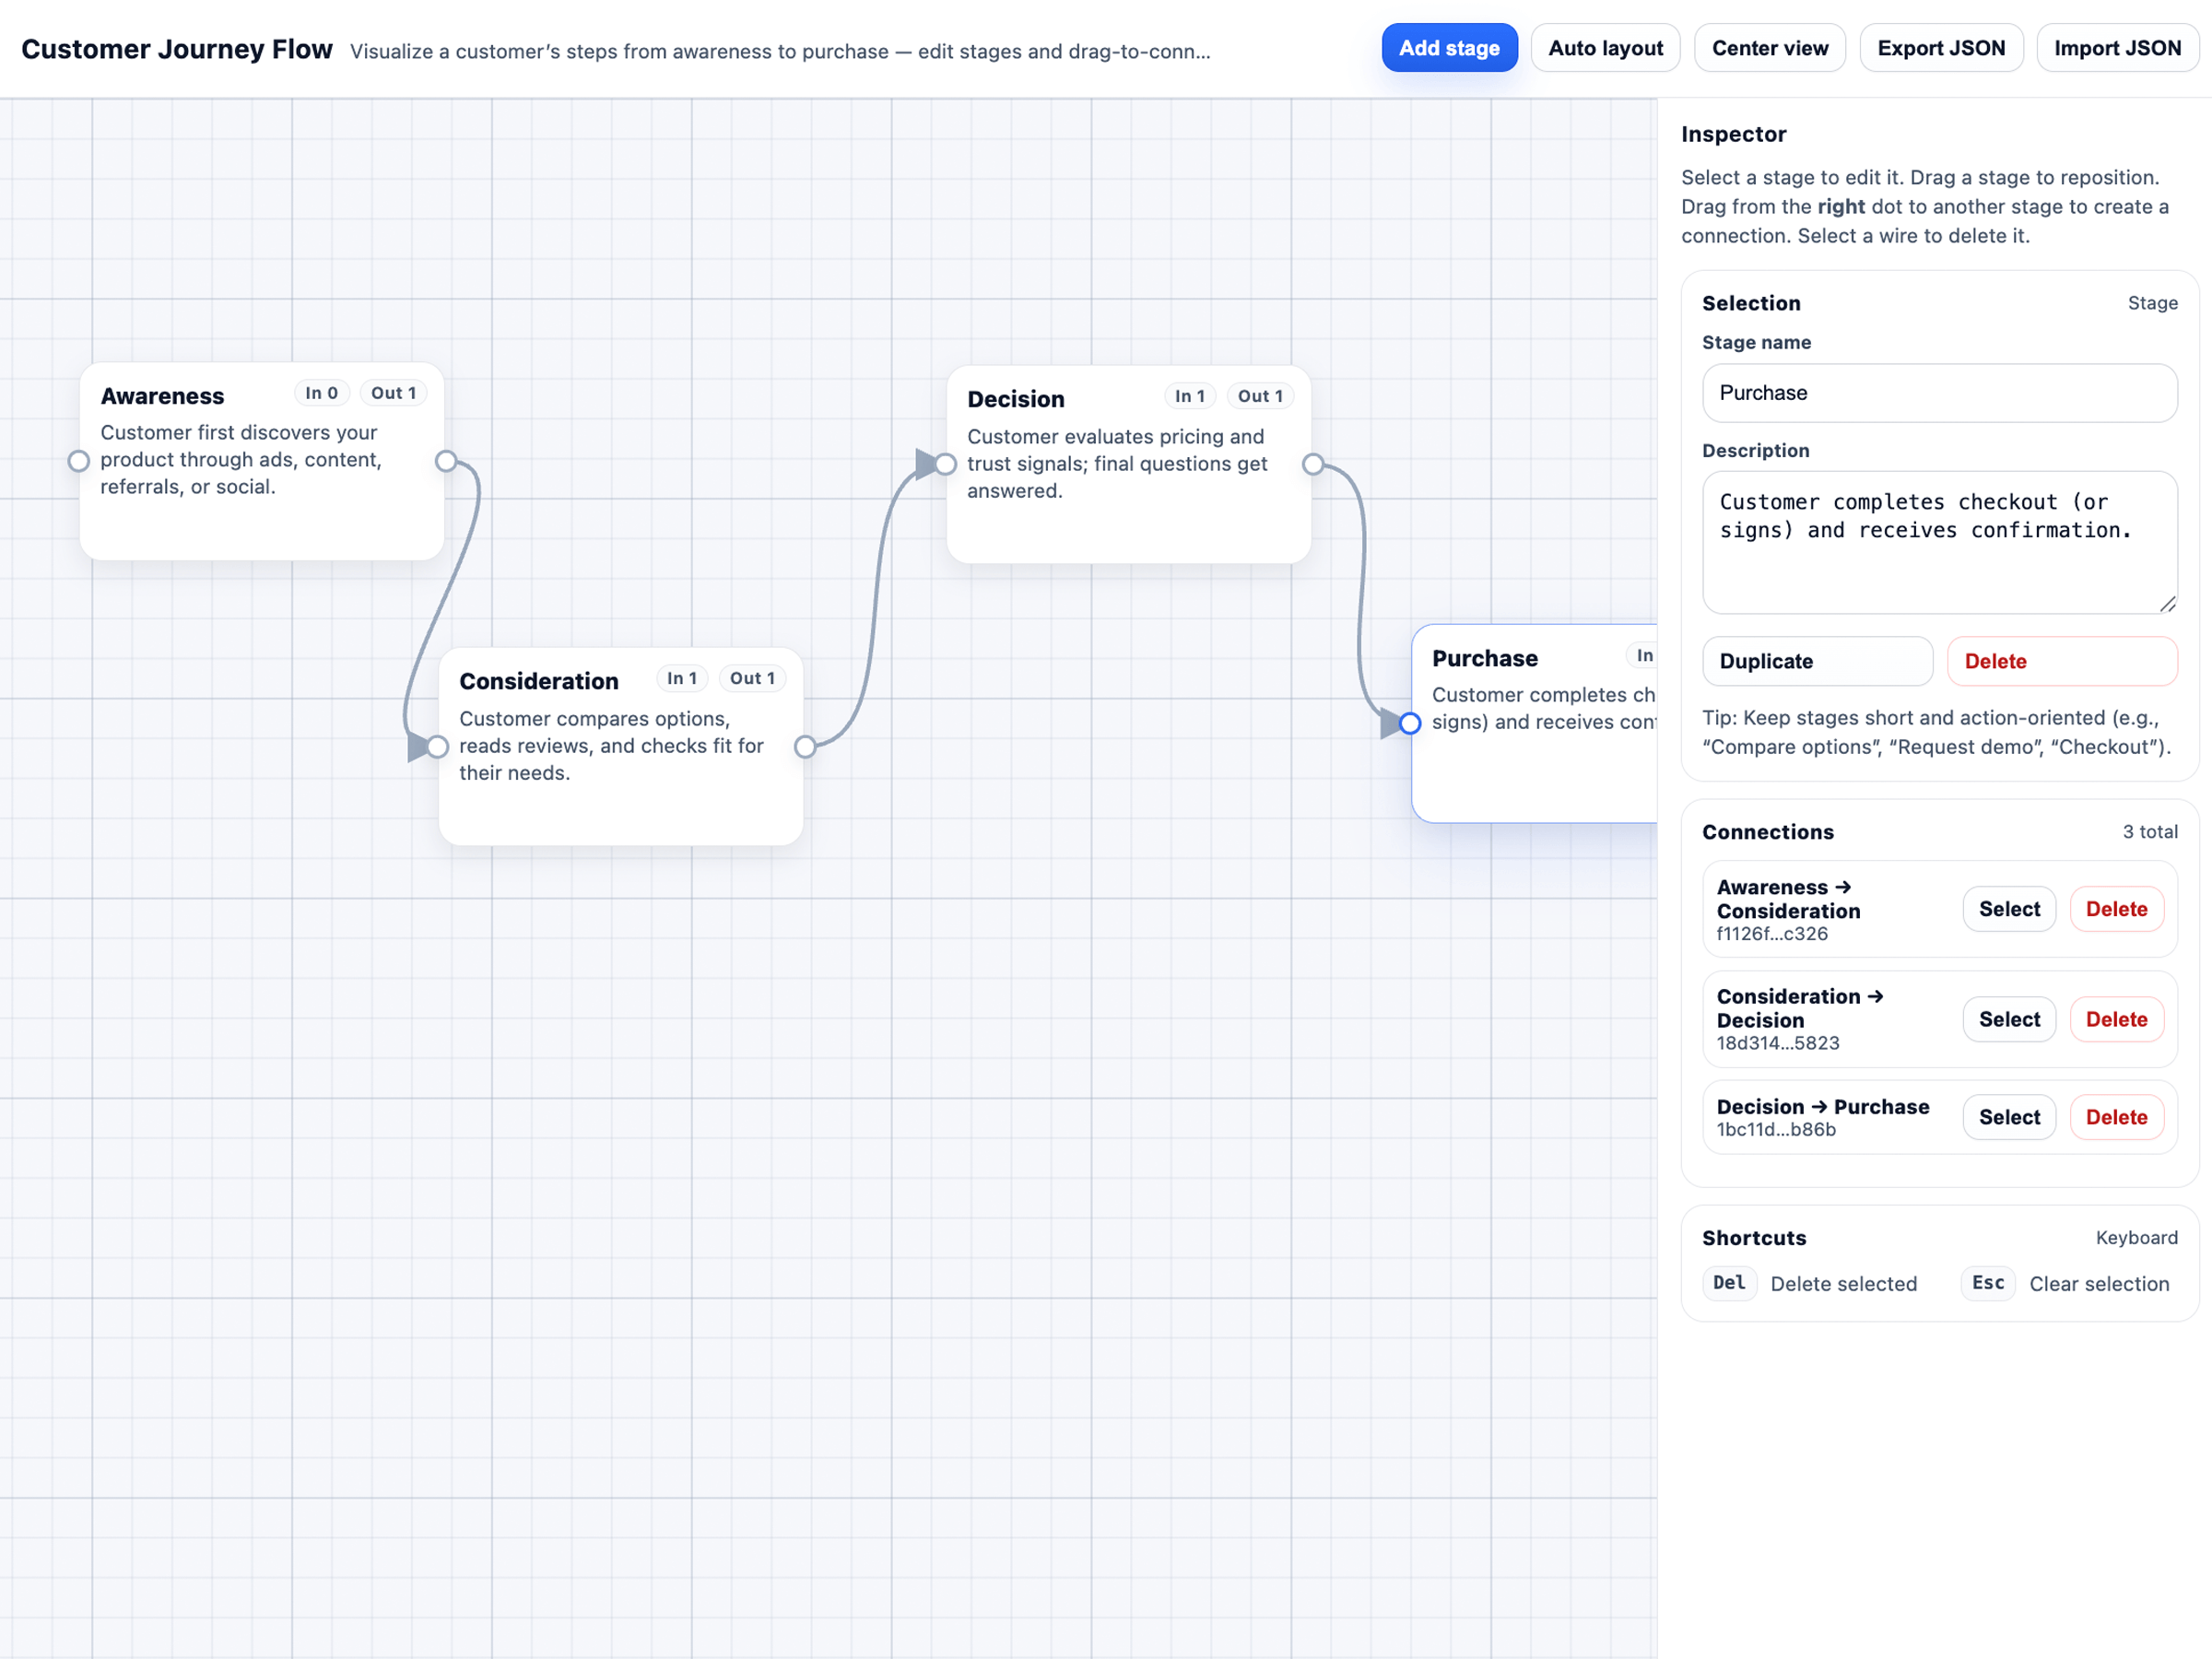
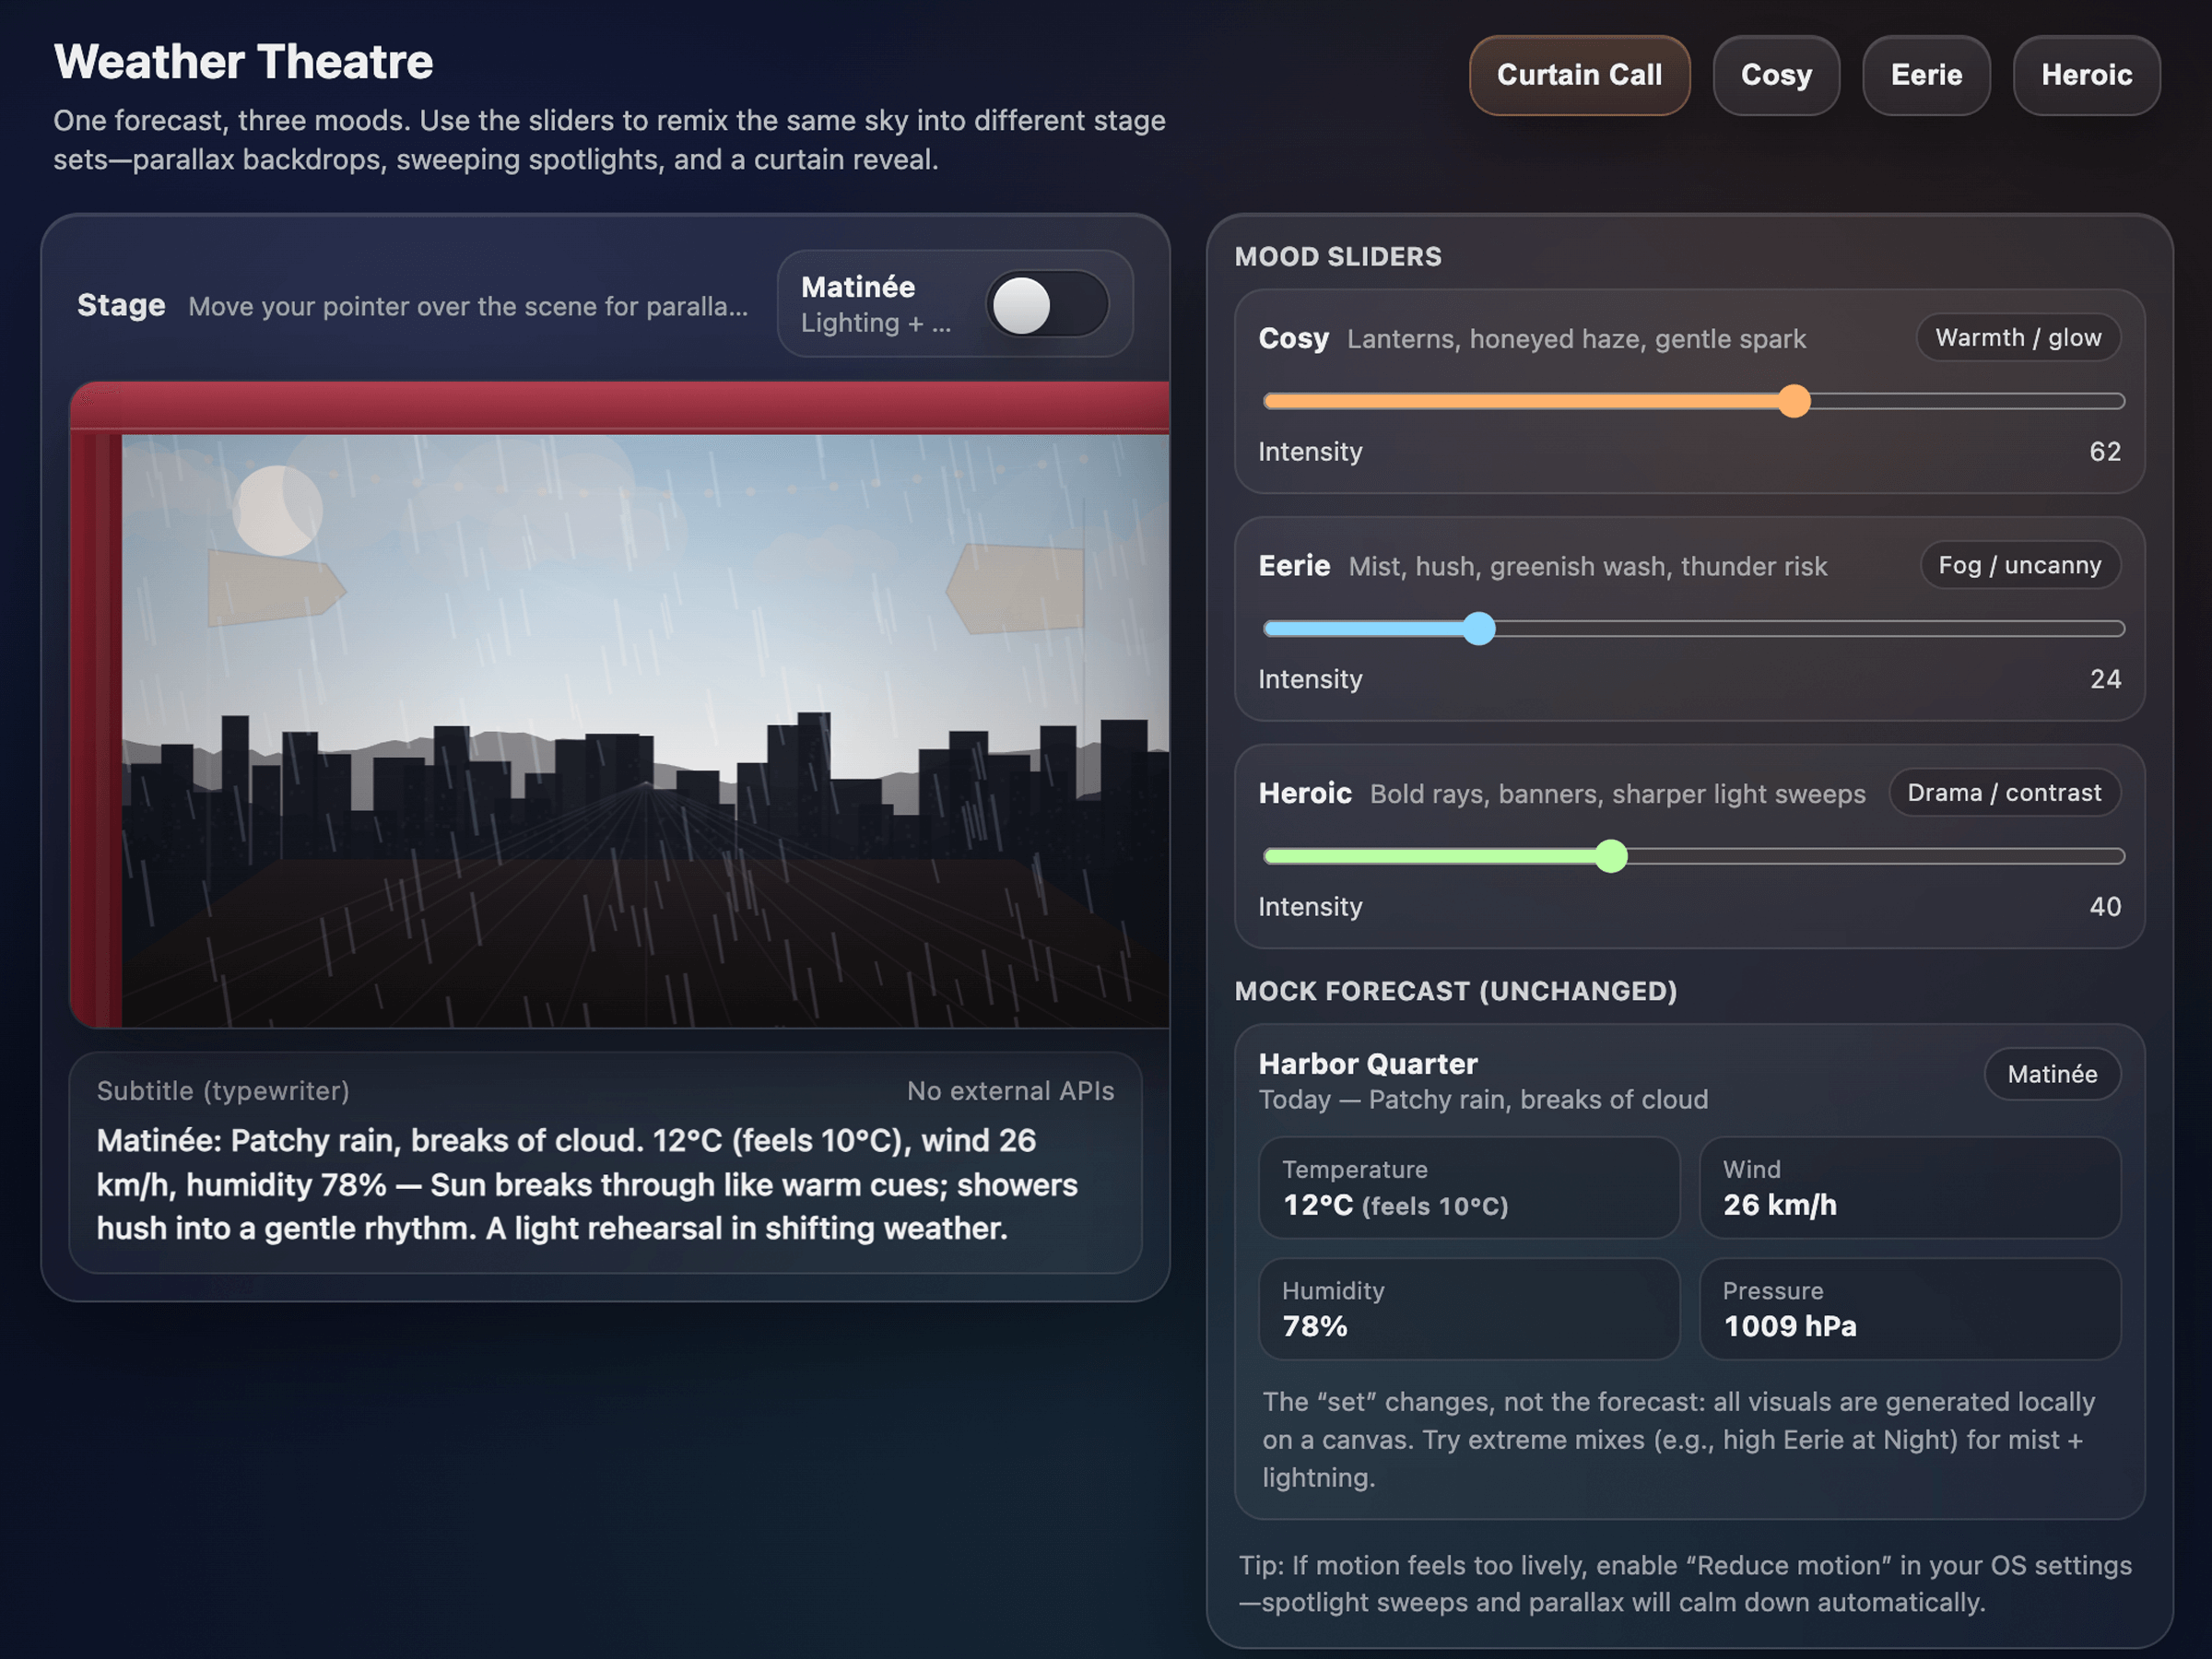
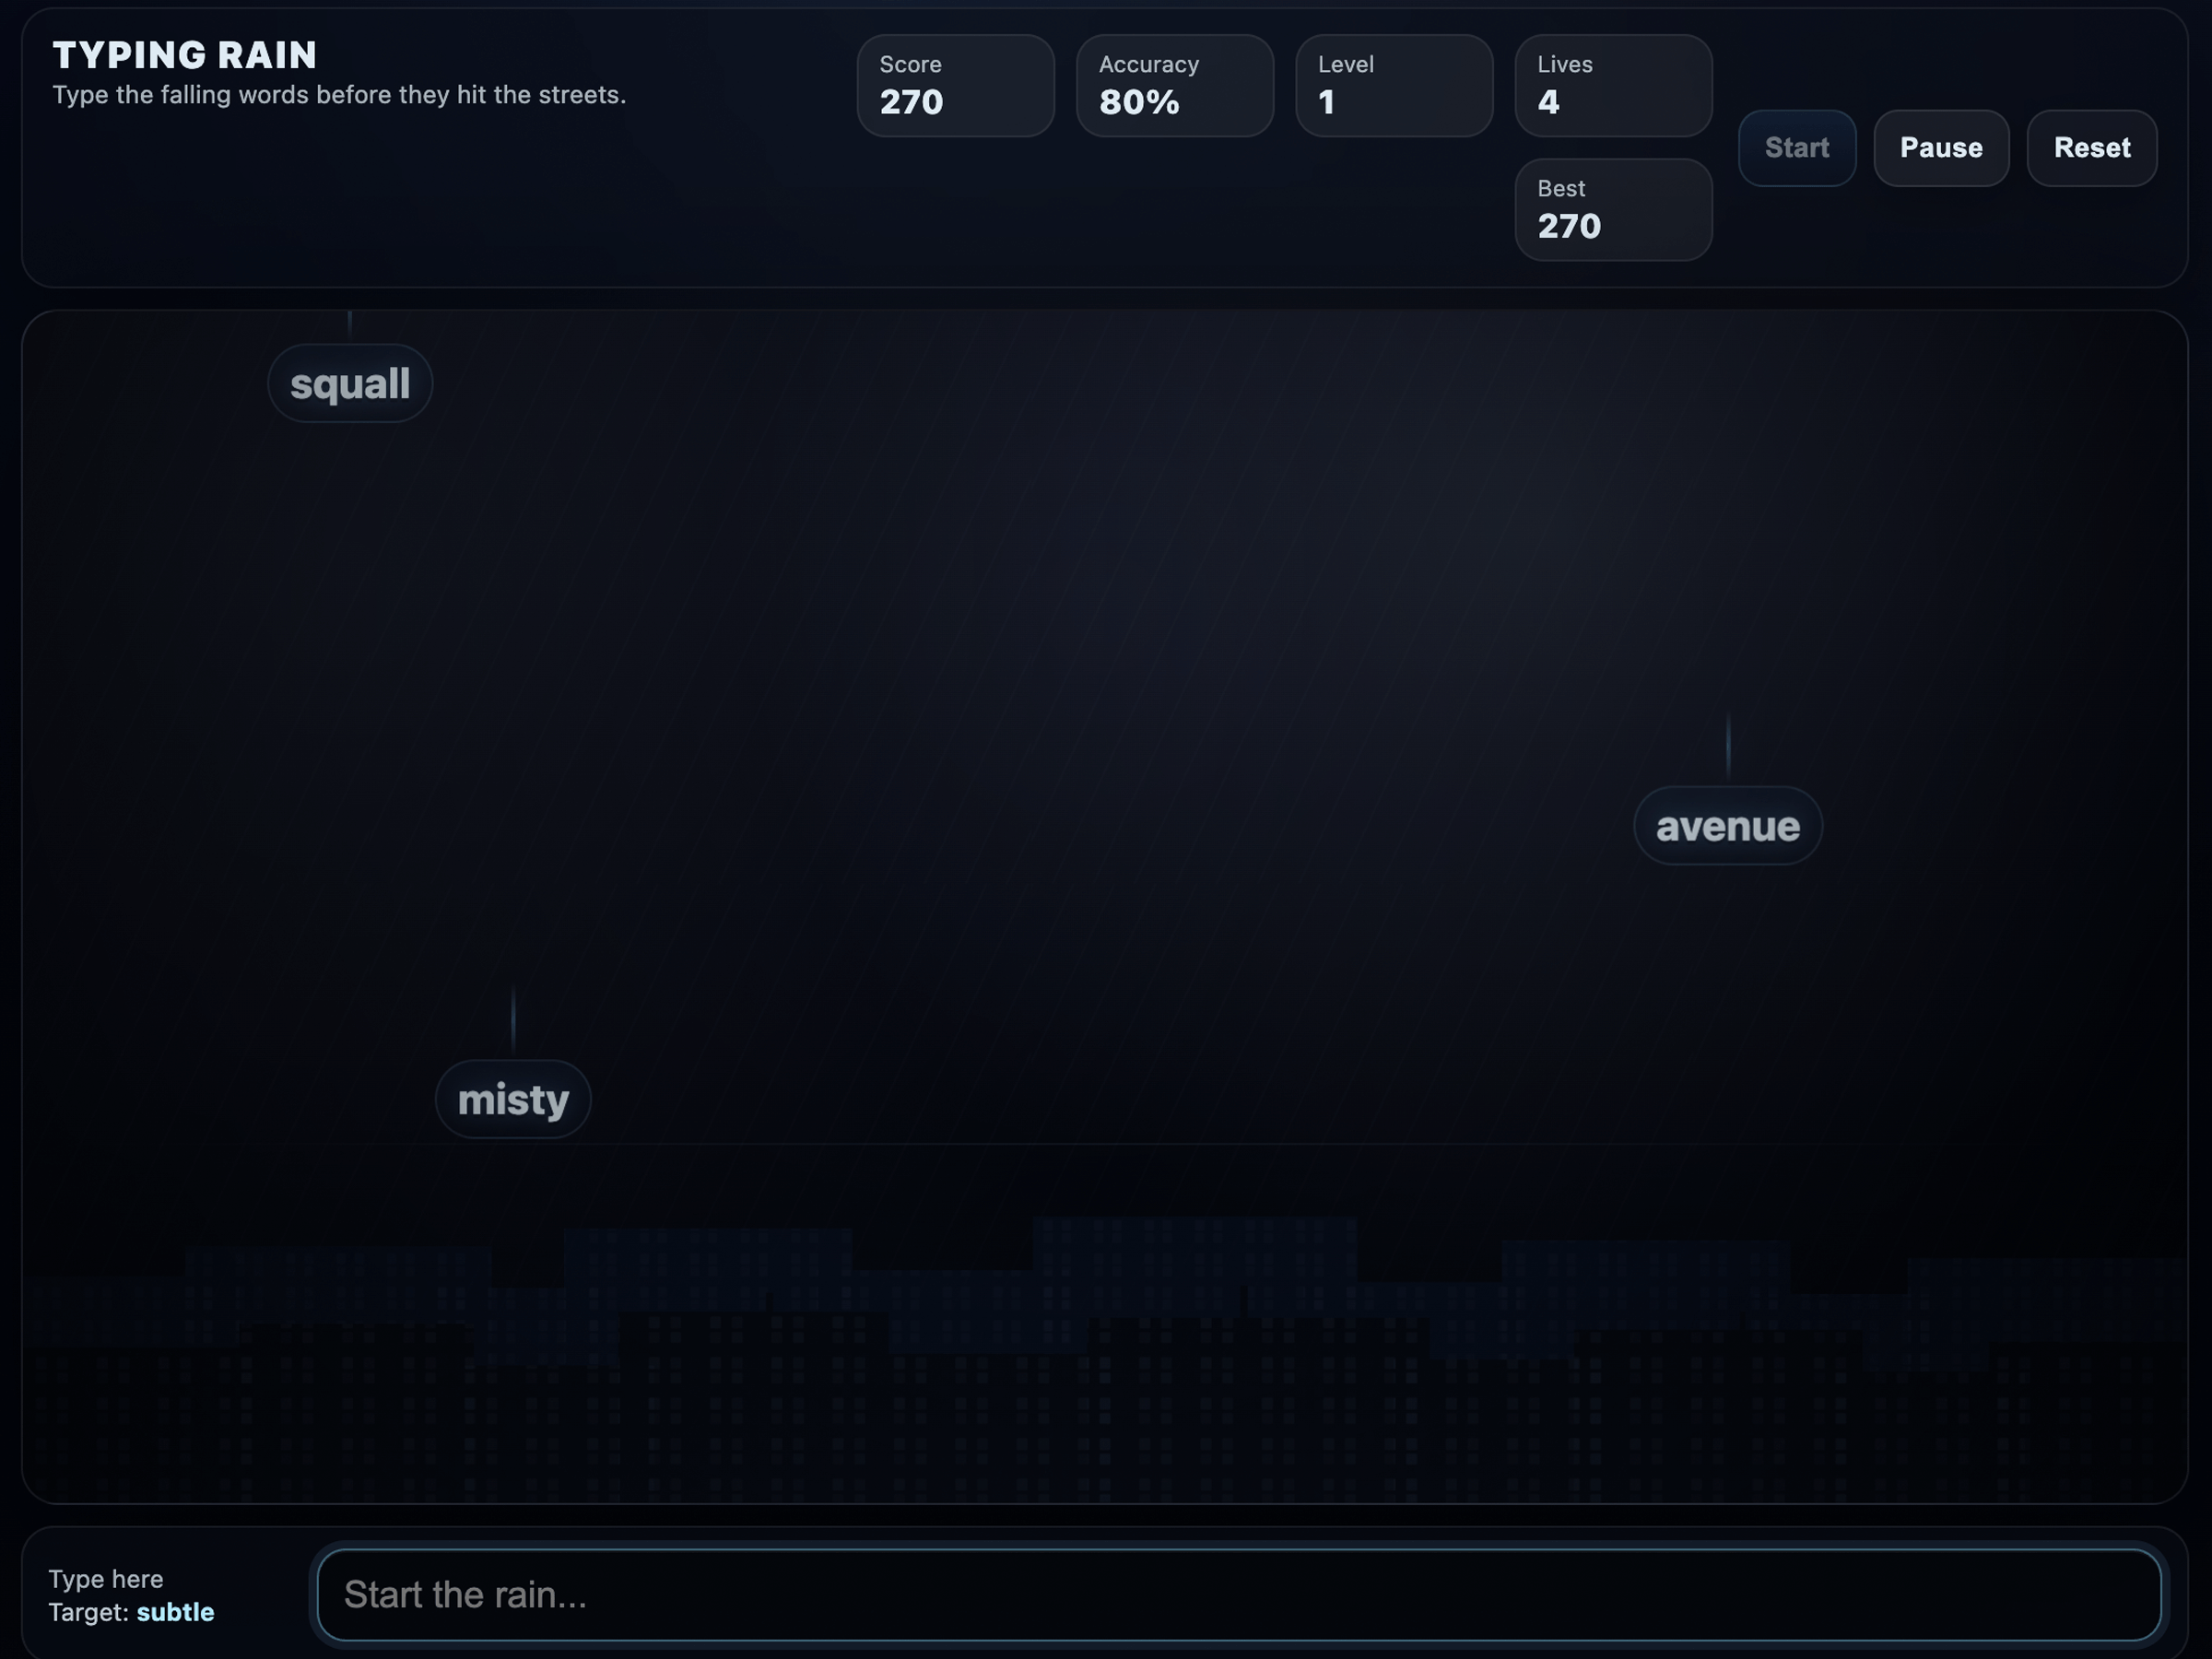
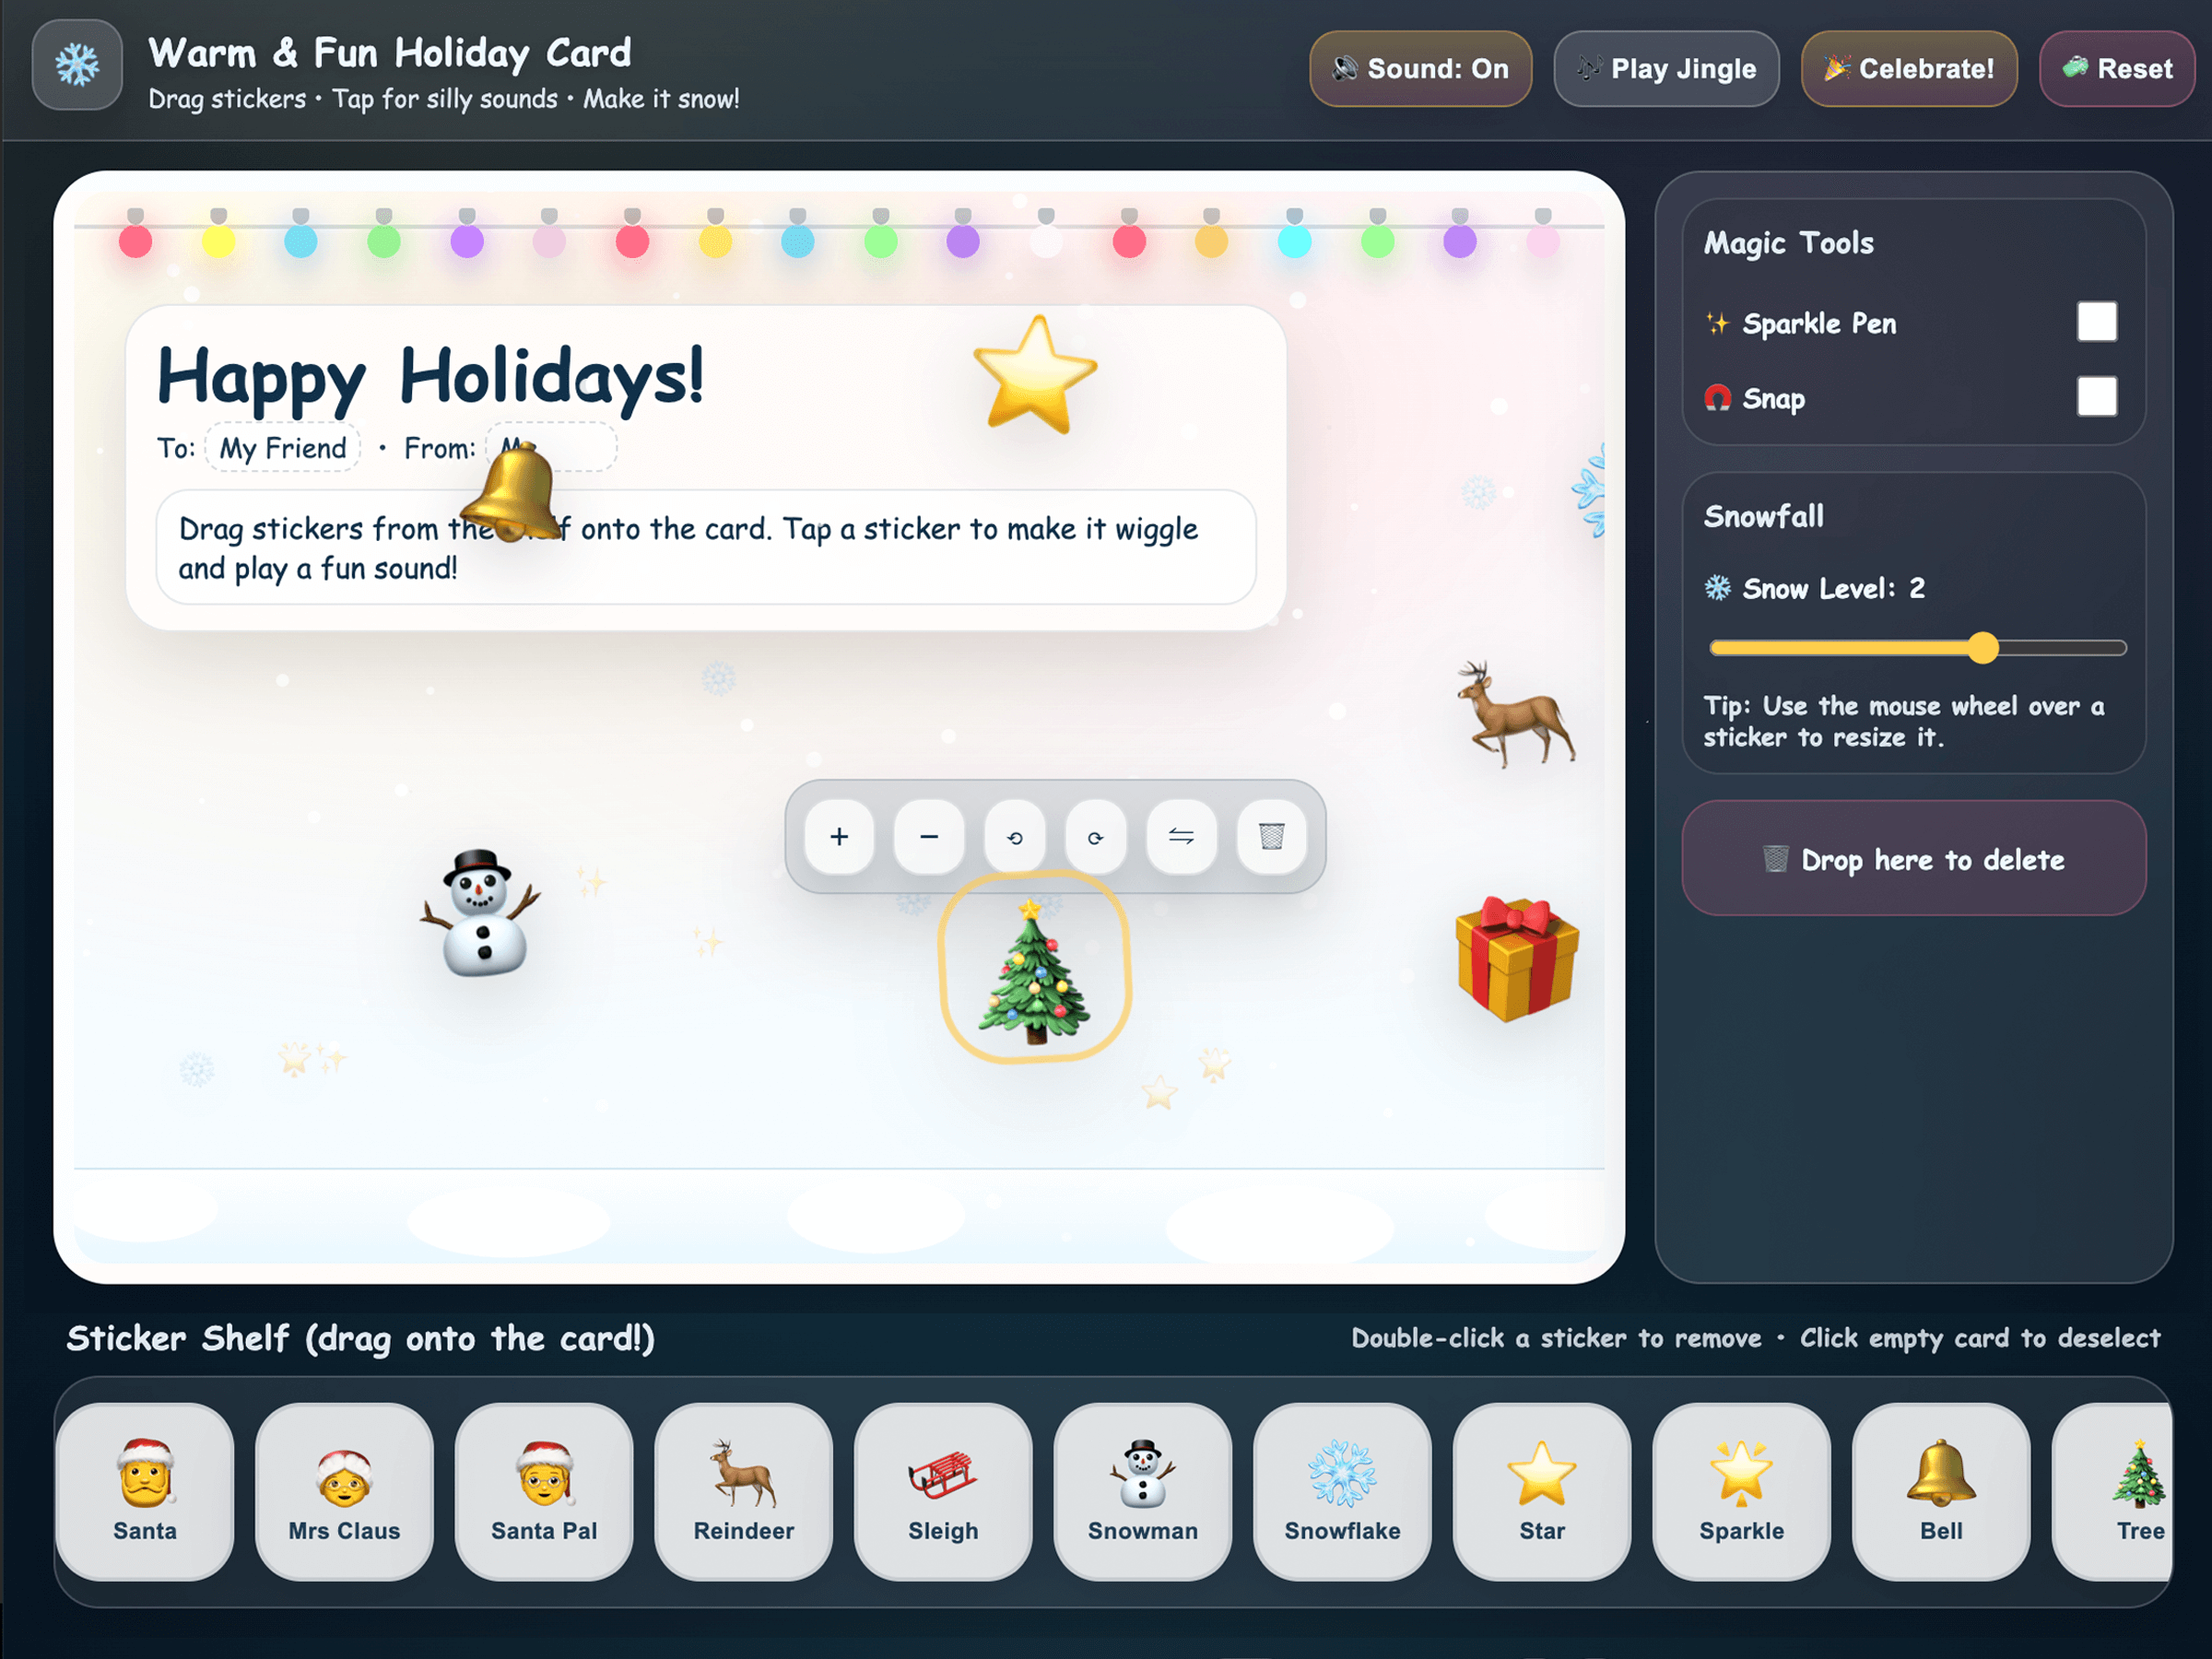
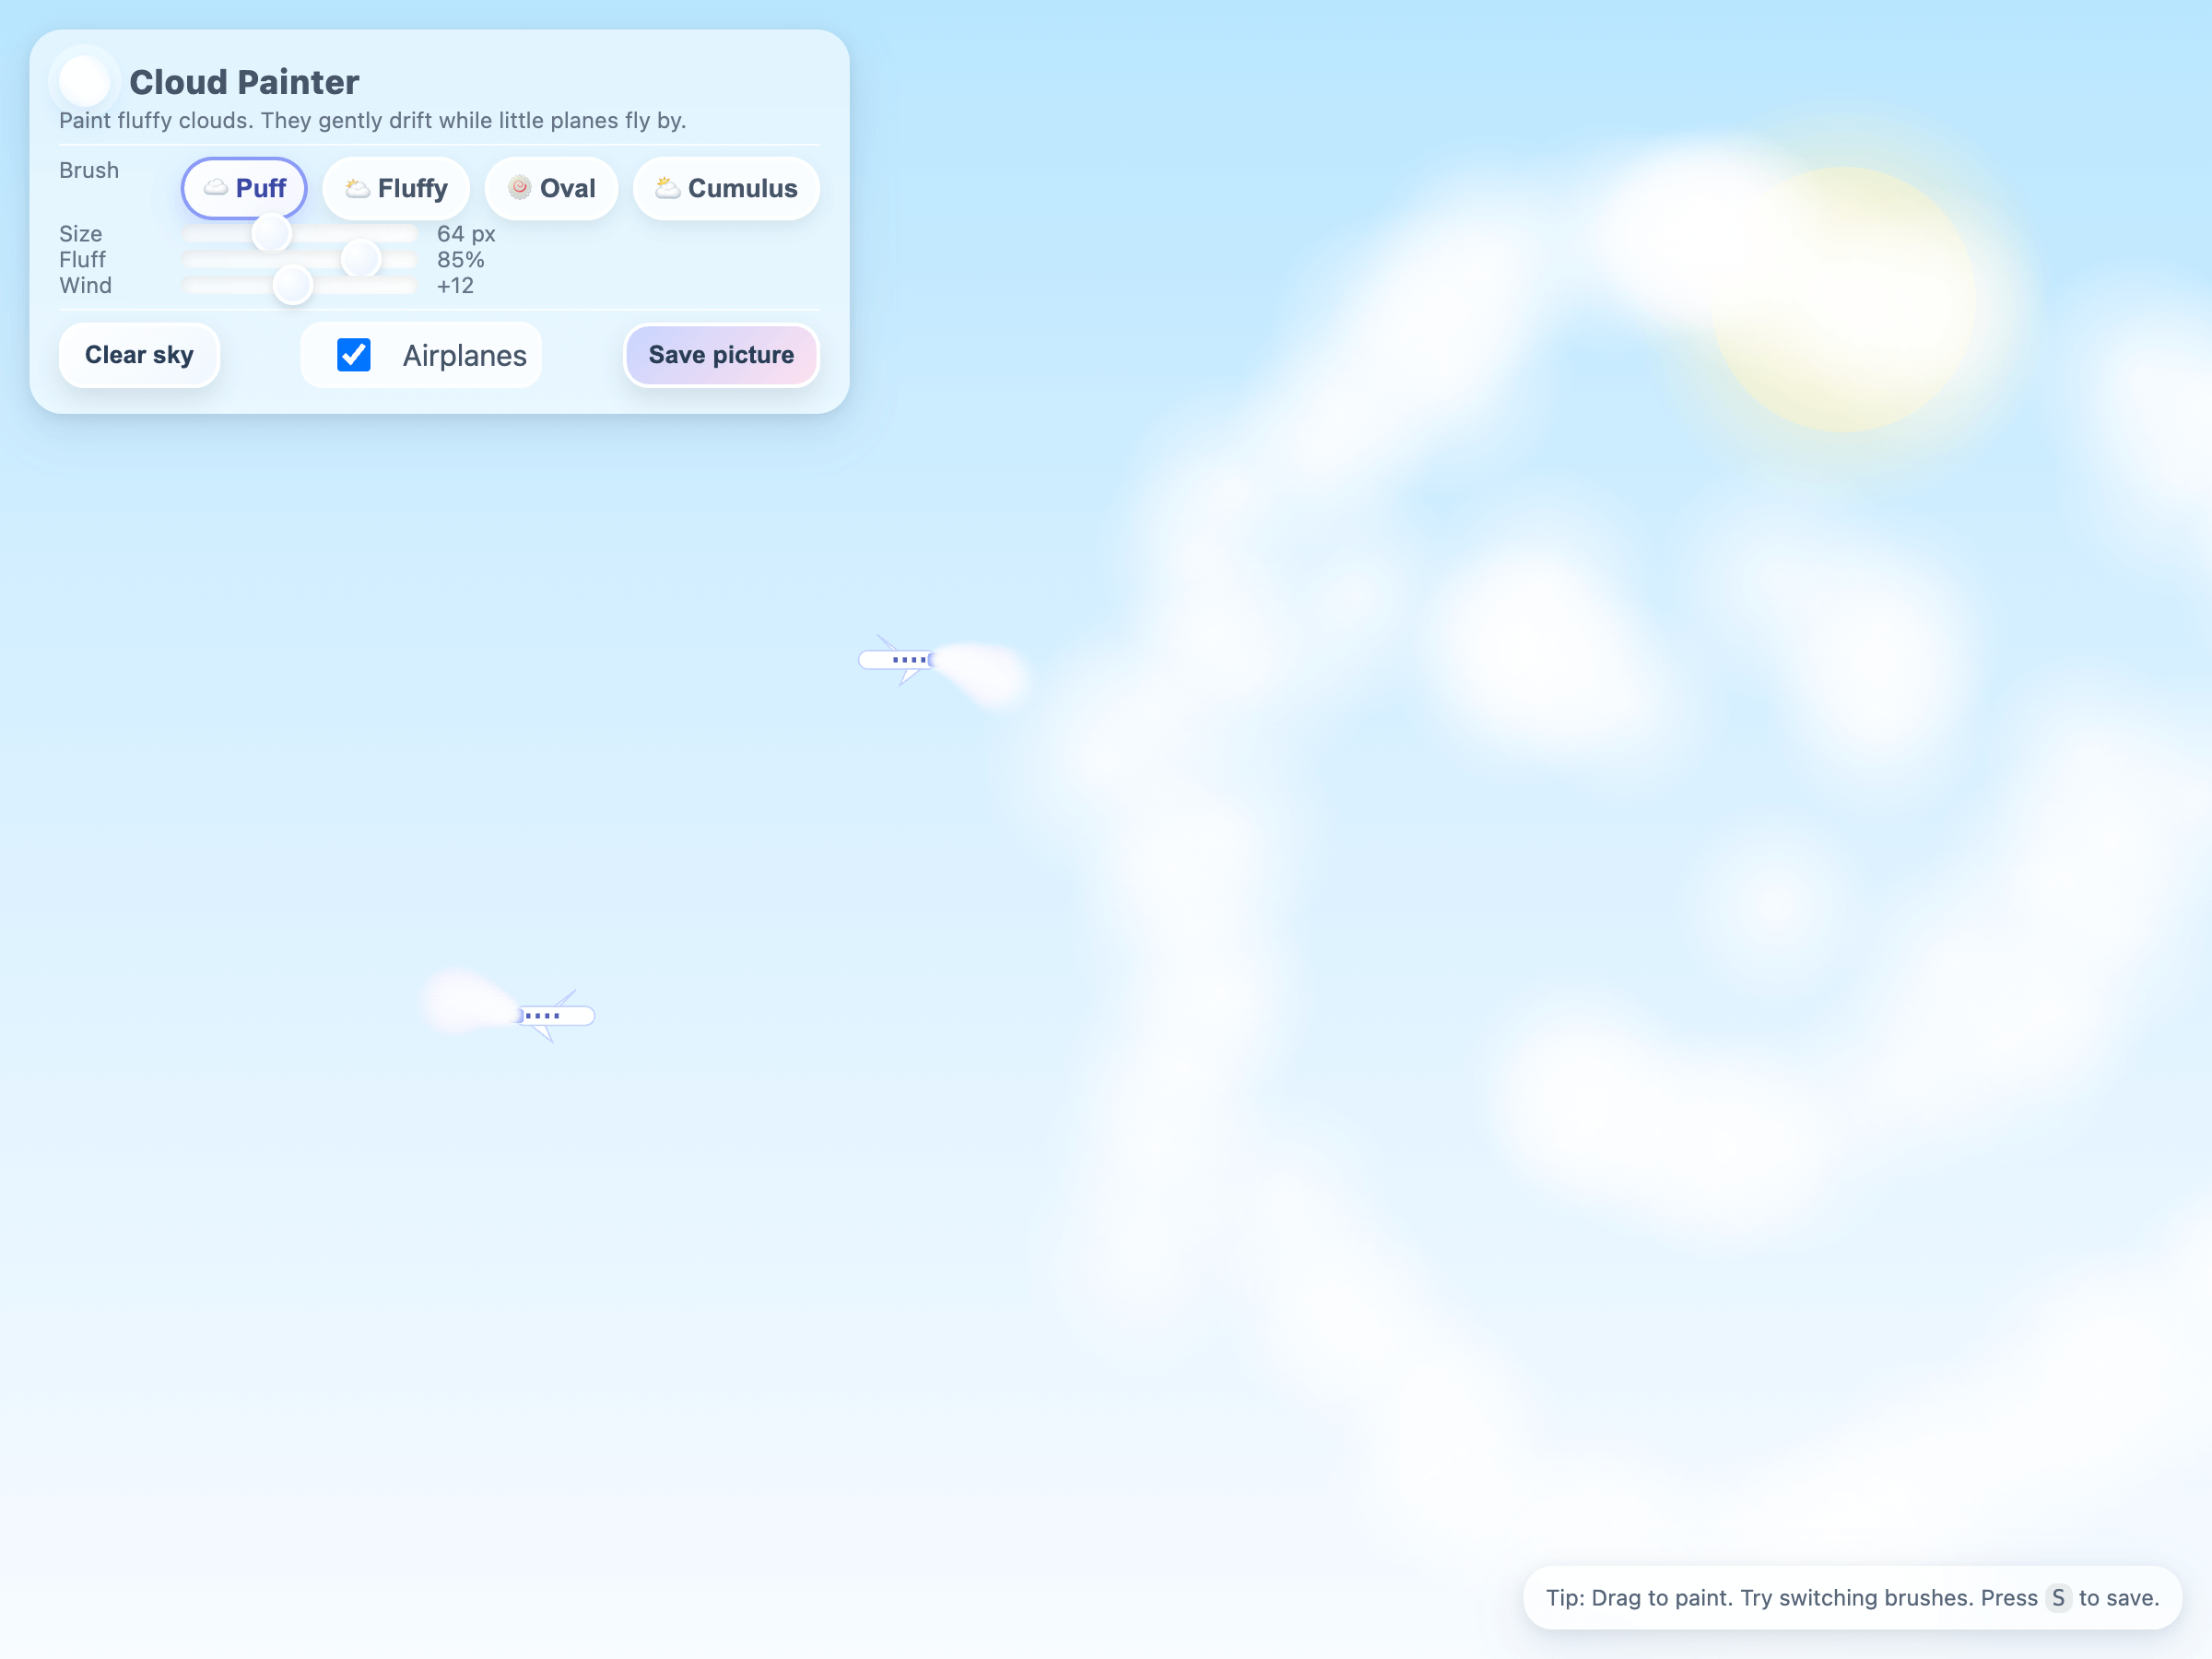
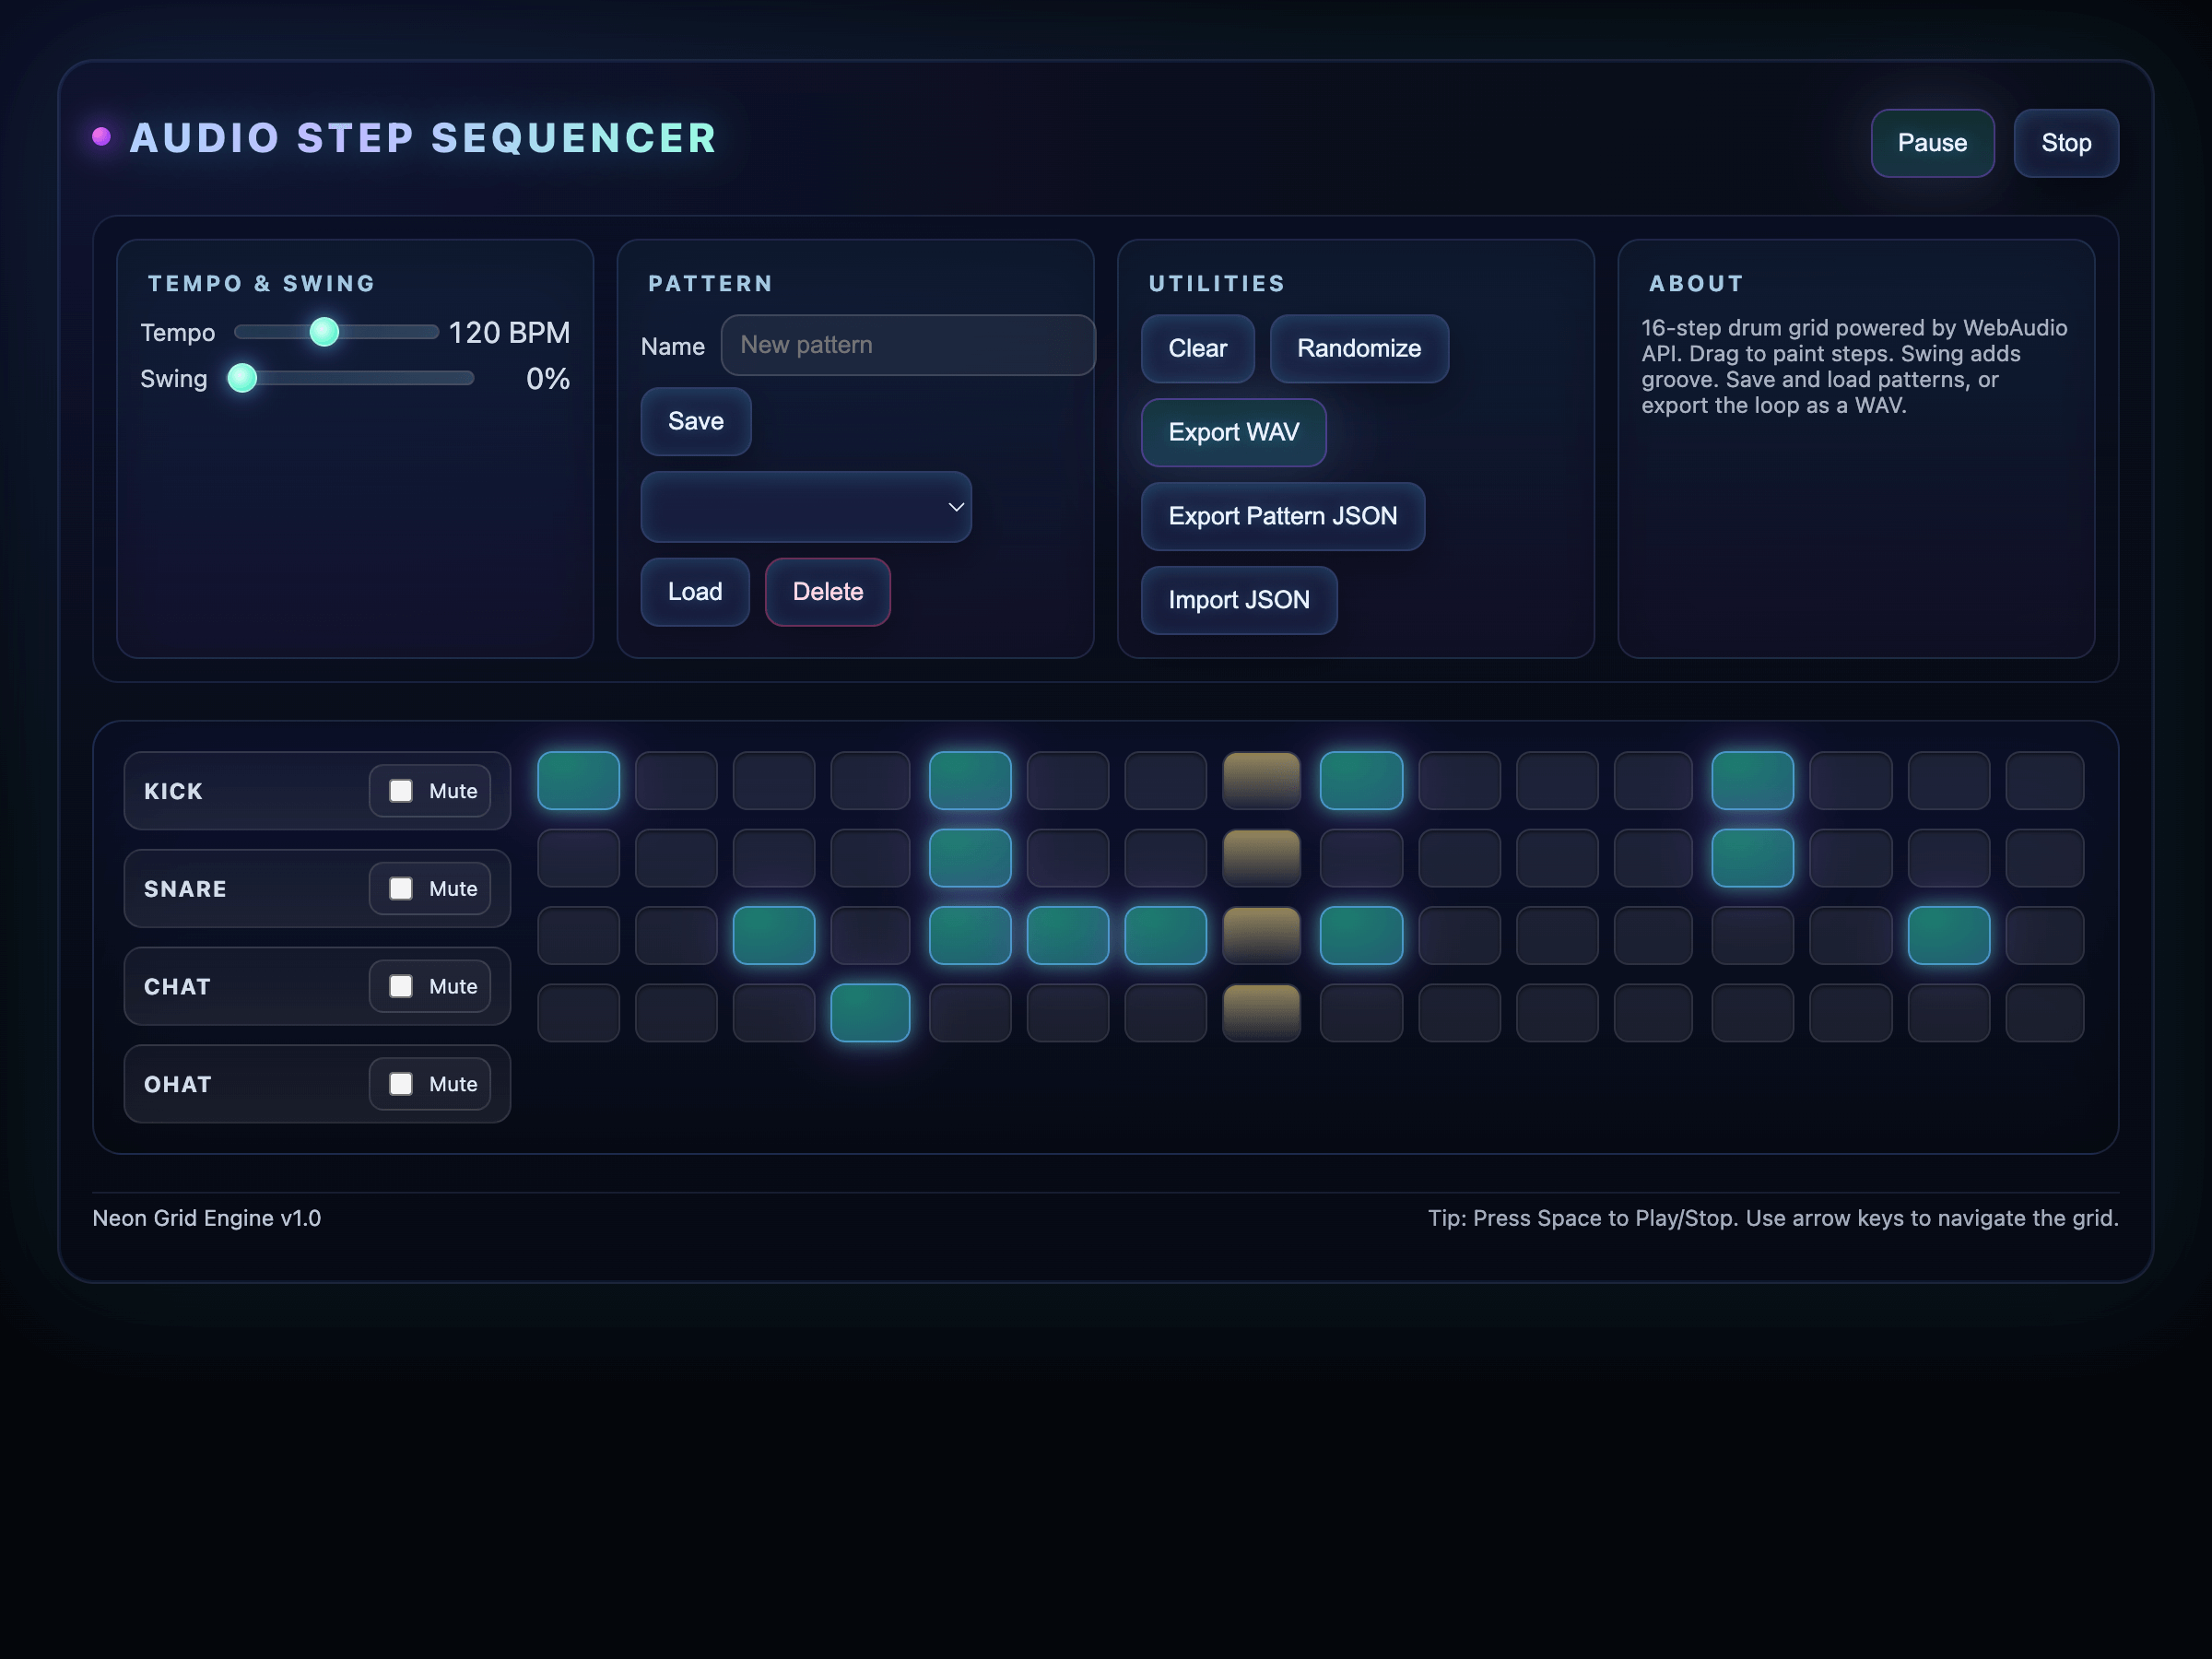
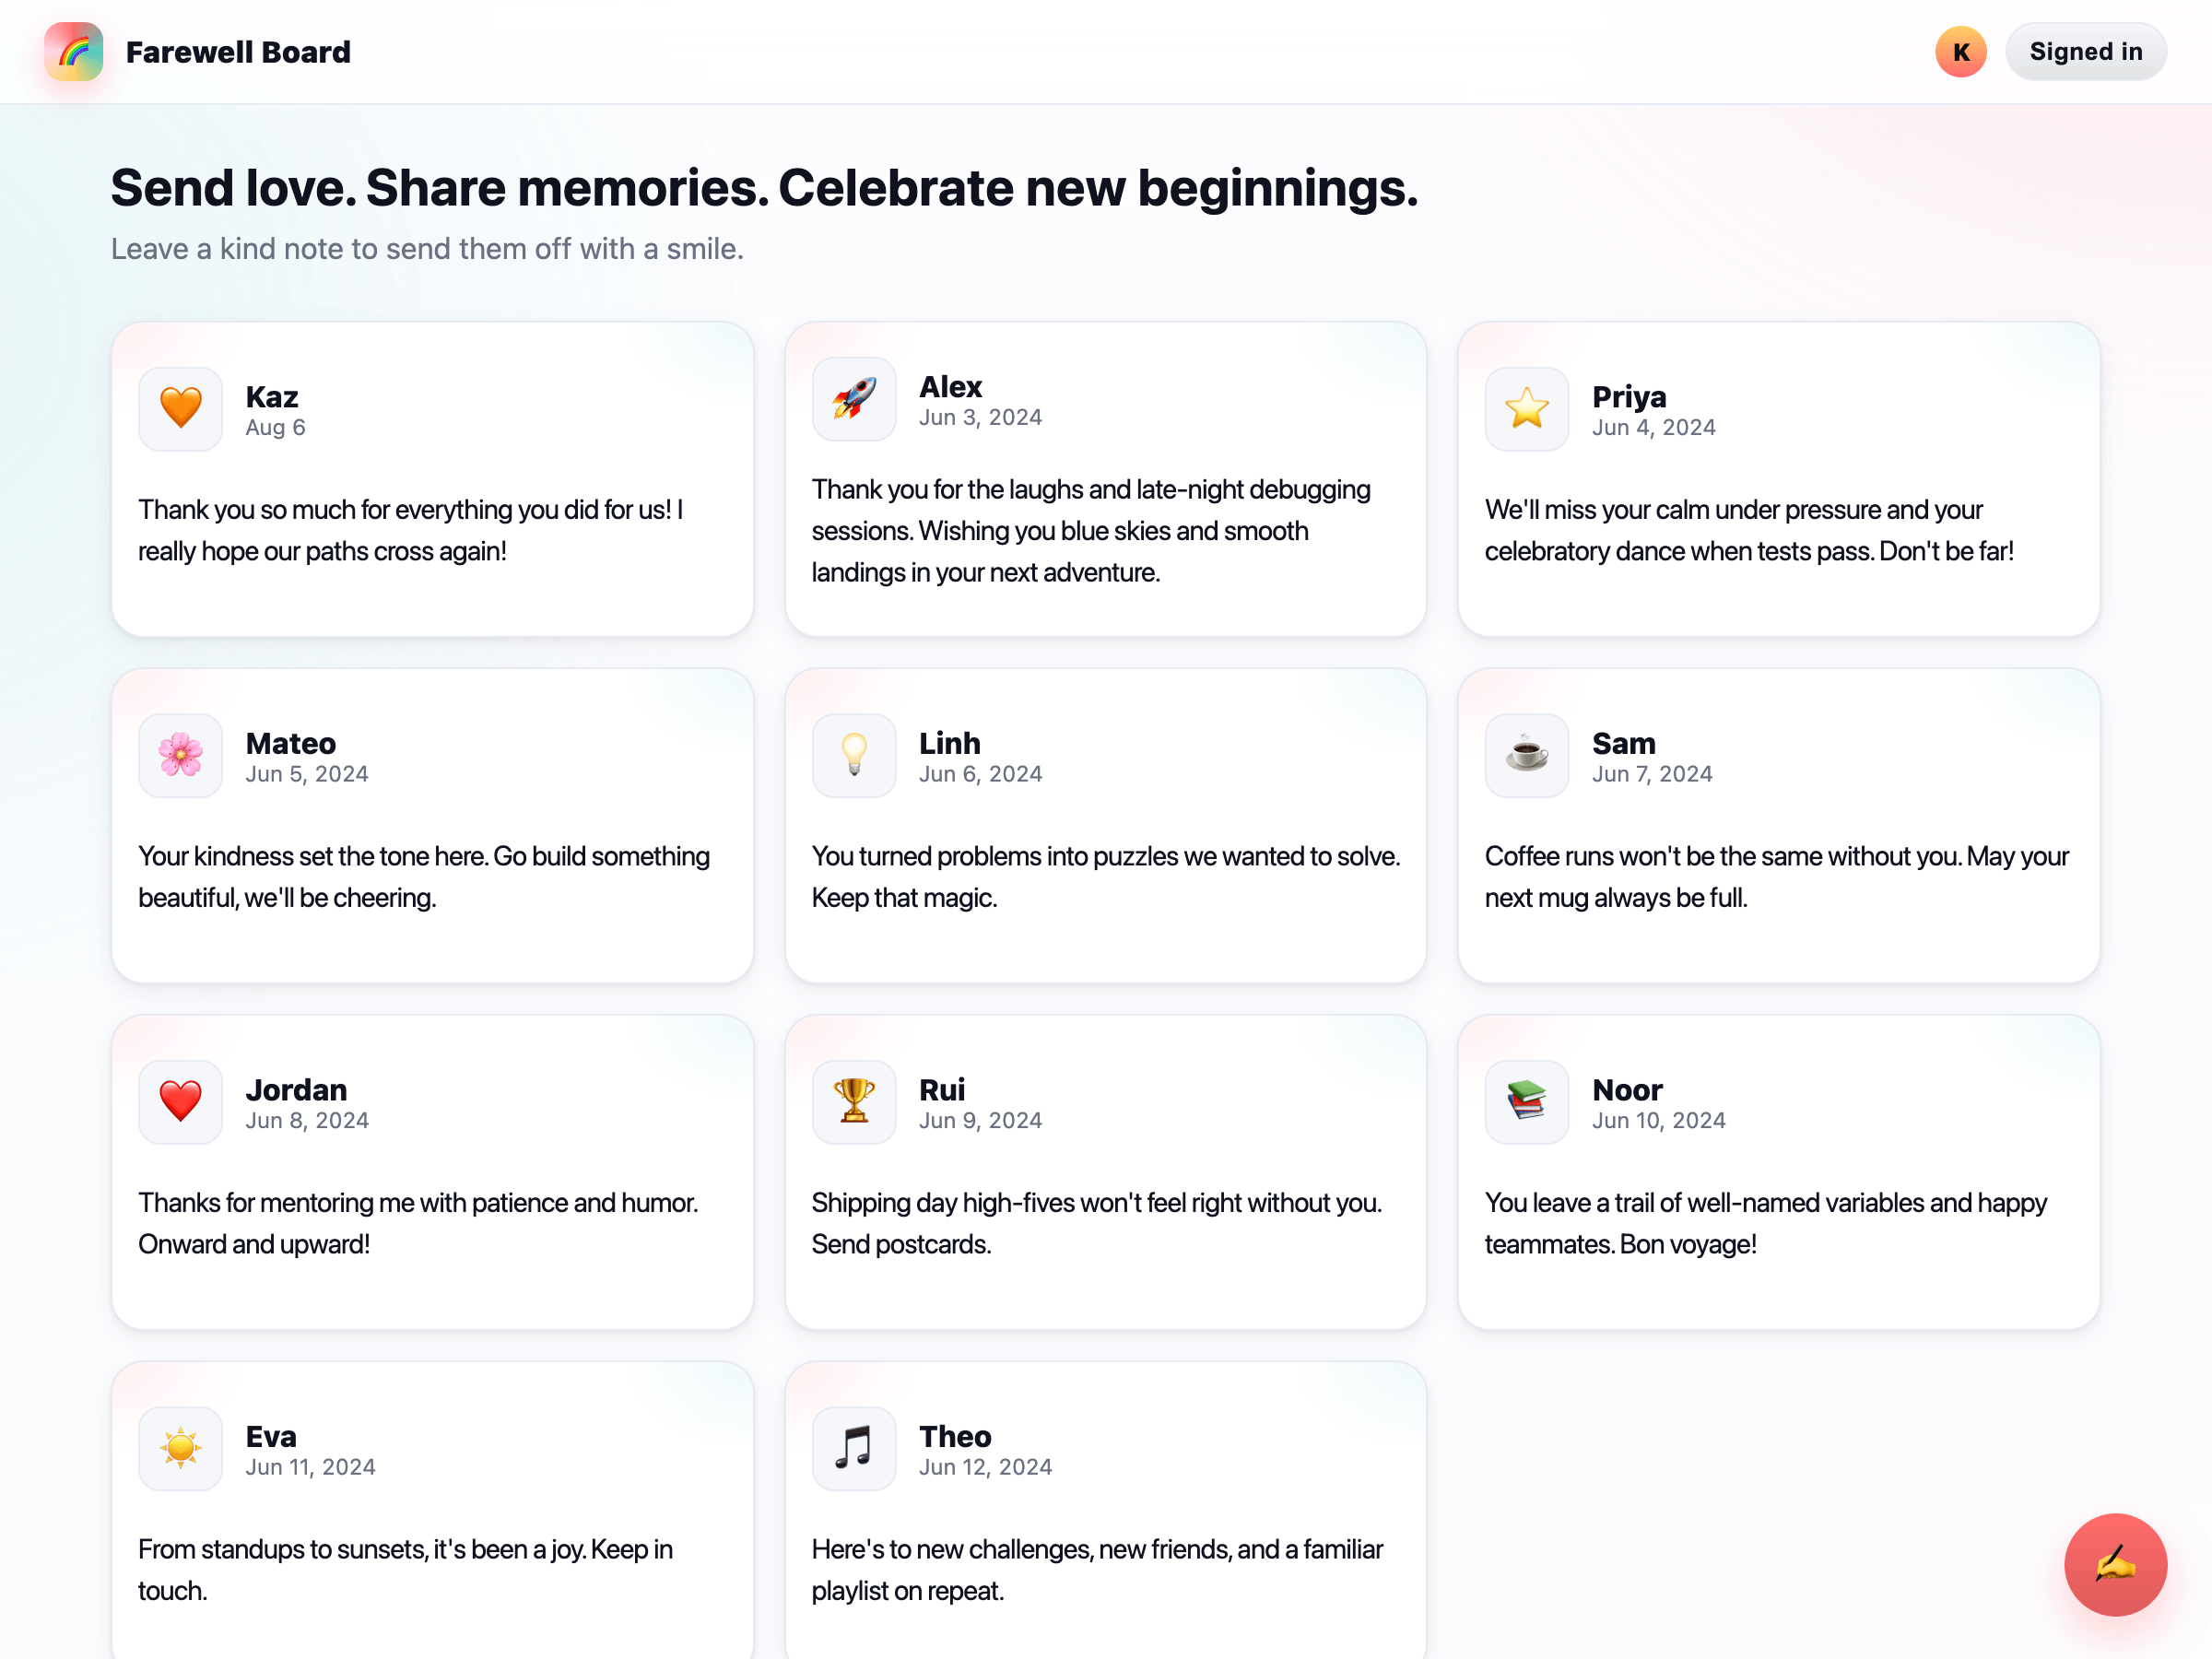
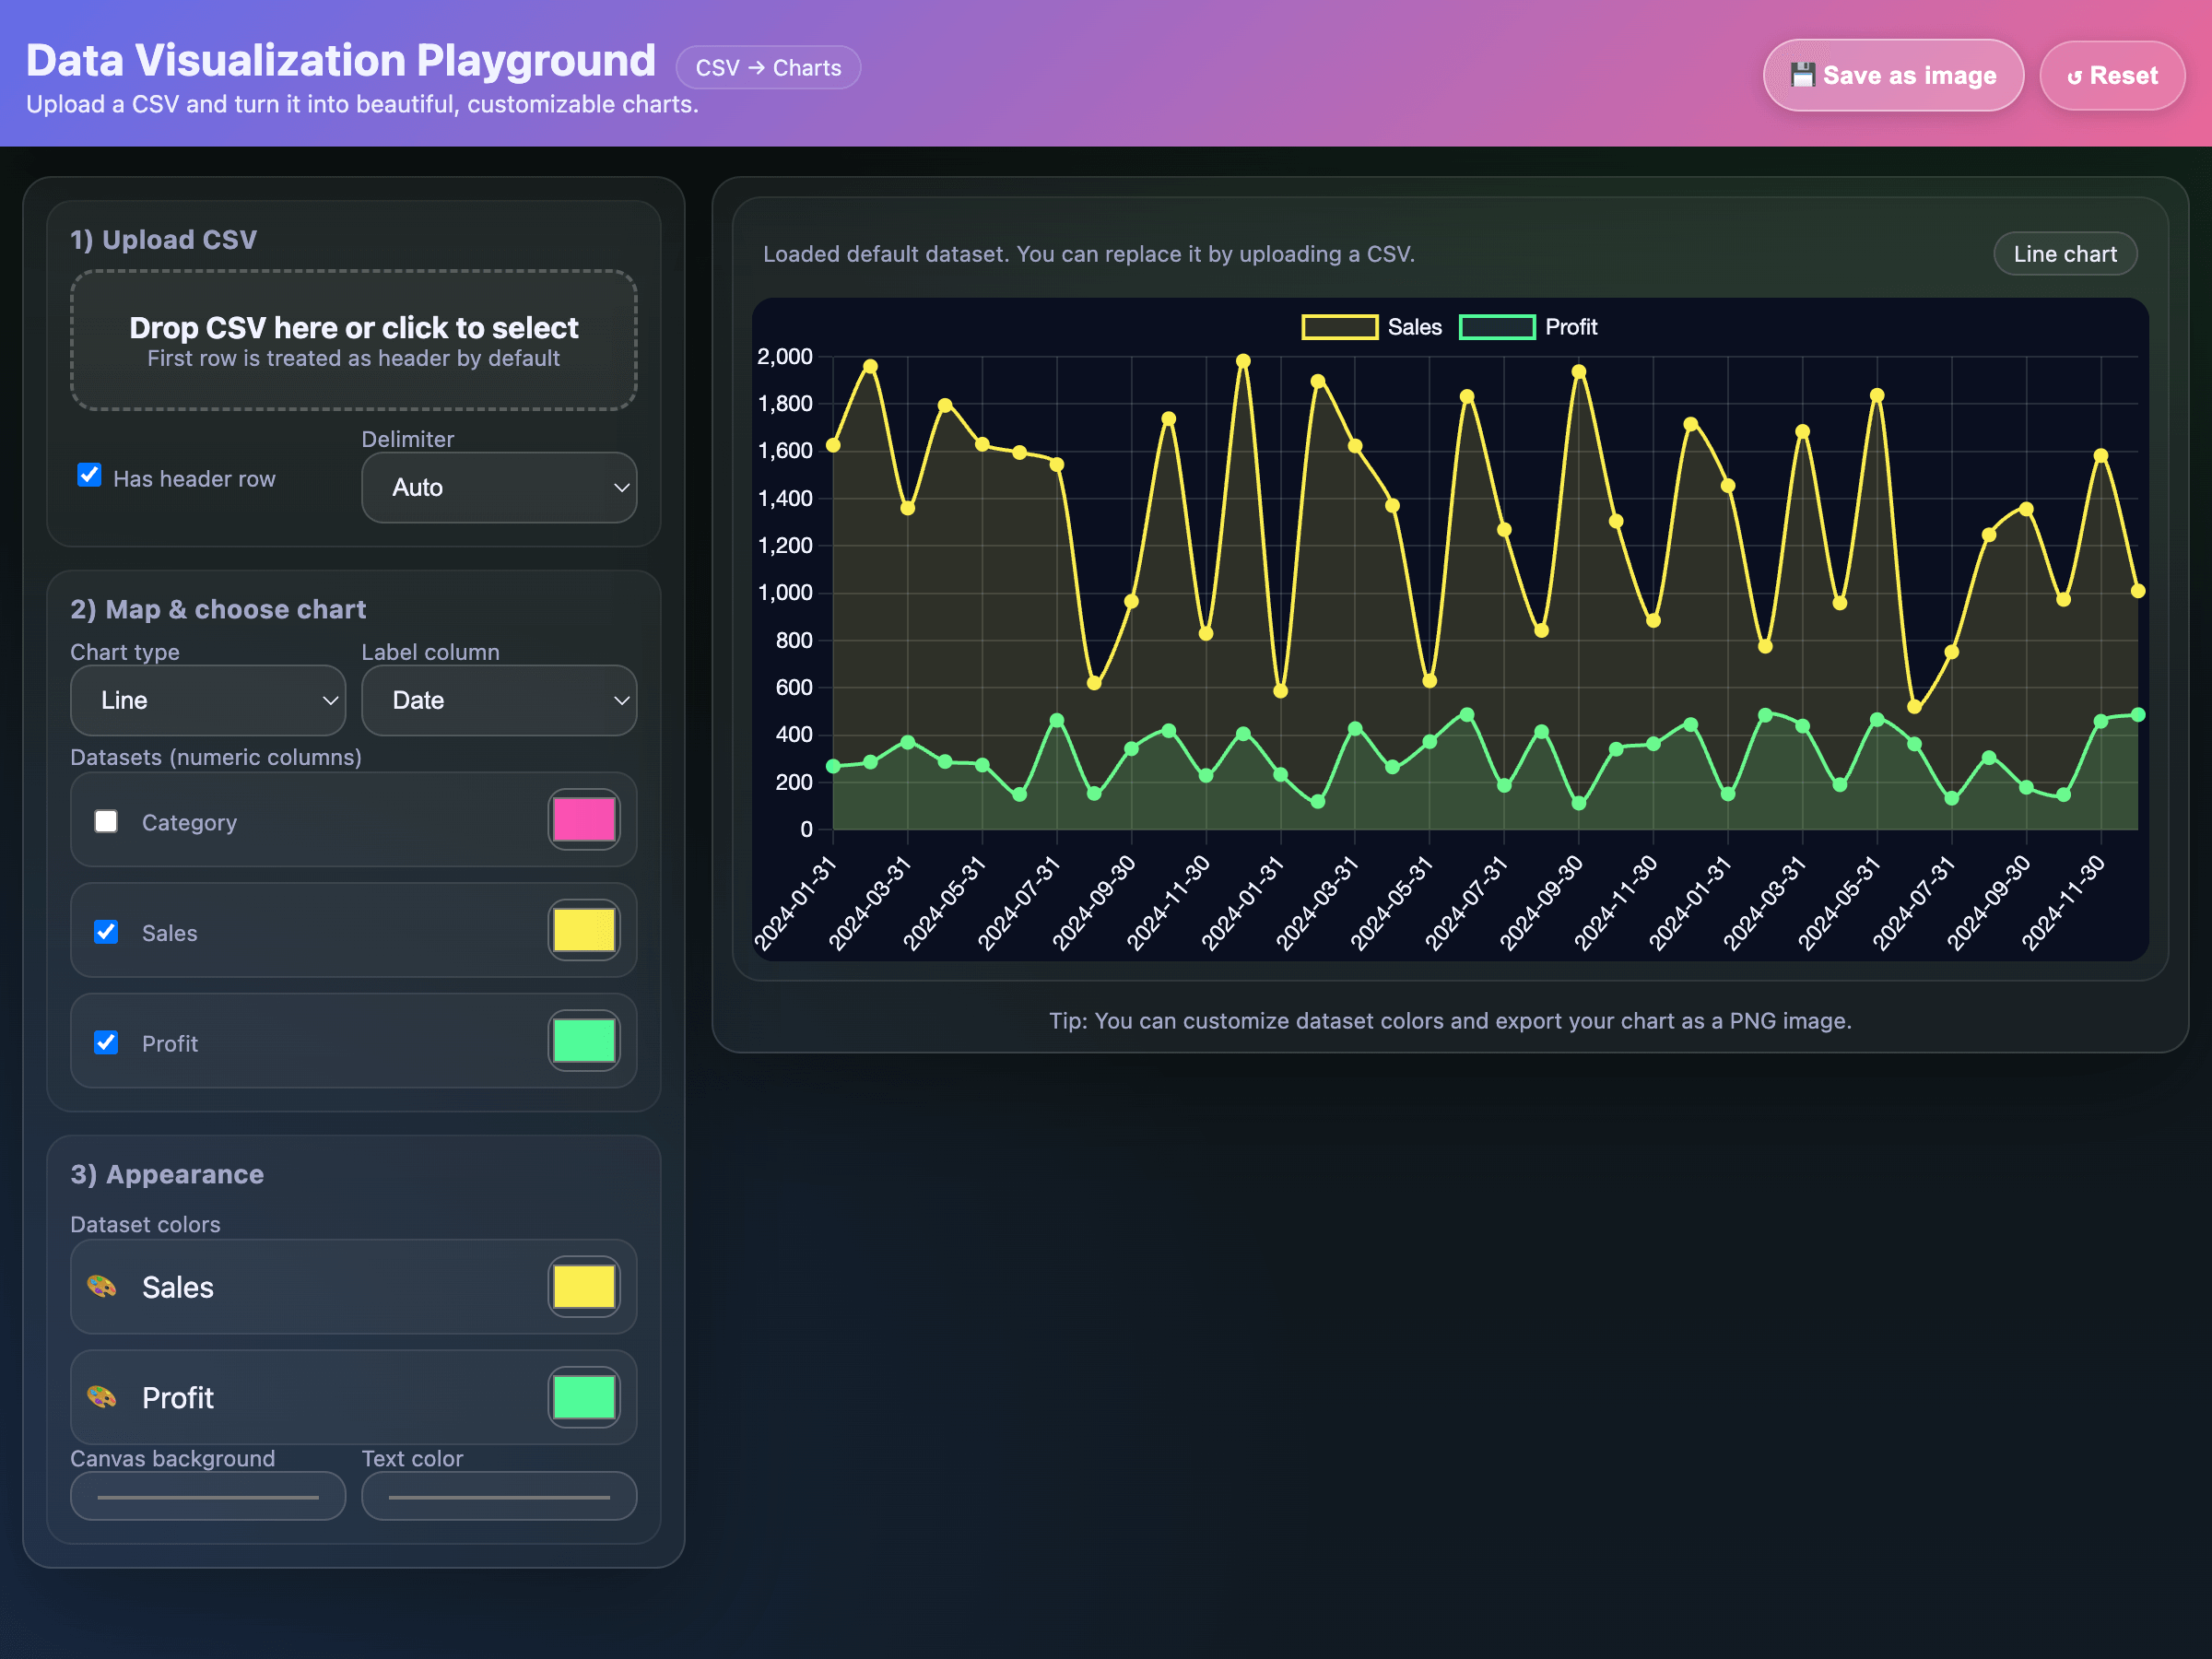
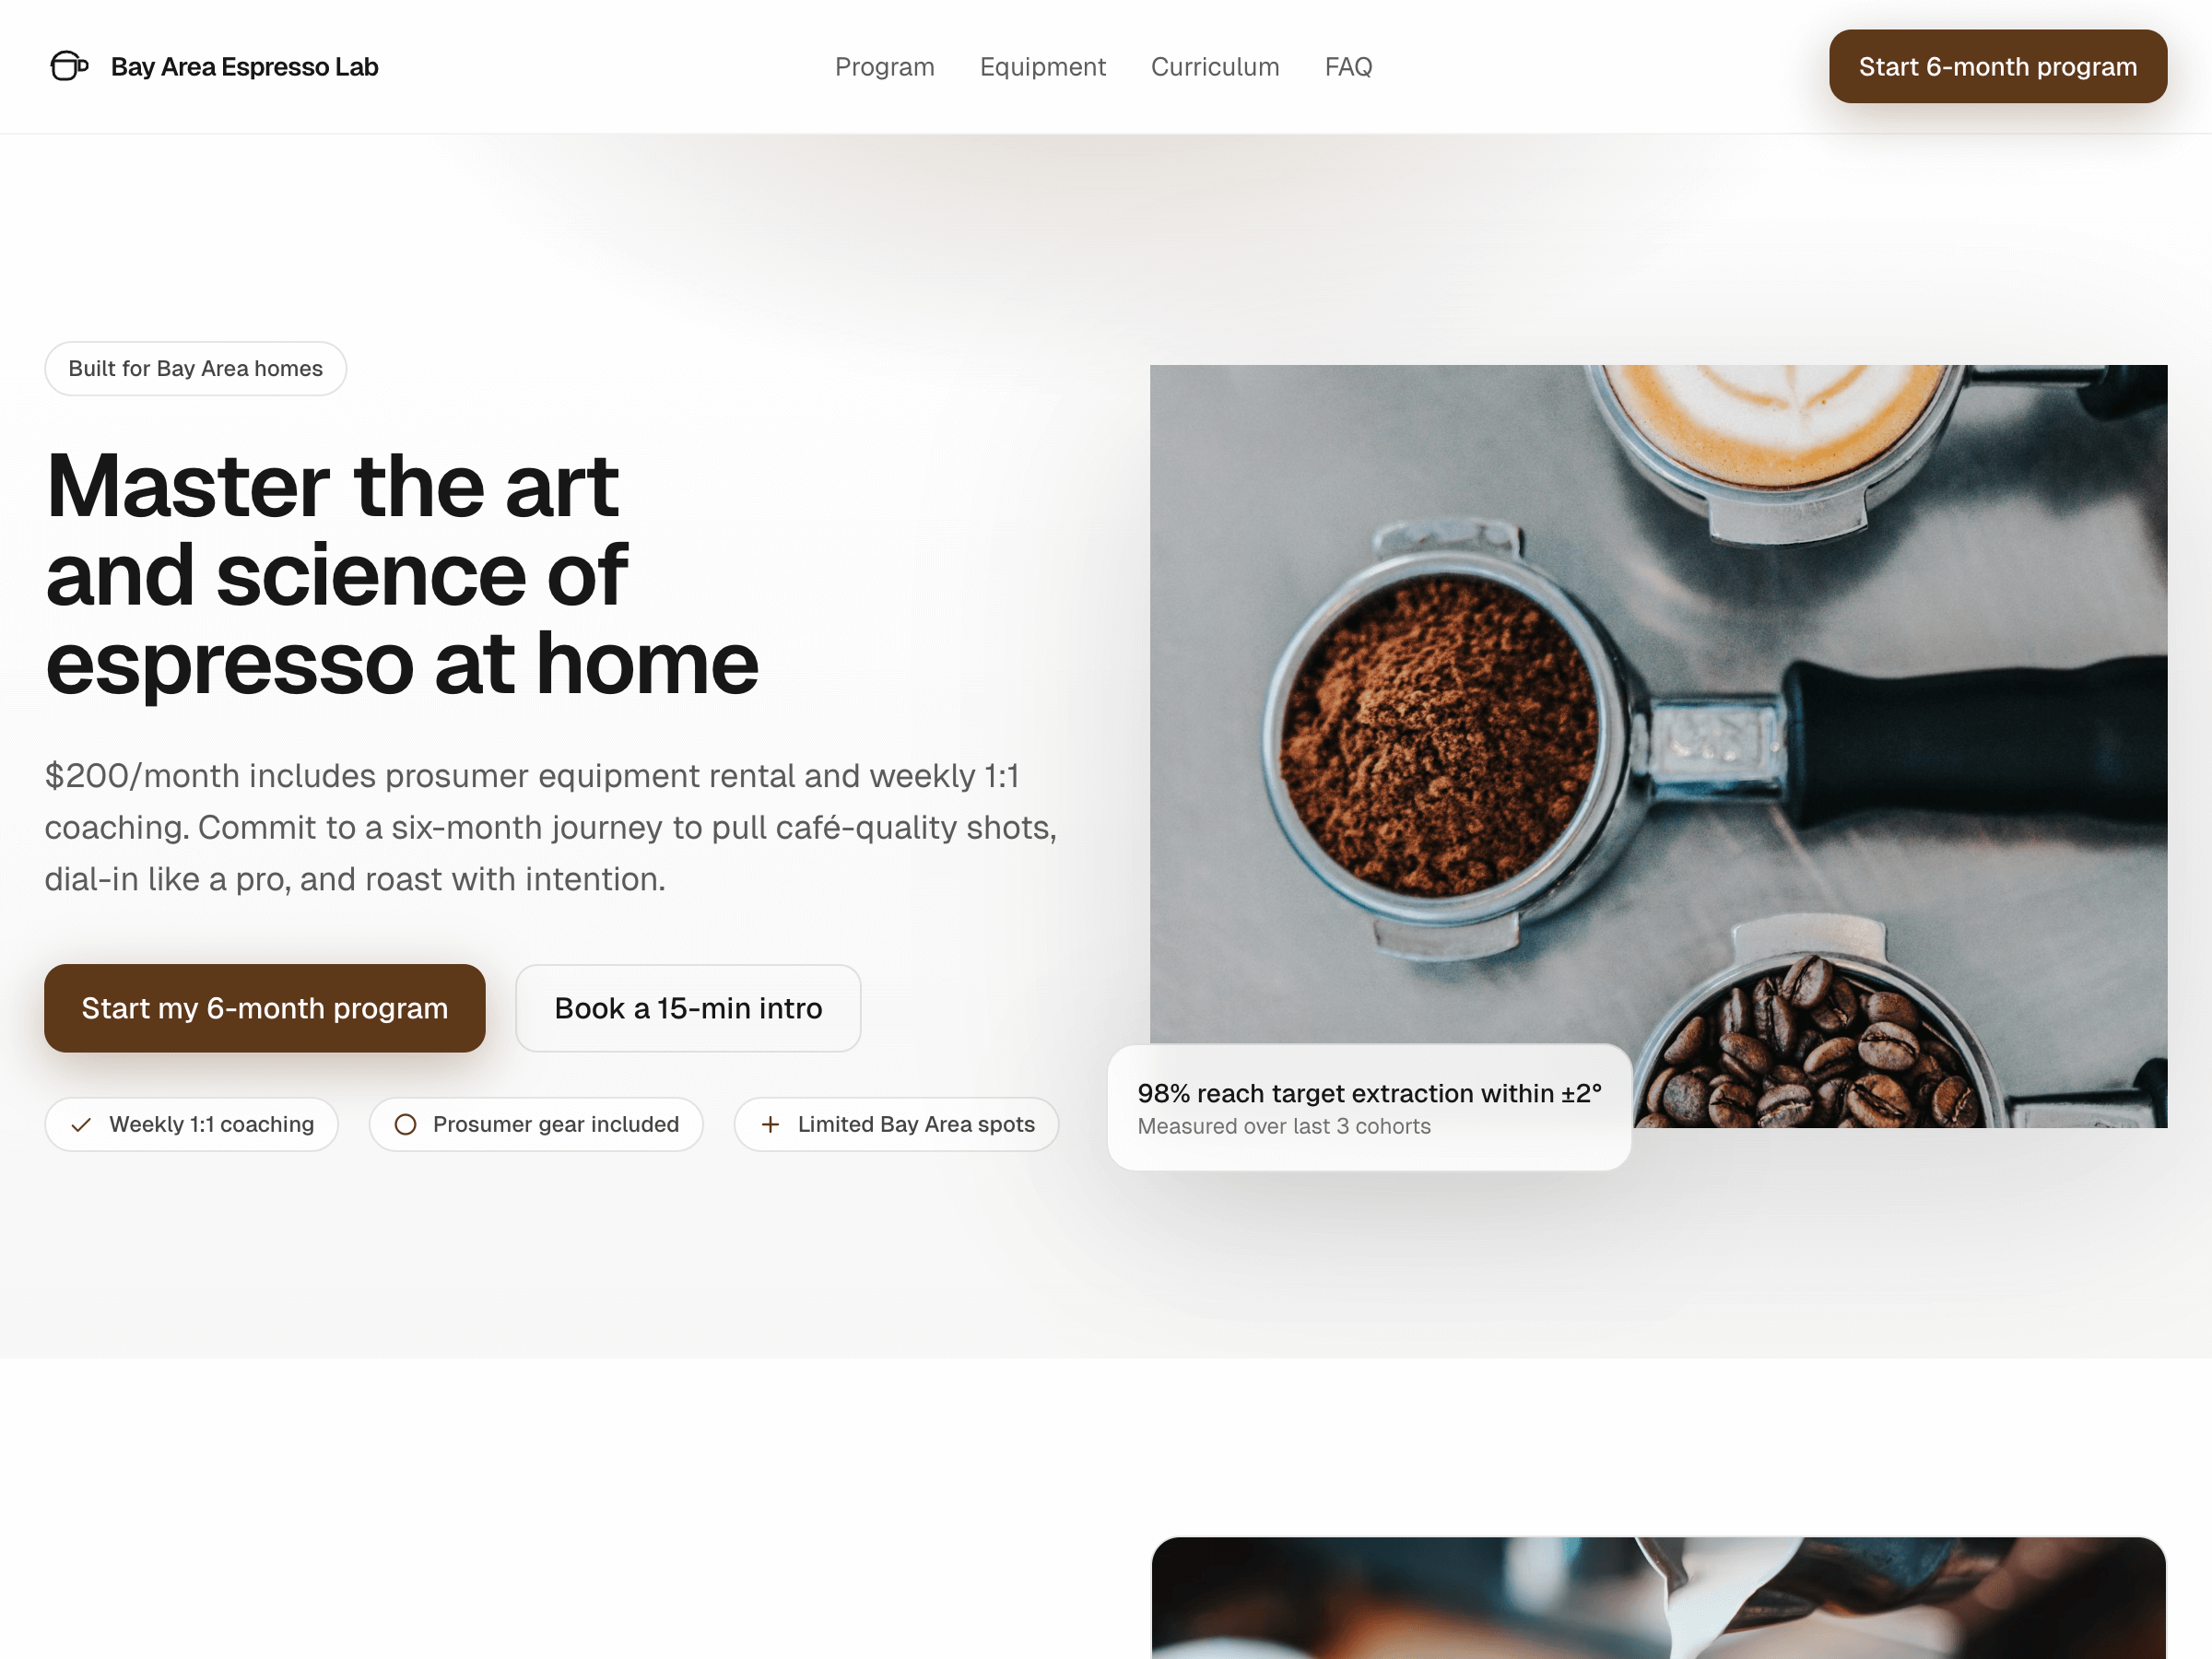
프런트엔드를 개발할 때는 Codex나 Responses API에서 gpt-6.1-sol 또는 gpt-6-astra 모델부터 사용해 보세요.
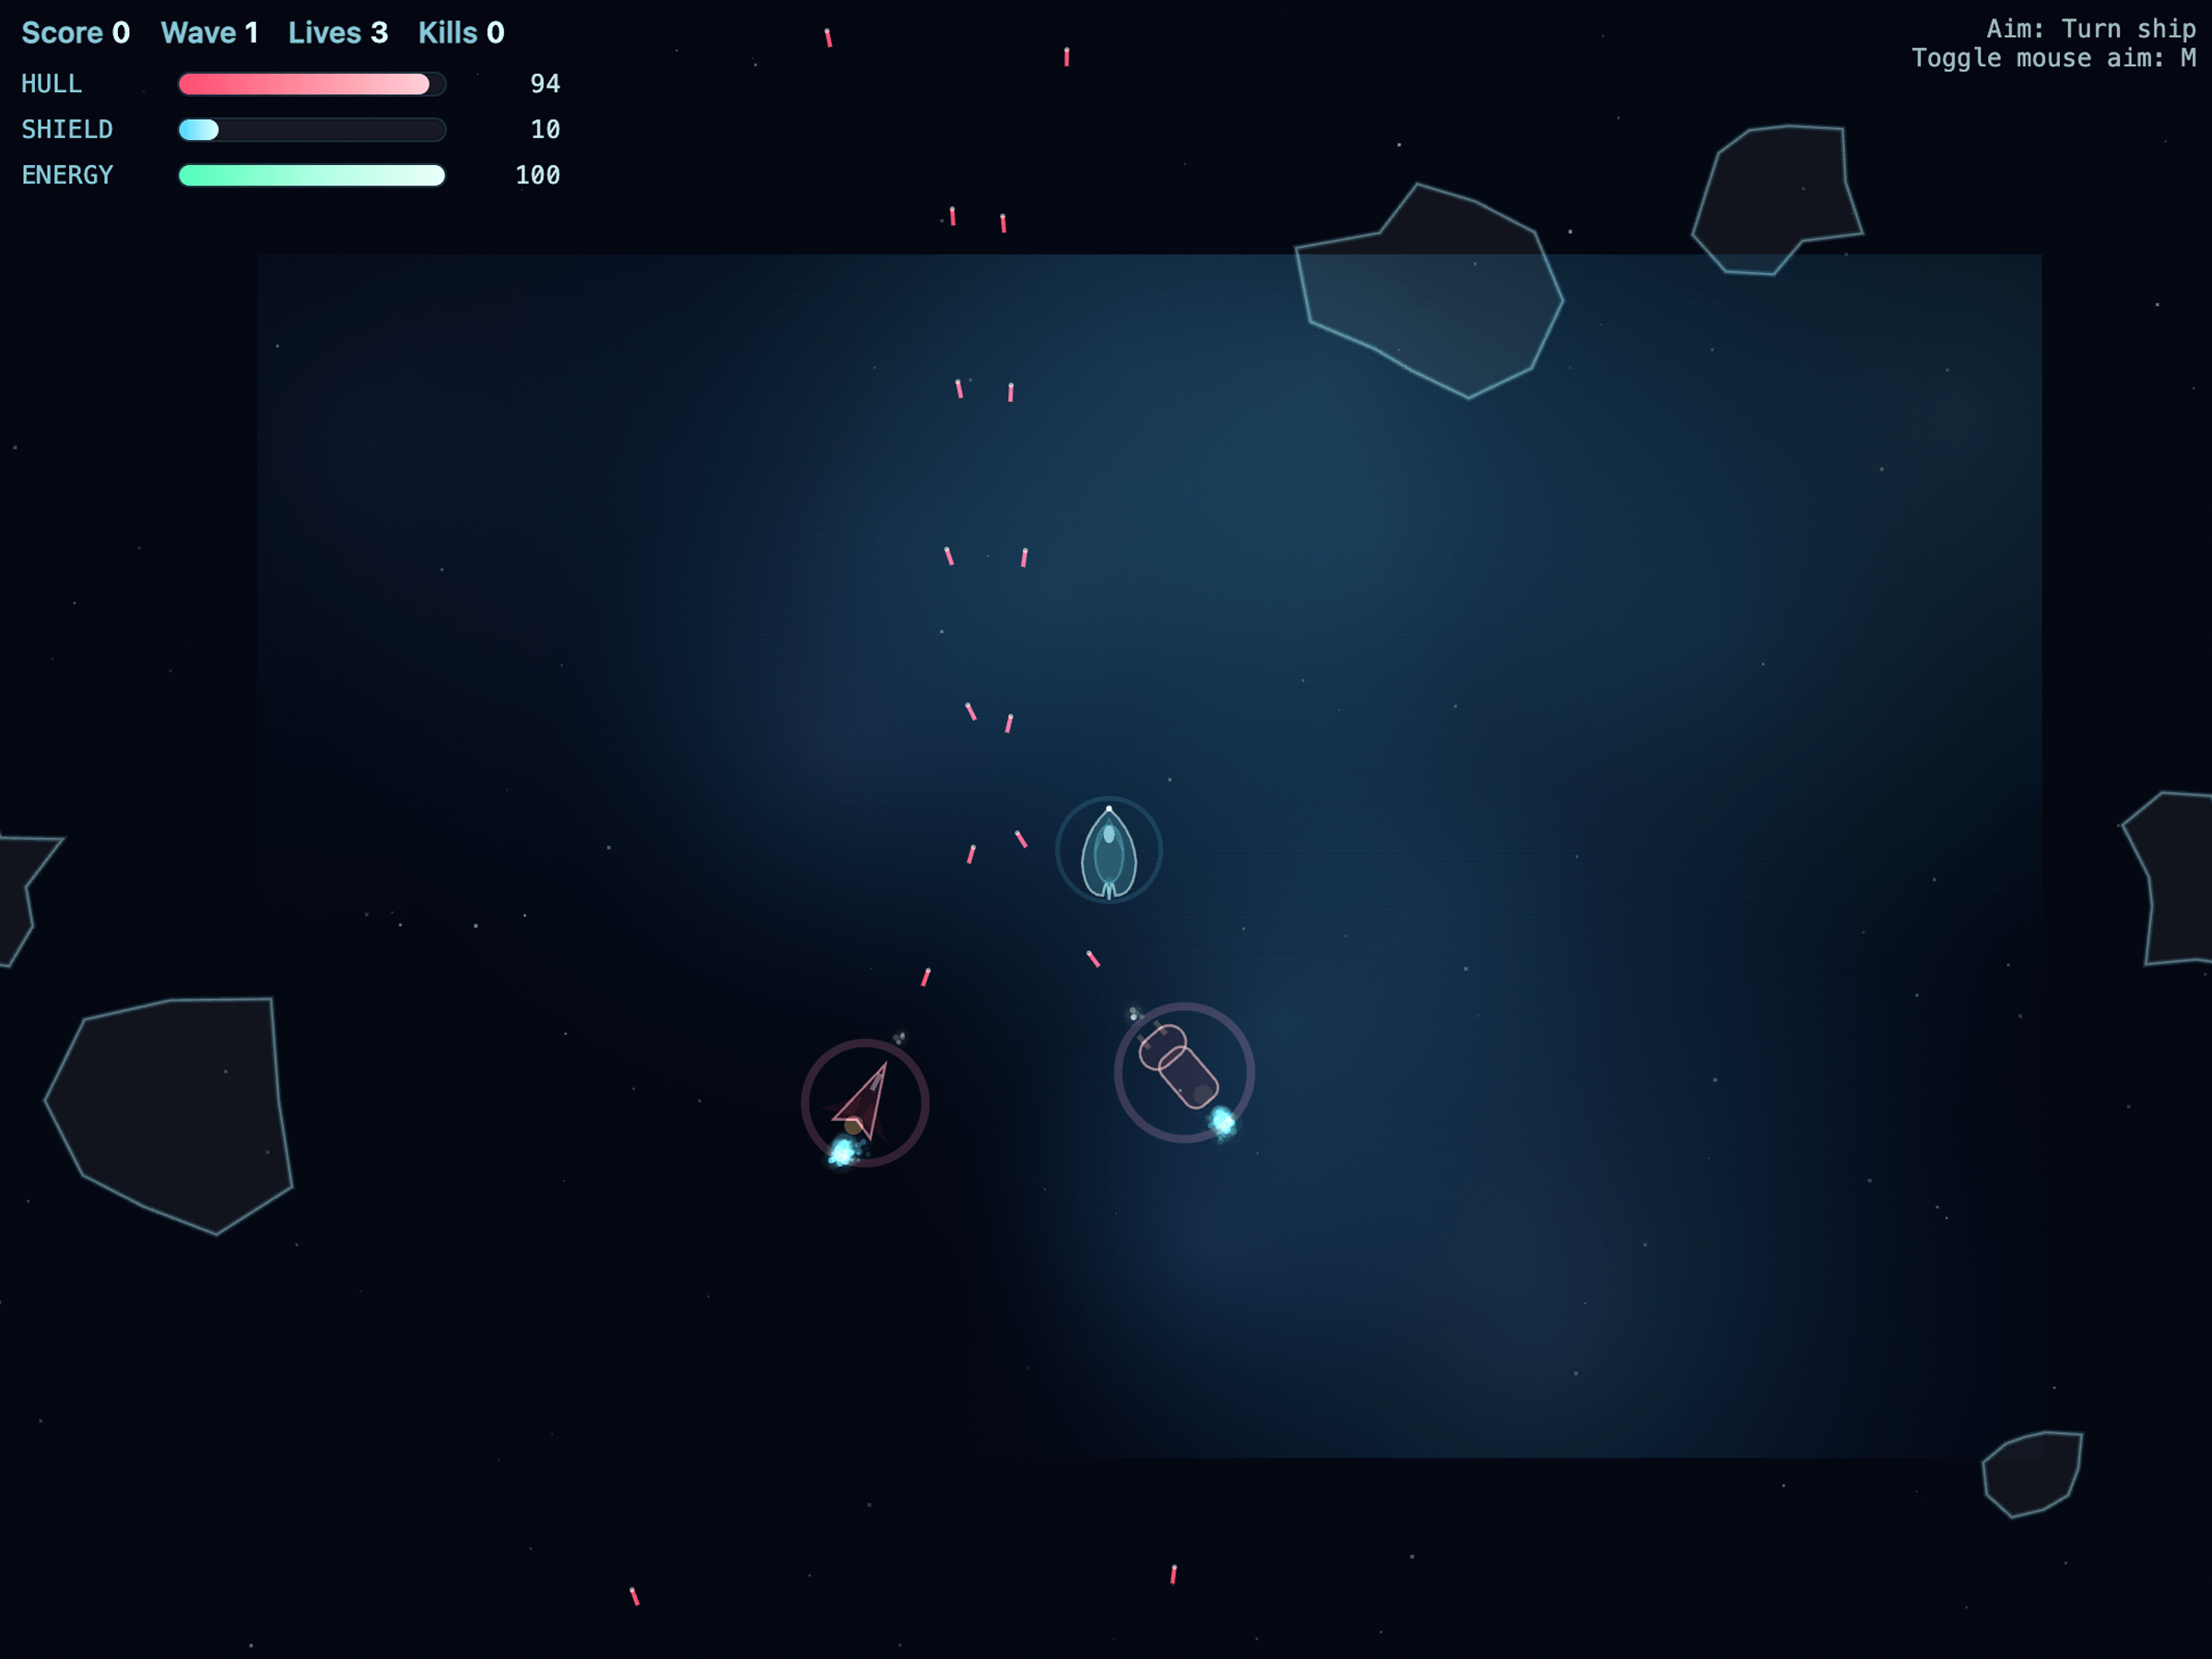
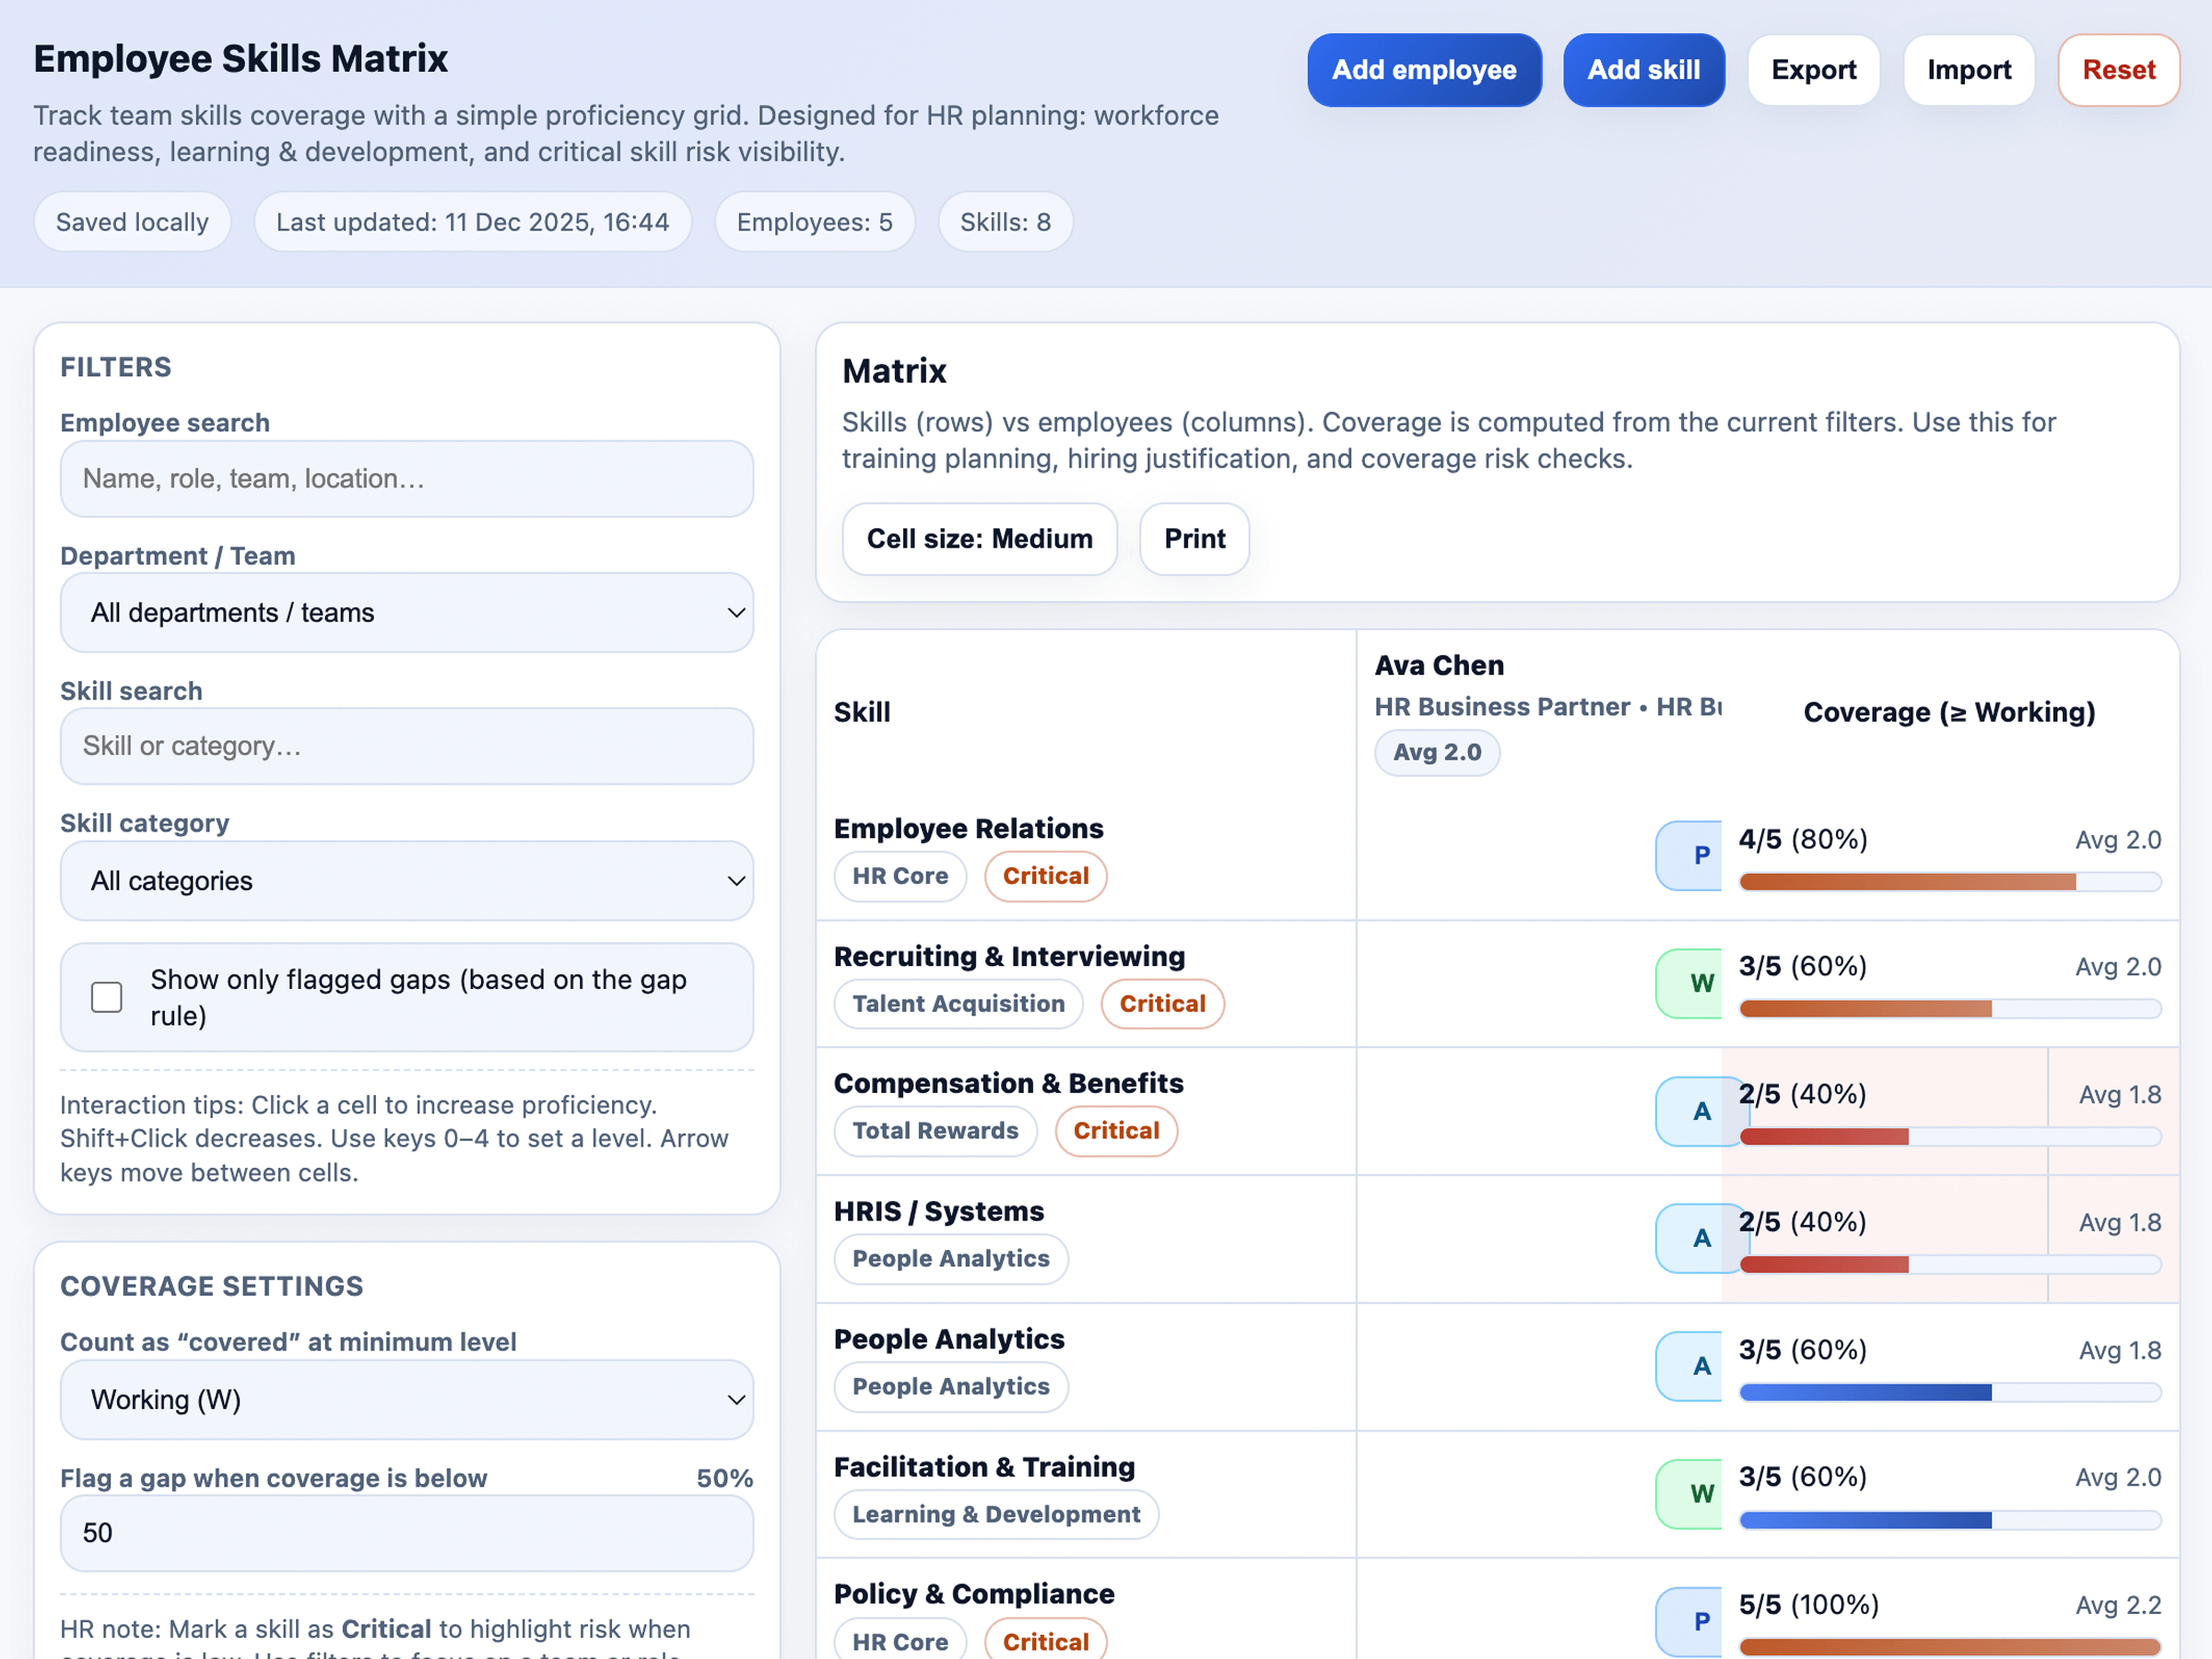
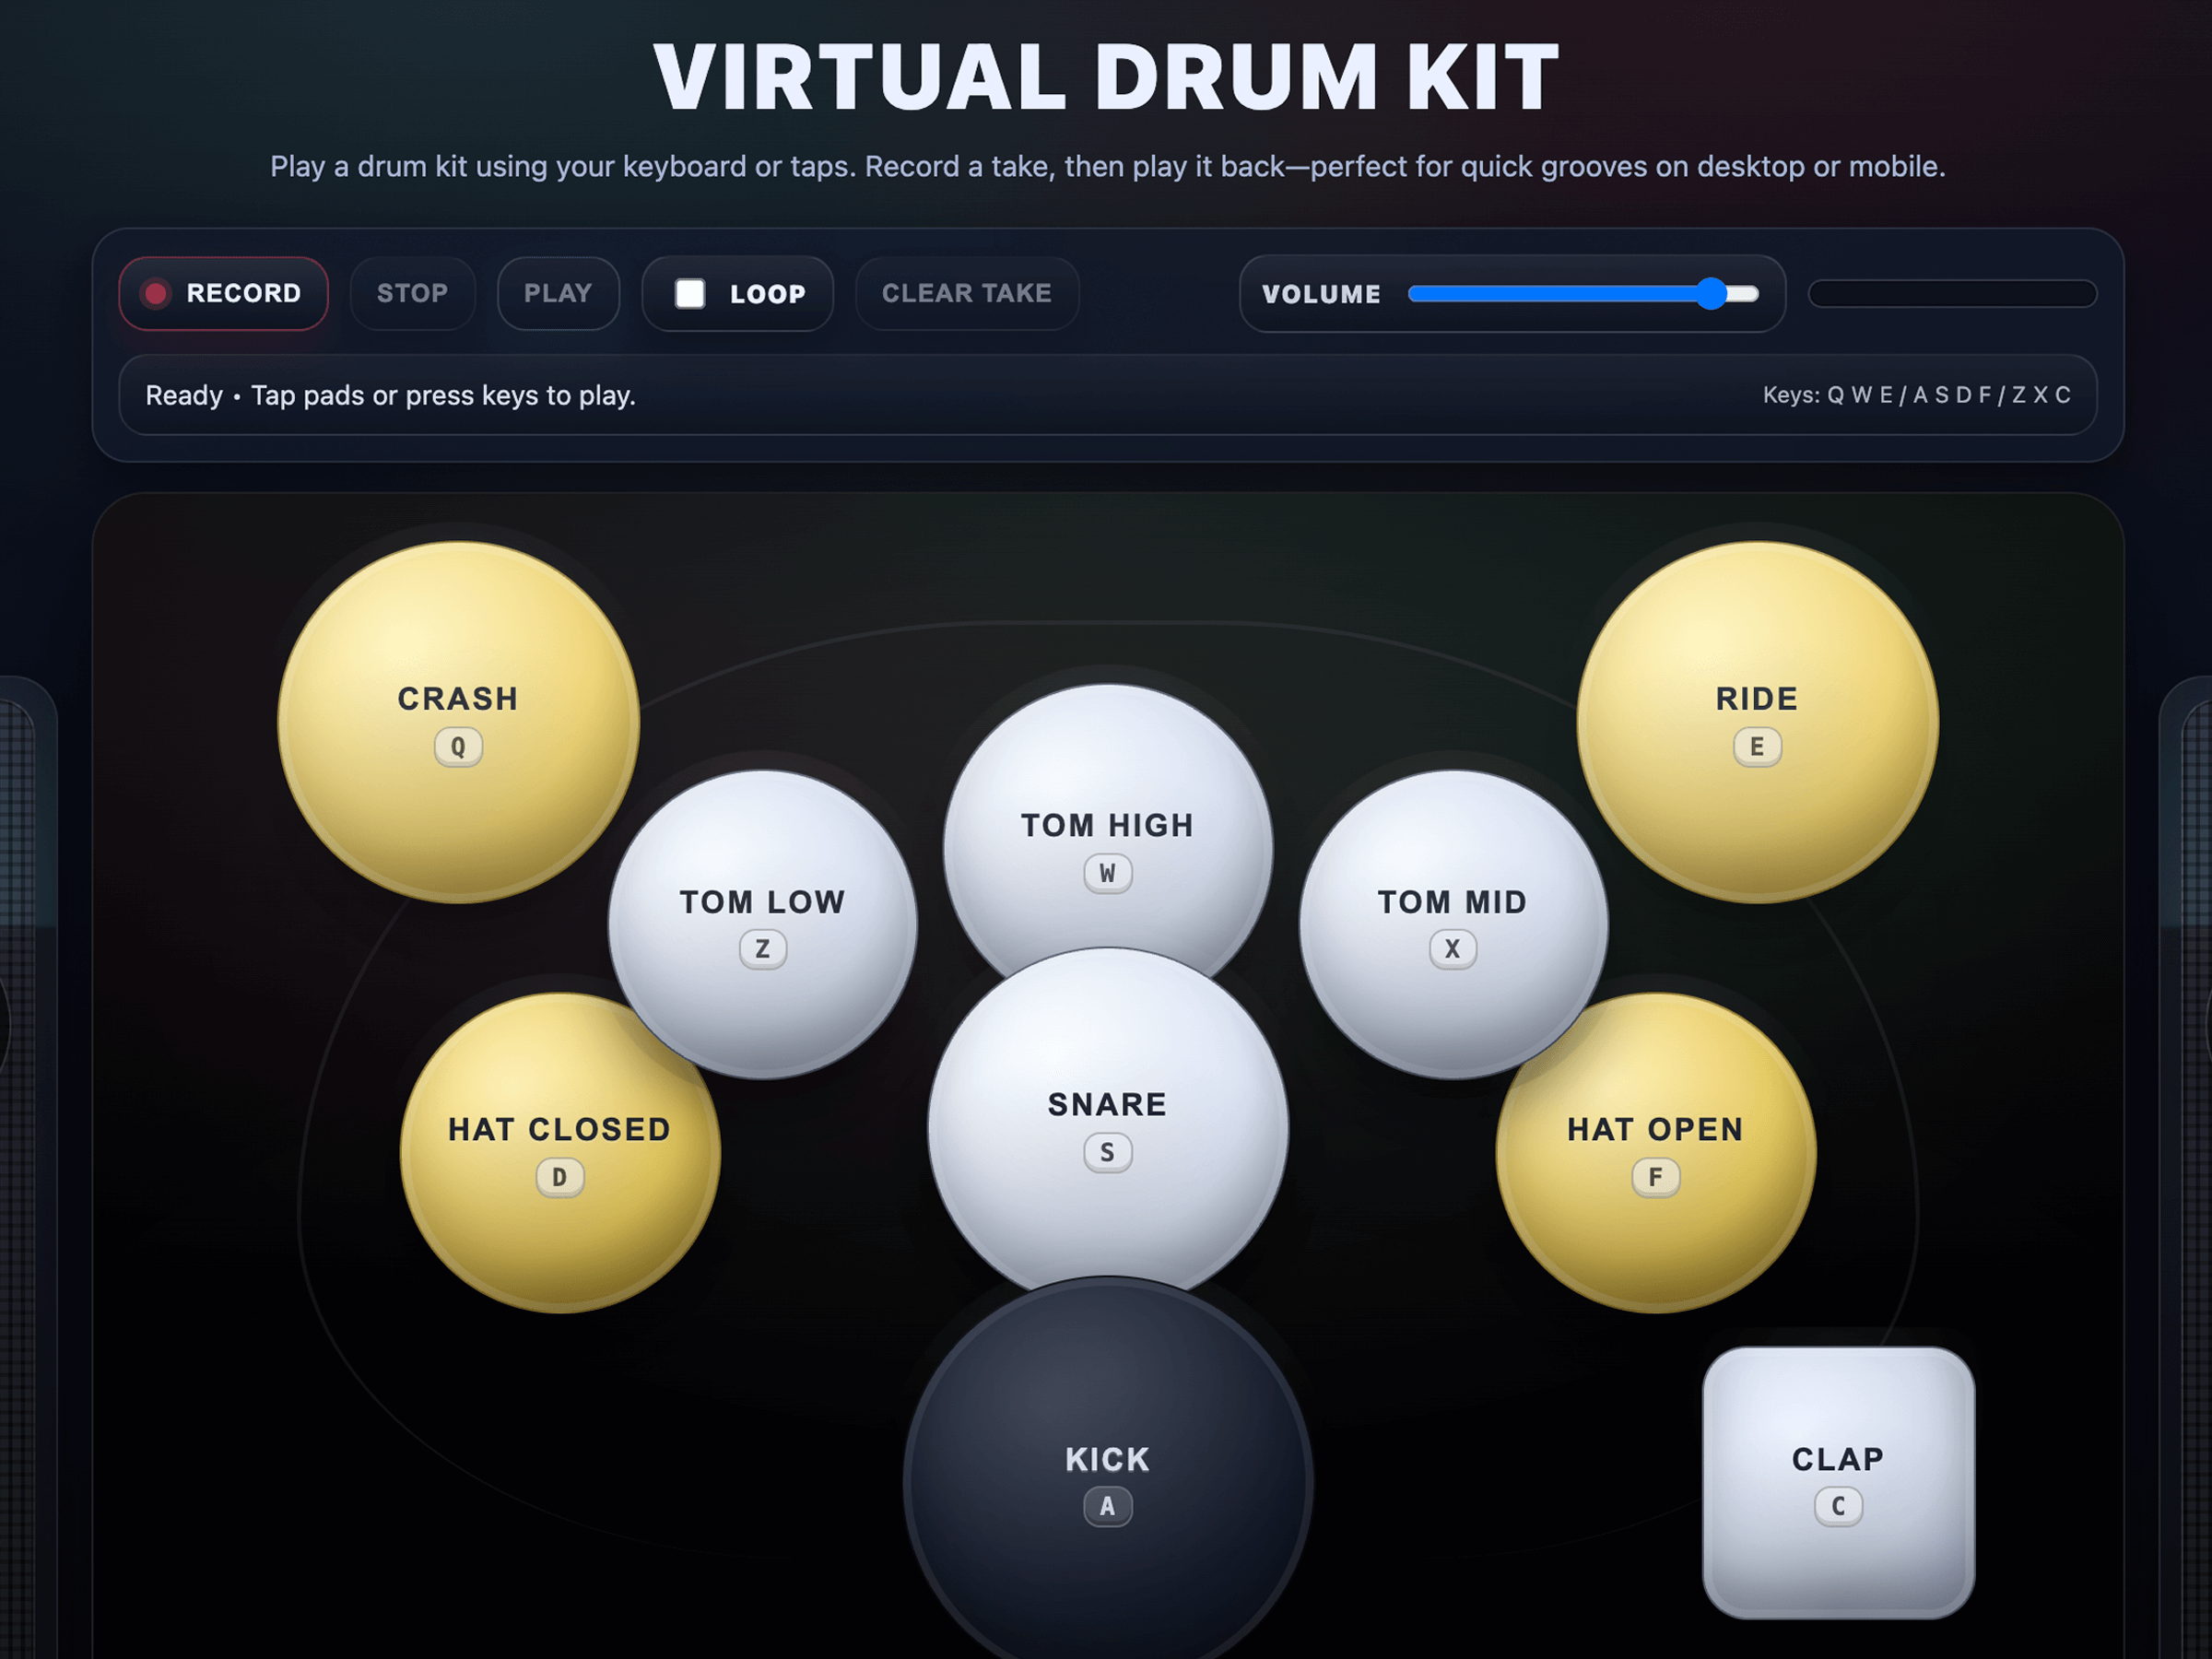
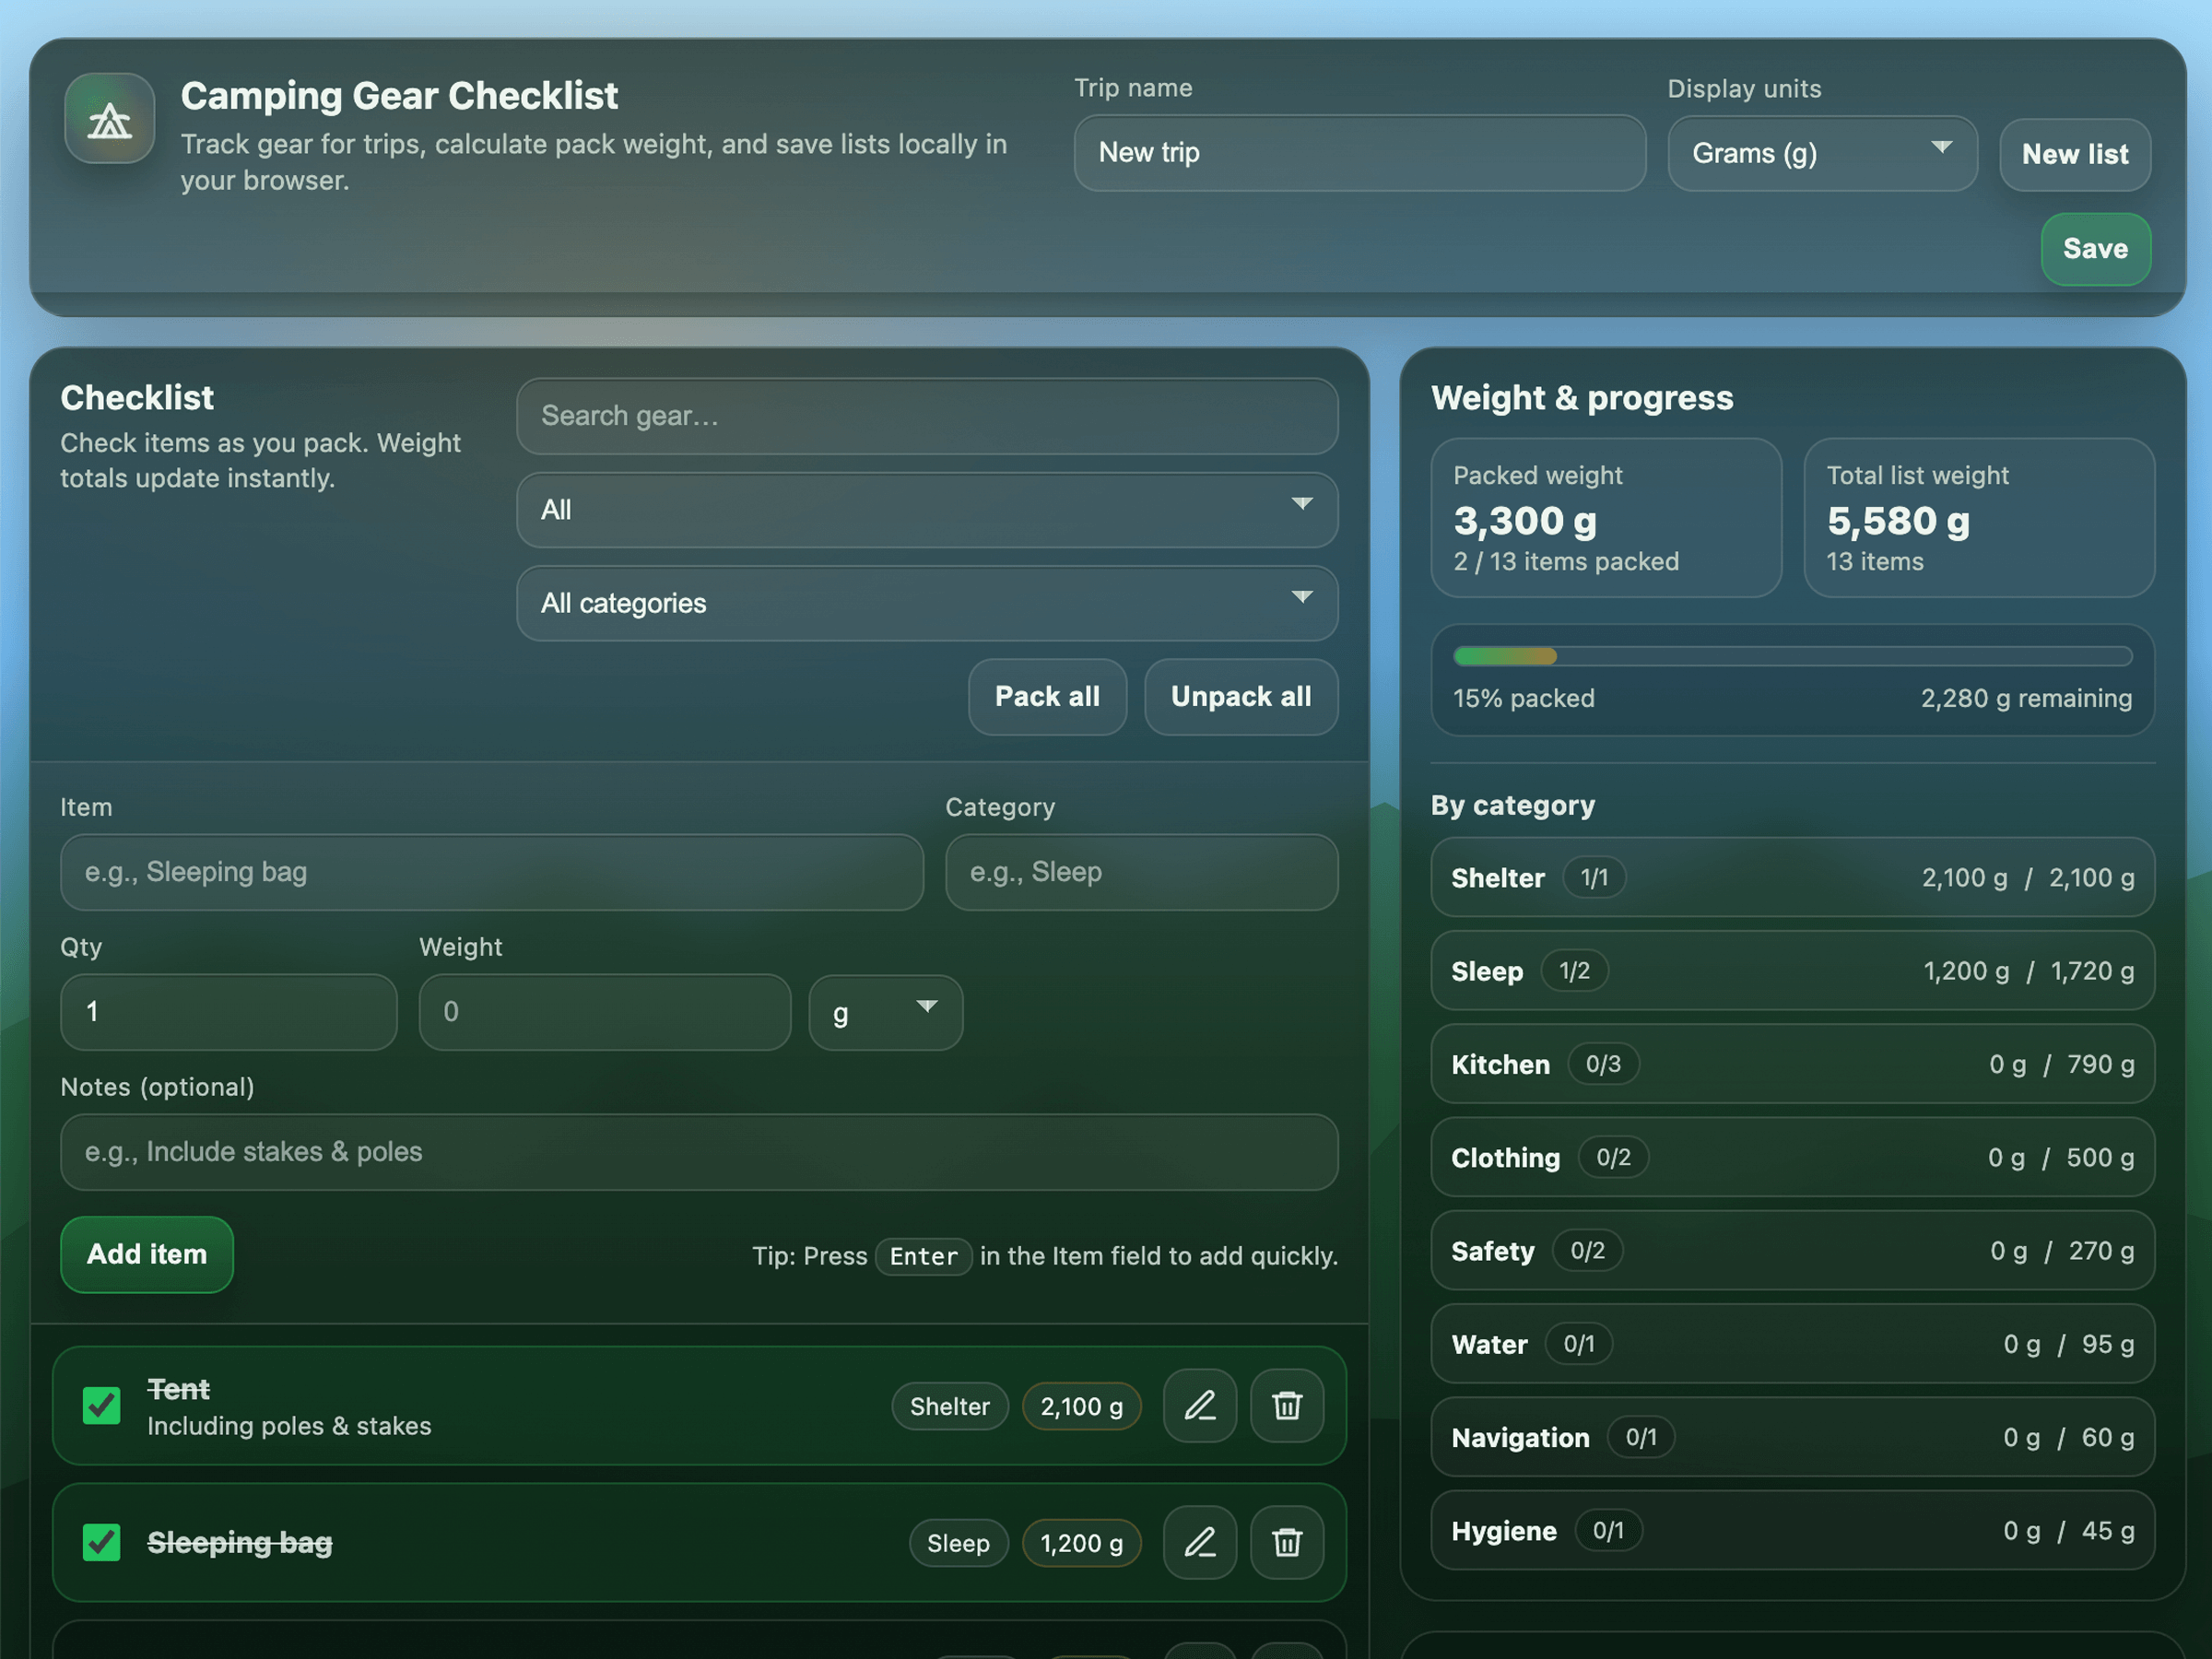
기존 GPT-5 갤러리에서는 각각 프롬프트 하나로 생성한 애플리케이션을 살펴볼 수 있습니다. 갤러리의 프롬프트를 출발점으로 삼아 배포할 모델에서 실행하고 결과를 평가하세요.
- ChatGPT 문서에서 Codex로 할 수 있는 일을 알아보고, 원하는 인터페이스에서 Codex를 설정하는 방법과 그 밖의 세부 정보를 확인하세요.
- 모델 가이드에서 모델 선택 방법, 기능, 마이그레이션 지침과 코딩 및 에이전트 작업에 효과적인 프롬프트 패턴을 살펴보세요.
- 각 모델 페이지에서
gpt-6-astra 모델과 gpt-6.1-sol 모델을 비교해 보세요.