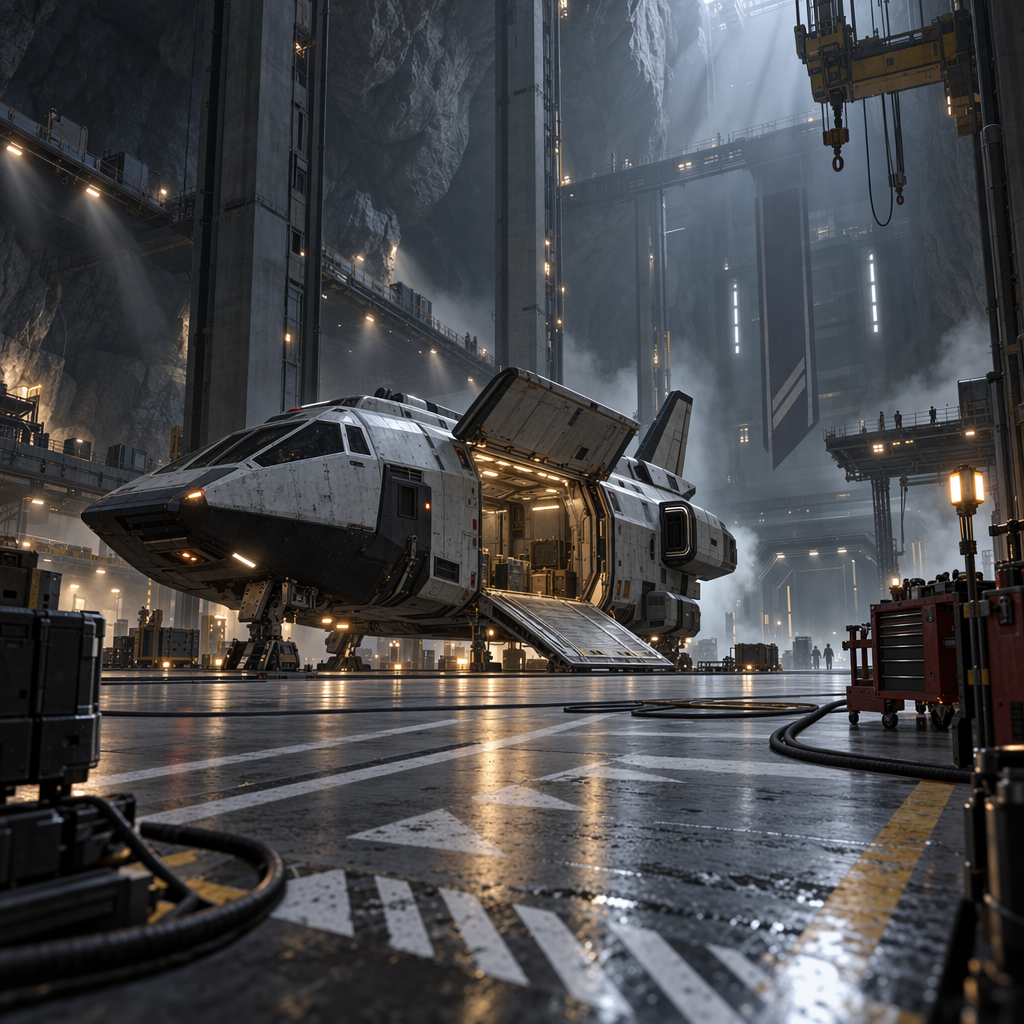
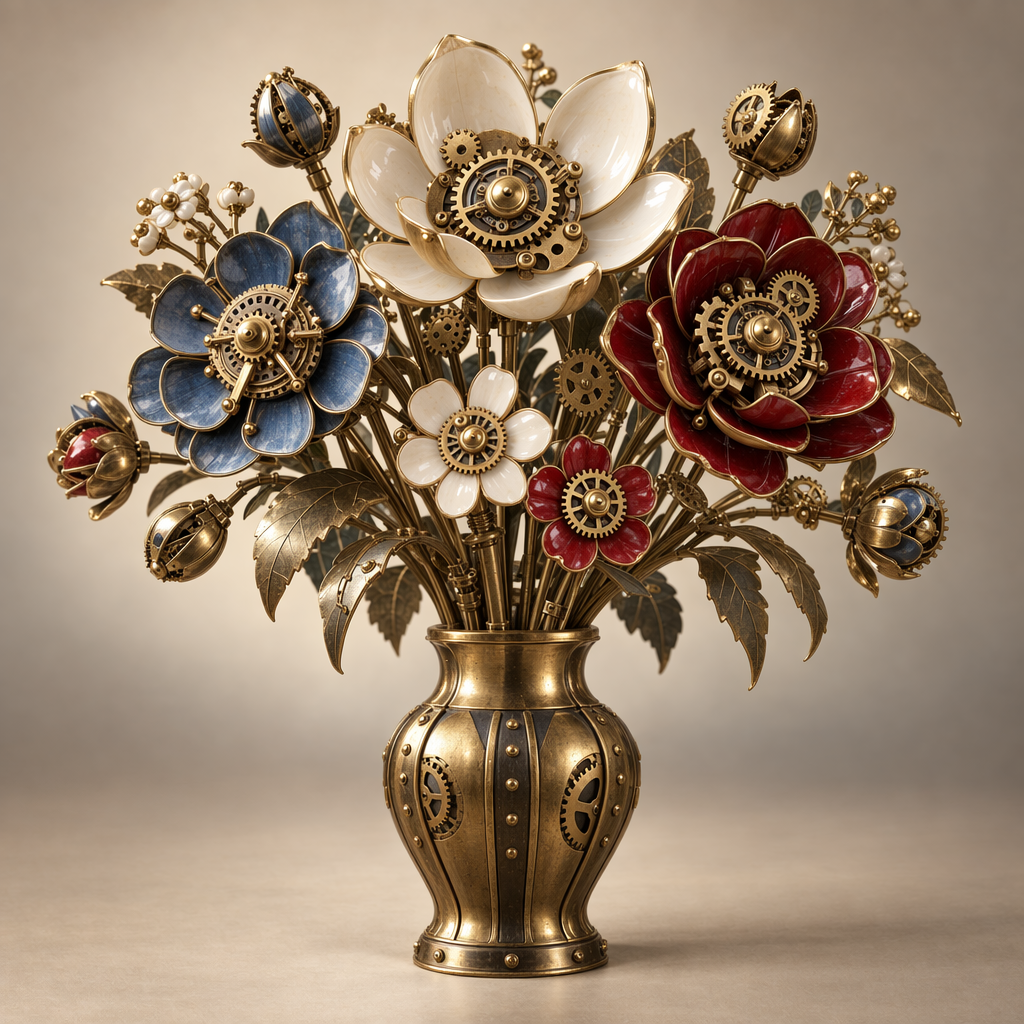
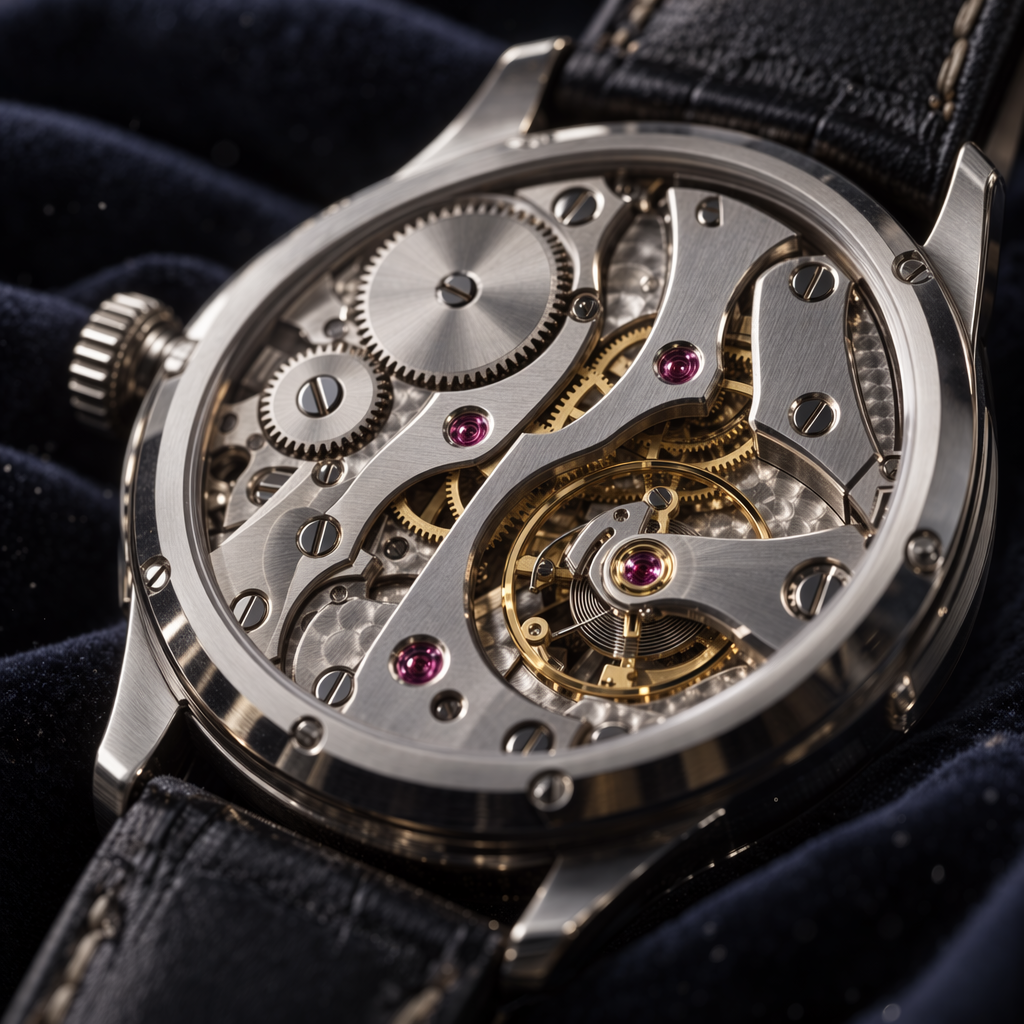
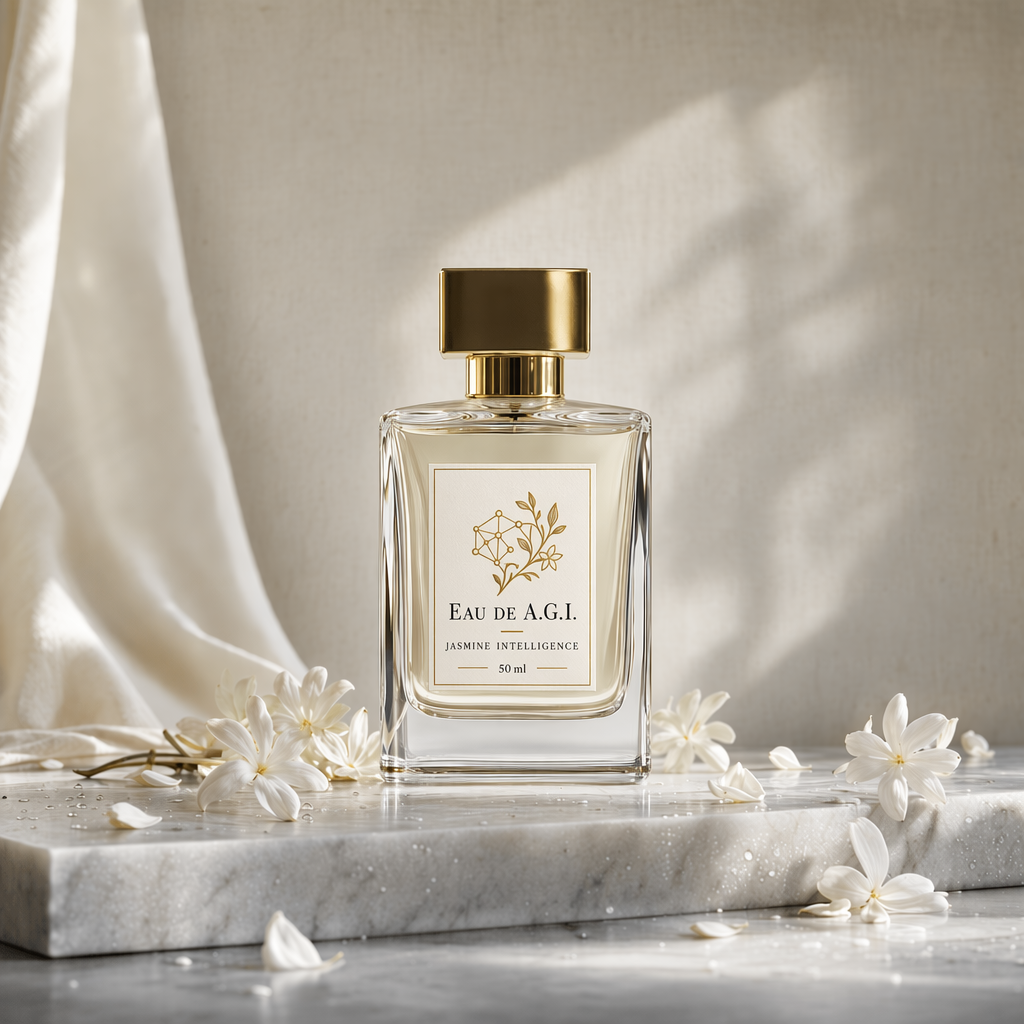
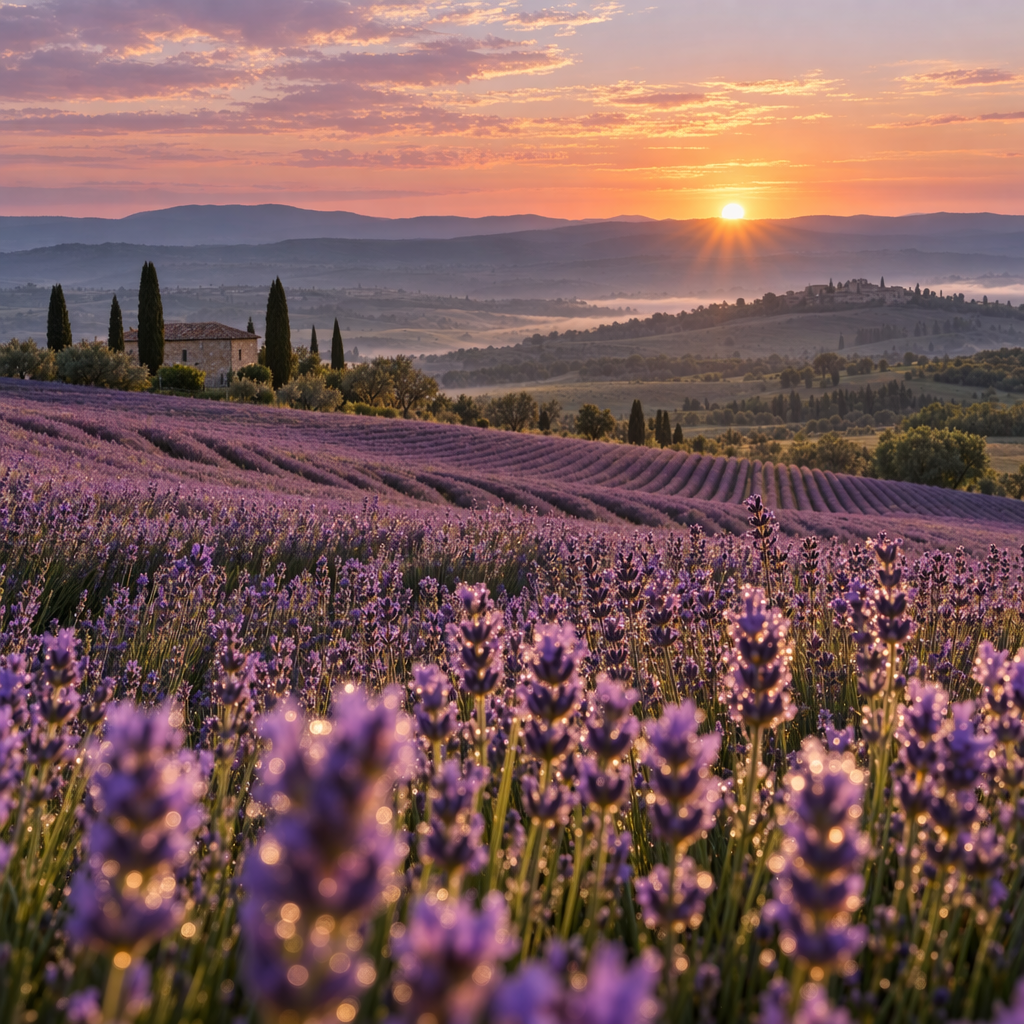
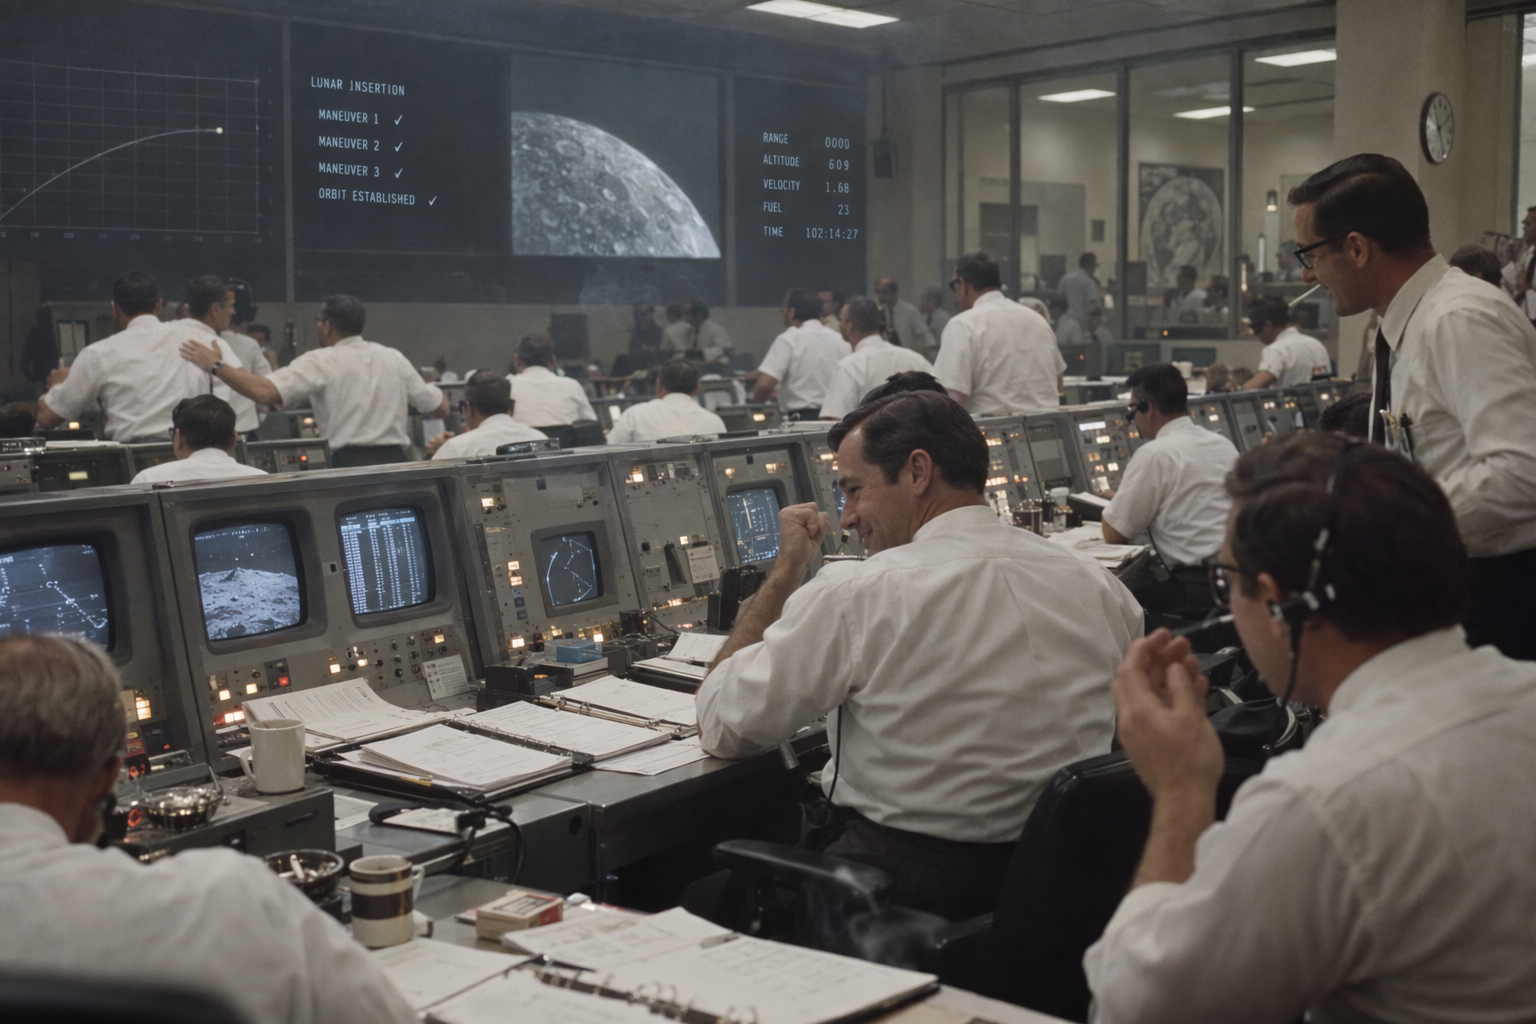
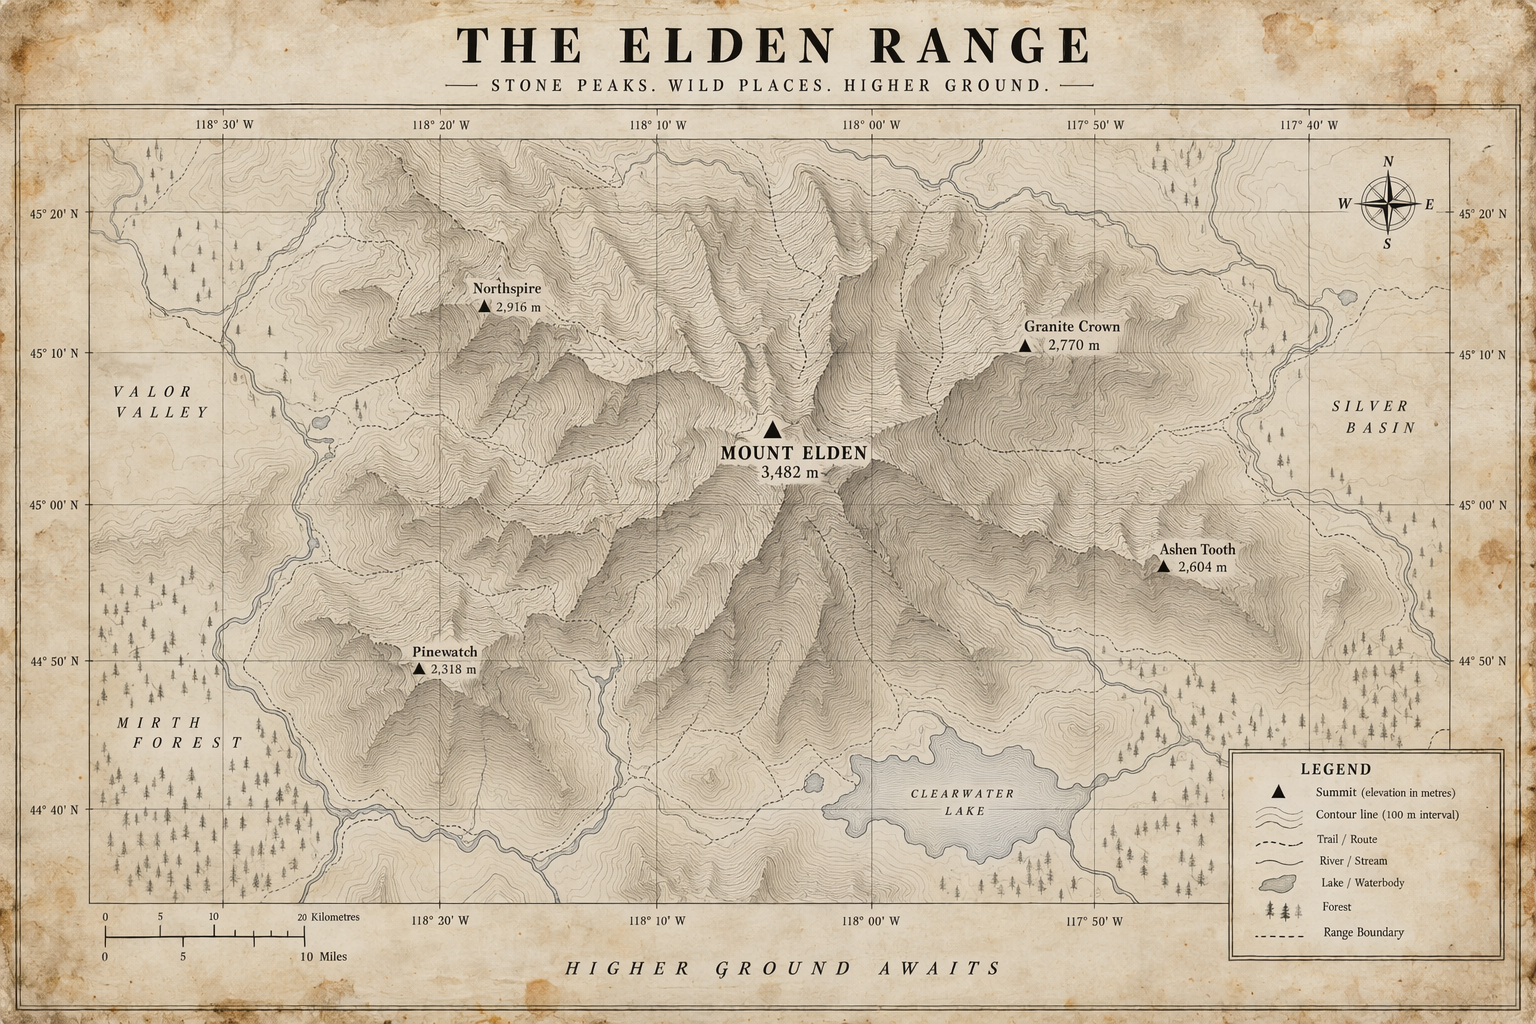
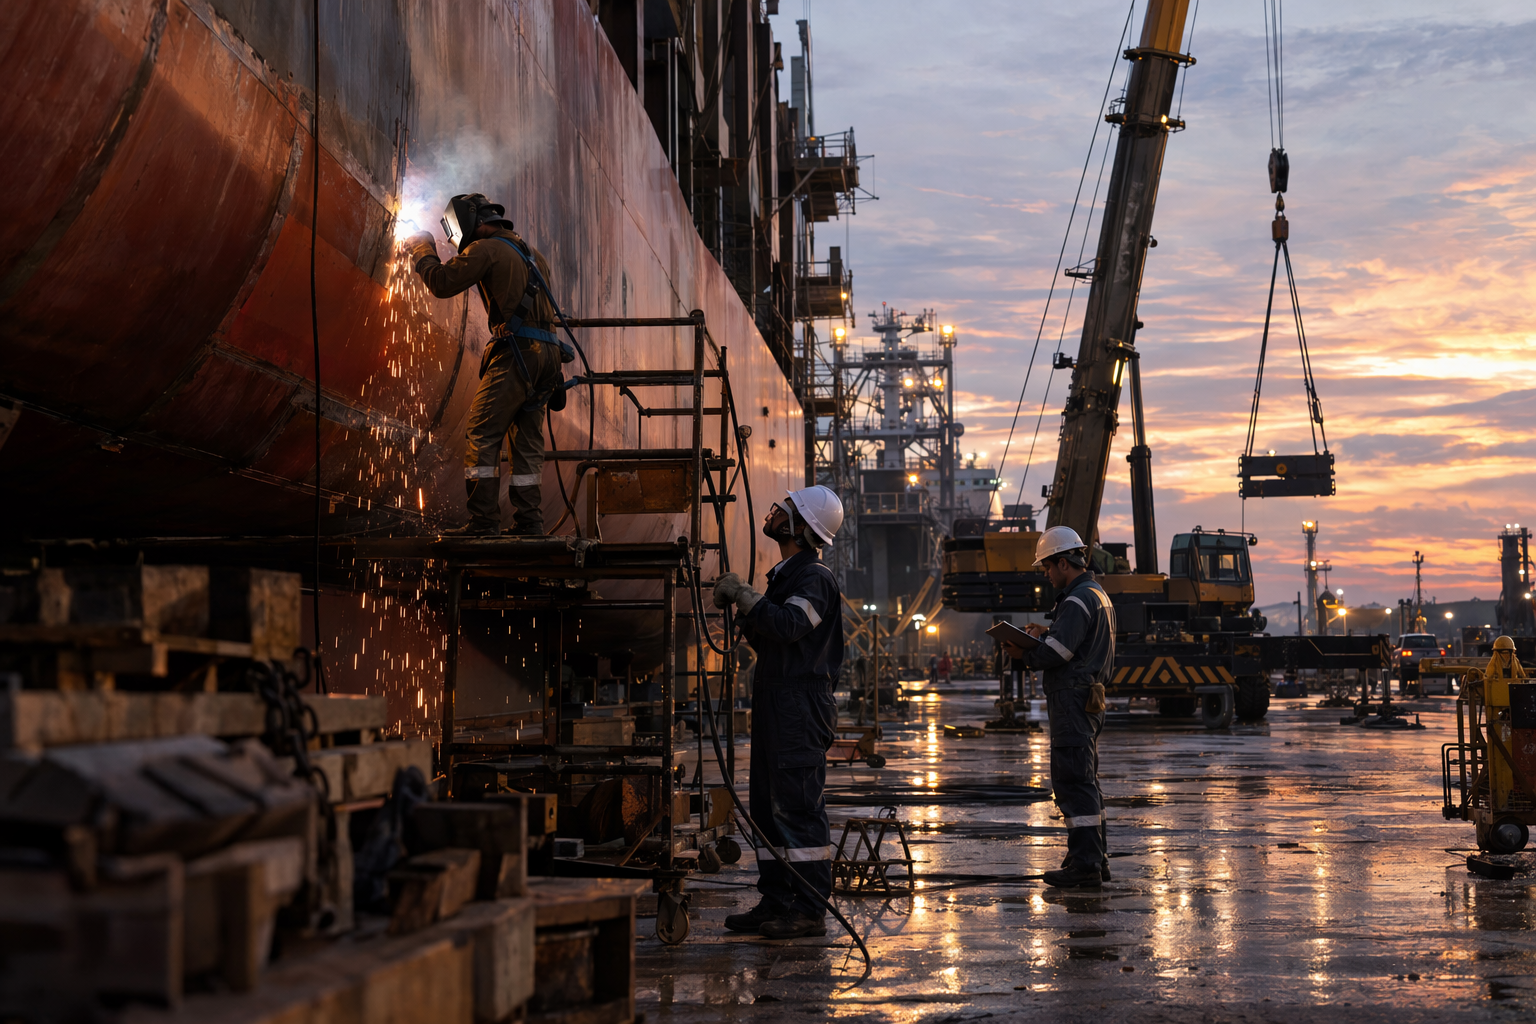
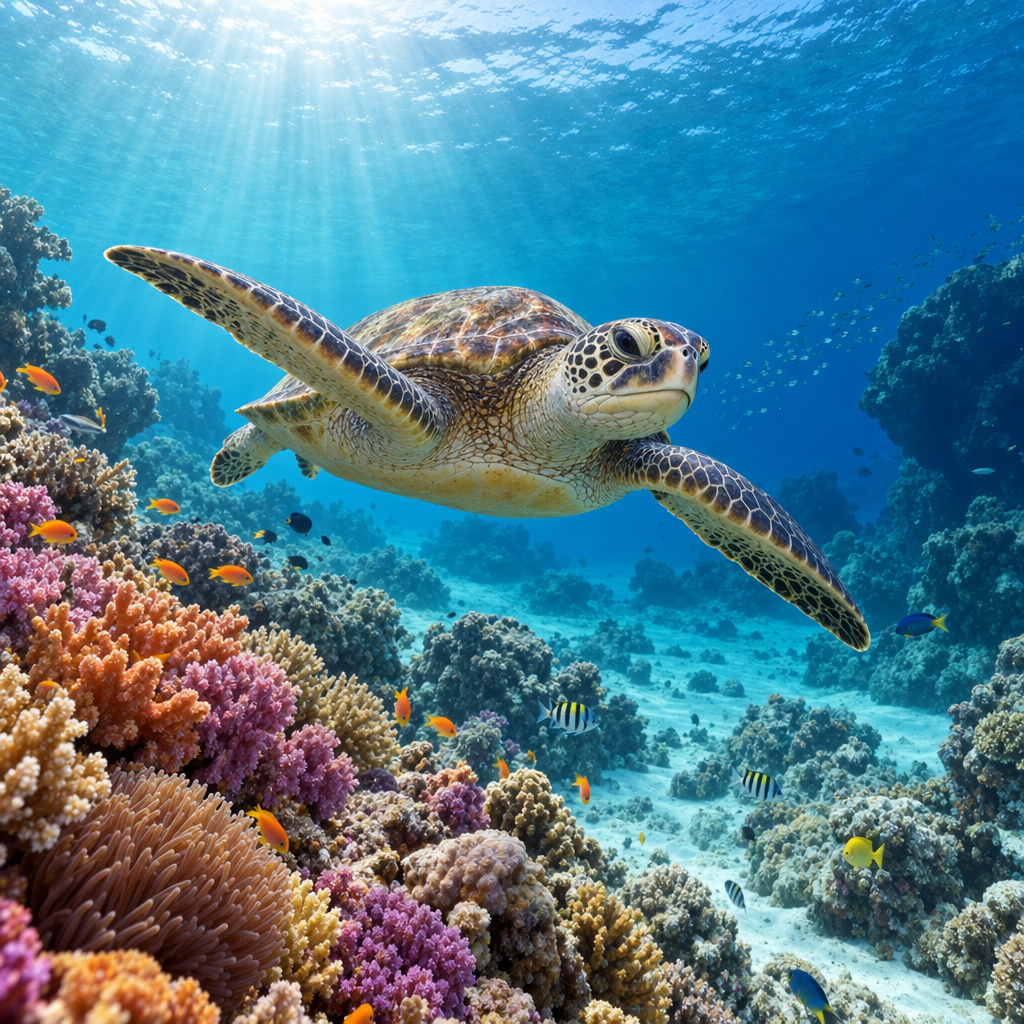
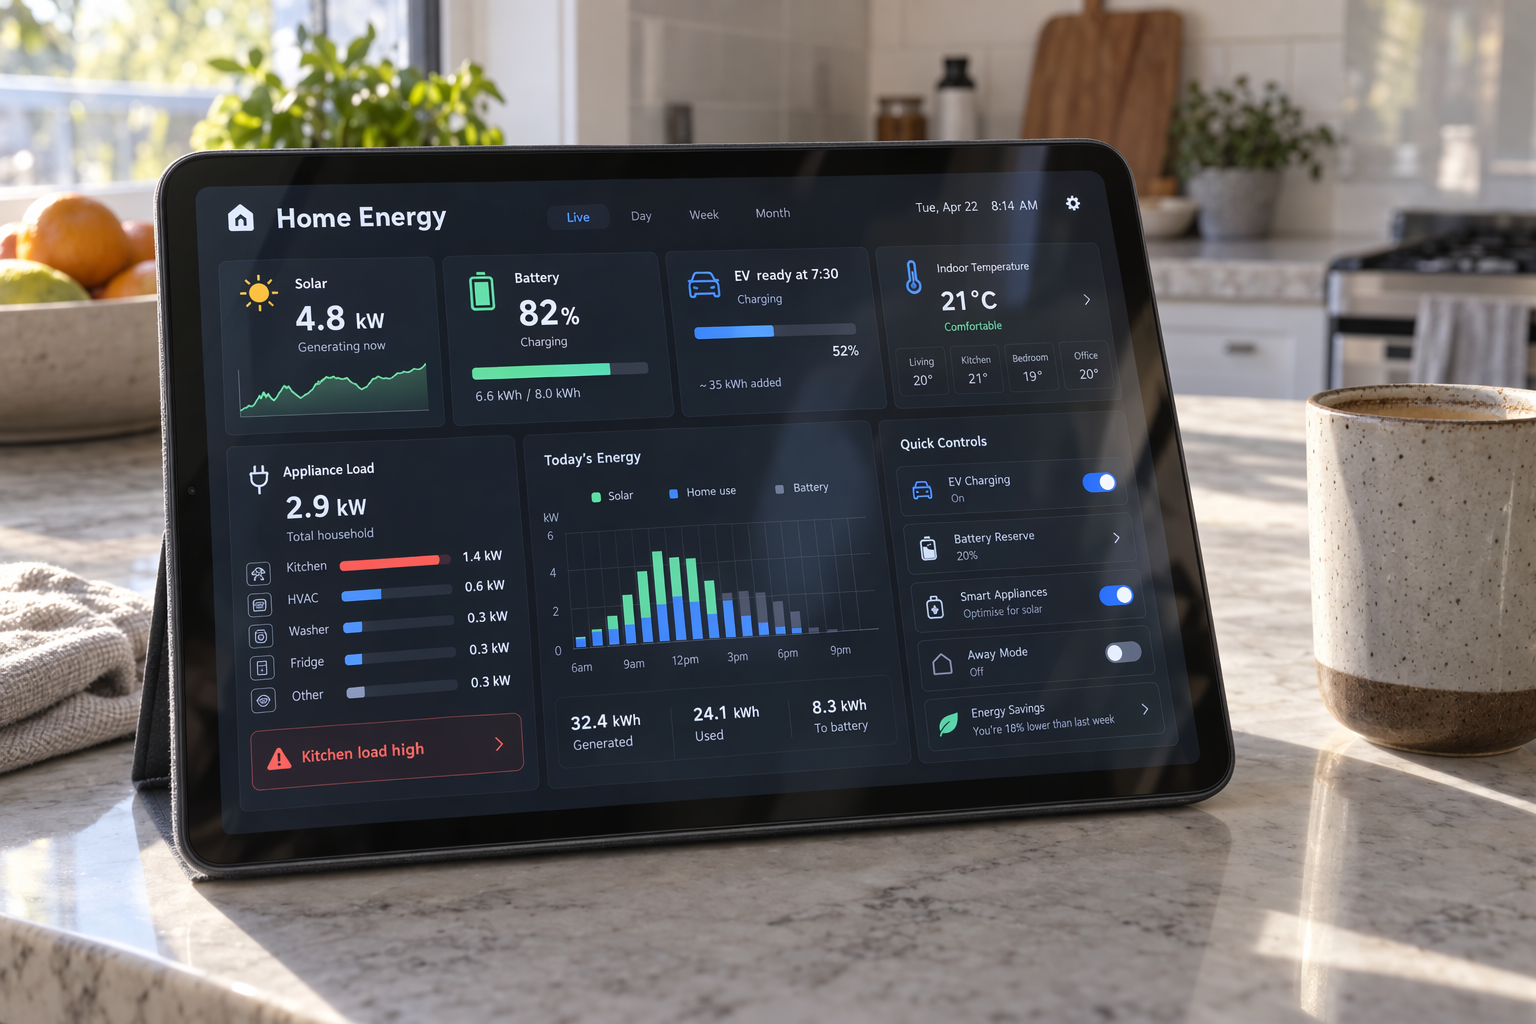
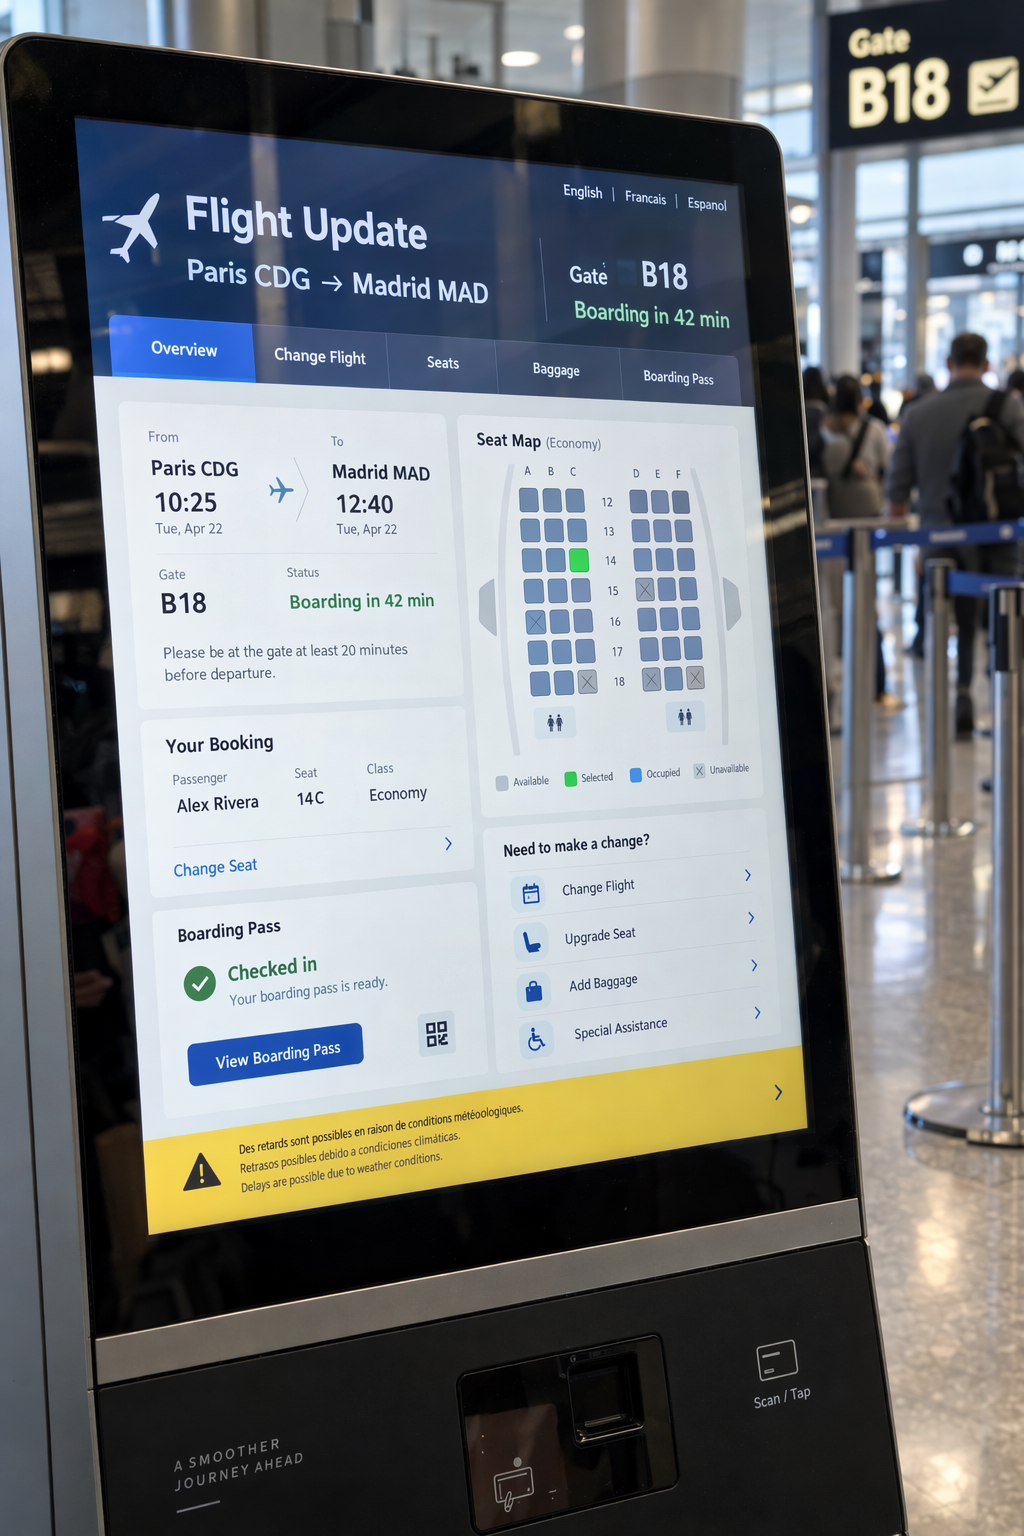
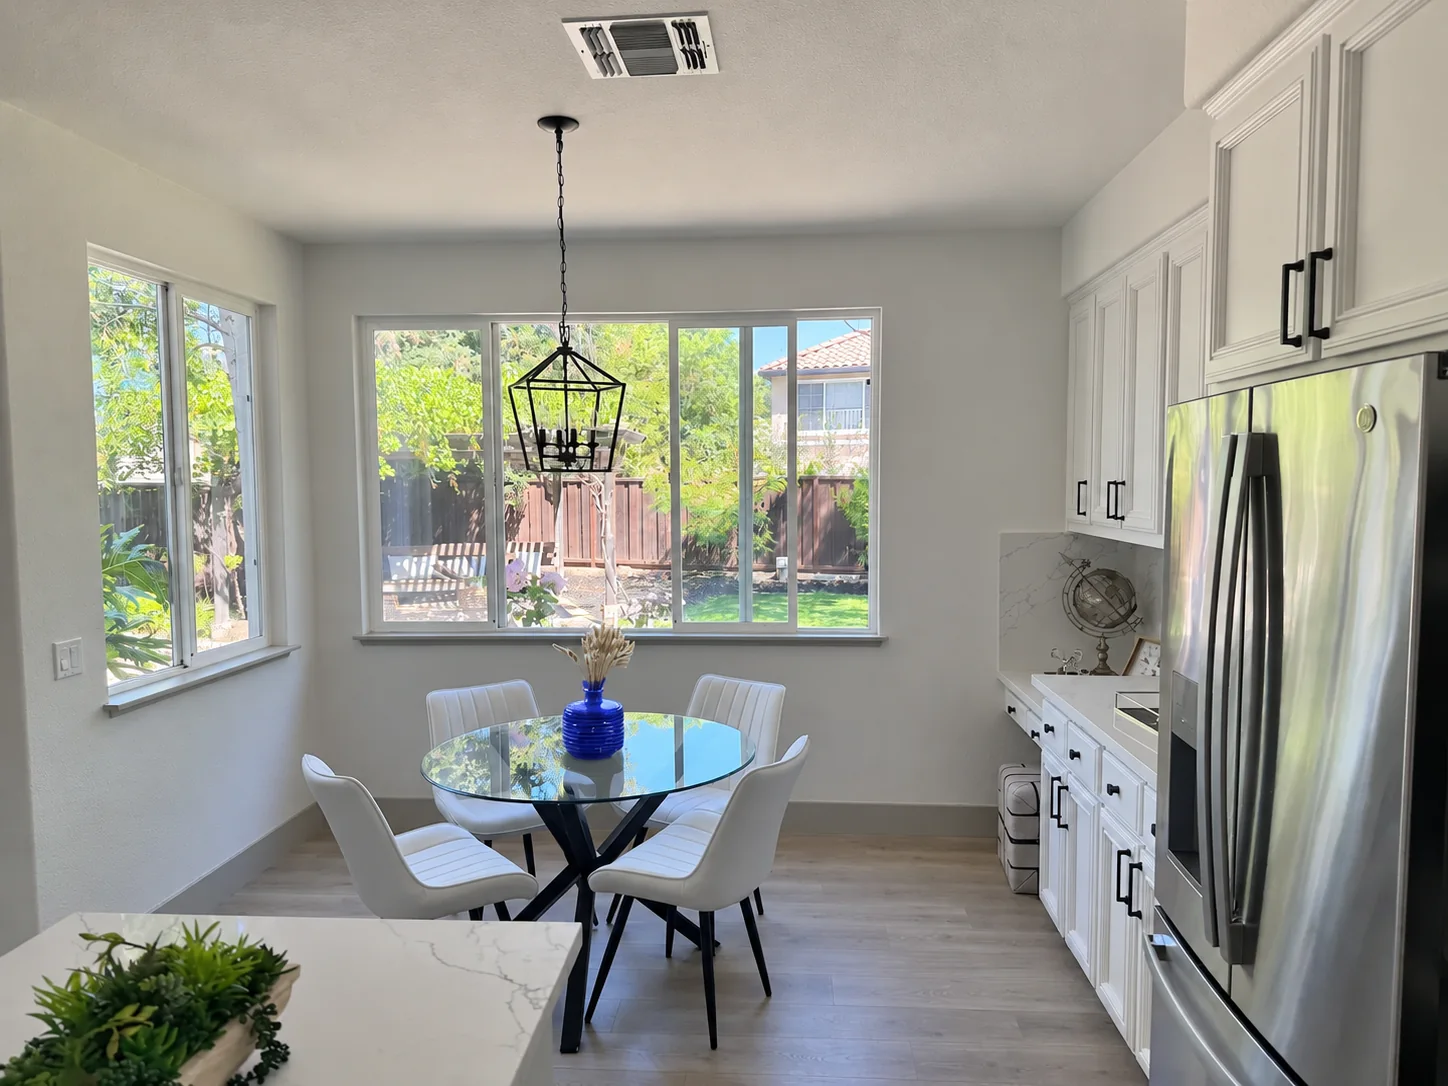
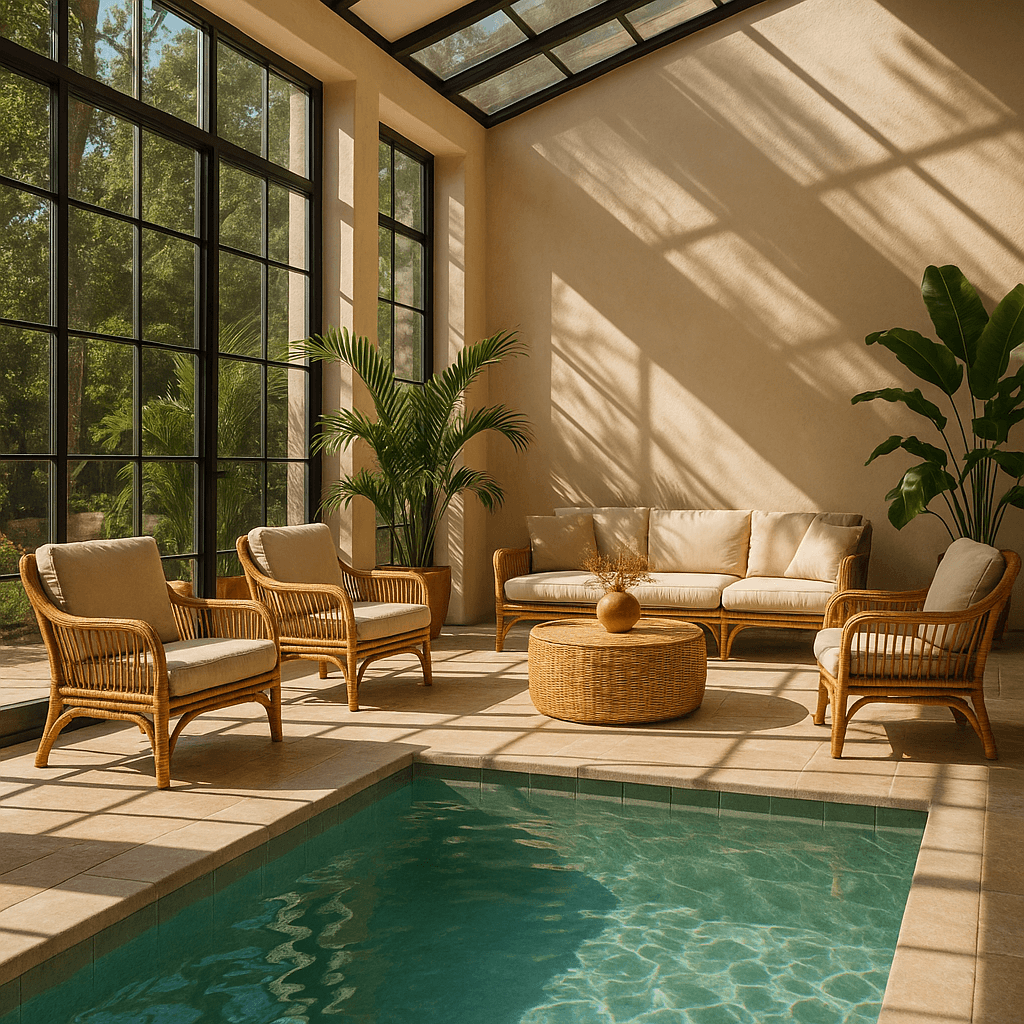
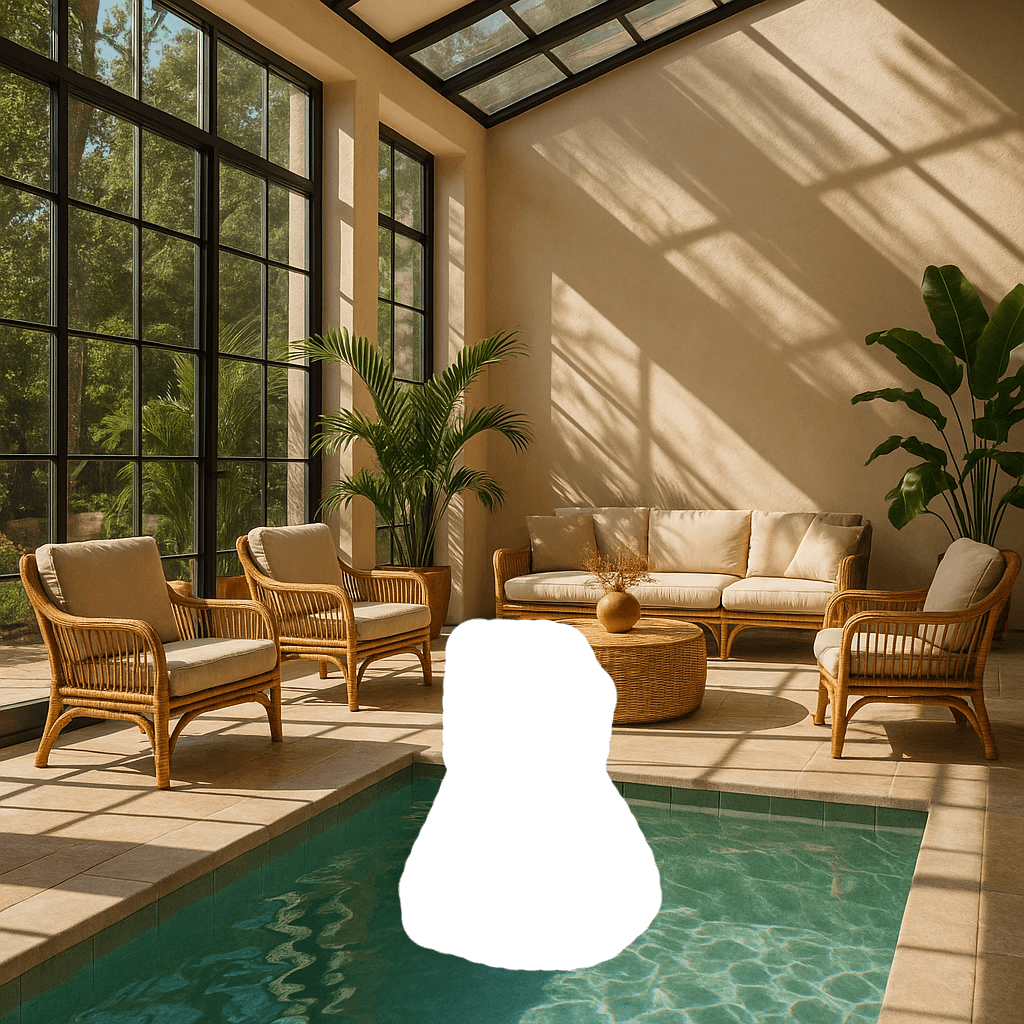
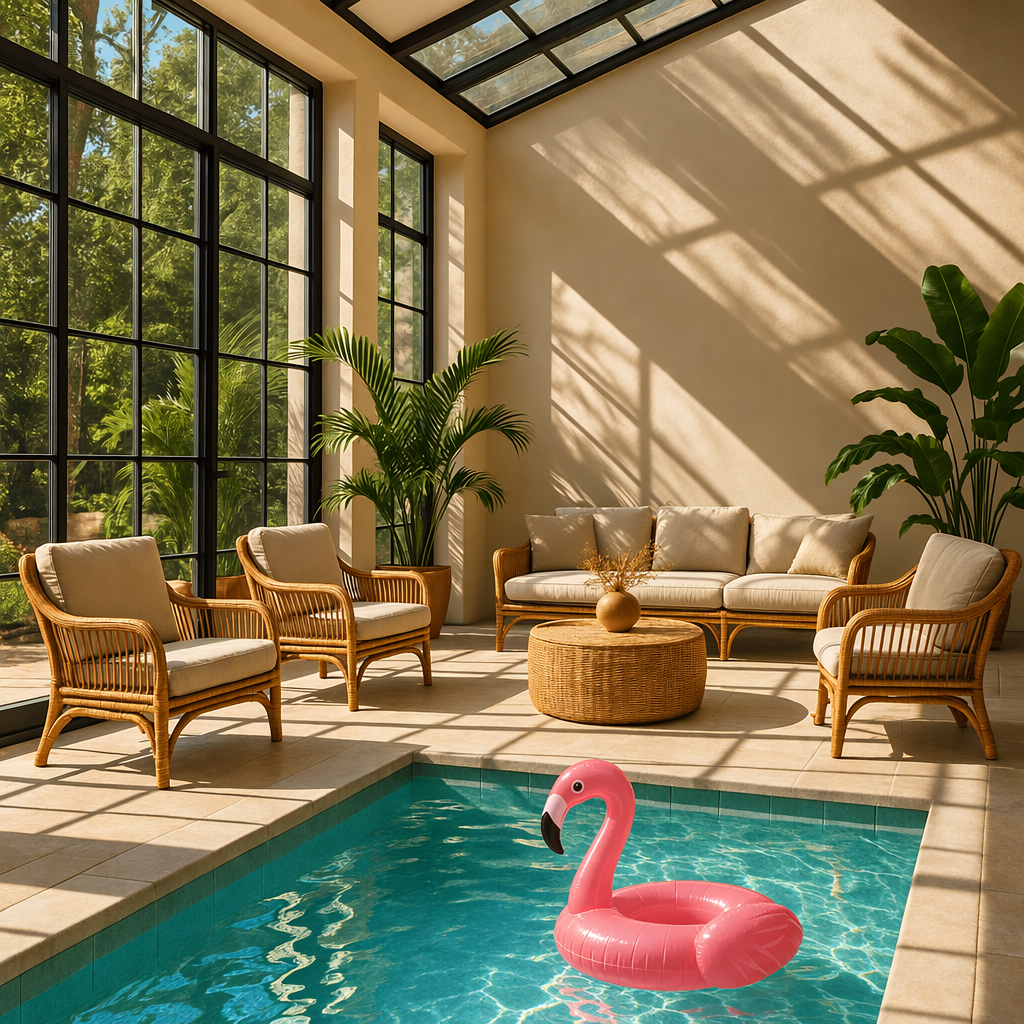
使用 Image API 時,請直接將 model 設為 gpt-image-2.5-sunburst 或 gpt-image-2.5-flare。使用 Responses API 時,請在請求的最上層選擇支援的主模型,再指定 gpt-image-2.5-sunburst 或 gpt-image-2.5-flare 作為圖像生成工具的 model 欄位值。
1
2
3
4
5
6
7
8
9
10
11
12
13
14
15
16
17
18
19import OpenAI from "openai";import fs from "fs";const openai = new OpenAI();const prompt = `A children's book drawing of a veterinarian using a stethoscope tolisten to the heartbeat of a baby otter.`;const result = await openai.images.generate({ model: "gpt-image-2.5-sunburst", prompt,});// Save the image to a fileconst image_base64 = result.data?.[0]?.b64_json;if (!image_base64) throw new Error("Image generation returned no image.");const image_bytes = Buffer.from(image_base64, "base64");fs.writeFileSync("otter.png", image_bytes);
1
2
3
4
5
6
7
8
9
10
11
12
13
14
15
16
17
18from openai import OpenAIimport base64client = OpenAI()prompt ="""A children's book drawing of a veterinarian using a stethoscope tolisten to the heartbeat of a baby otter."""result = client.images.generate(model="gpt-image-2.5-sunburst", prompt=prompt)image_base64 = result.data[0].b64_jsonimage_bytes = base64.b64decode(image_base64)# Save the image to a filewithopen("otter.png", "wb") as f: f.write(image_bytes)
1
2
3
4
5
6
7
8
9
10
11
12
13
14
15
16
17
18
19
20
21
22
23
24
25
26
27
28package mainimport ( "context" "encoding/base64" "os" "github.com/openai/openai-go/v3")func main() { client := openai.NewClient() result, err := client.Images.Generate(context.Background(), openai.ImageGenerateParams{ Model: openai.ImageModel("gpt-image-2.5-sunburst"), Prompt: "A children's book drawing of a veterinarian using a stethoscope to " + "listen to the heartbeat of a baby otter.", }) if err != nil { panic(err) } image, err := base64.StdEncoding.DecodeString(result.Data[0].B64JSON) if err != nil { panic(err) } if err := os.WriteFile("otter.png", image, 0o600); err != nil { panic(err) }}
1
2
3
4
5
6
7
8
9
10
11
12using OpenAI.Images;string key = Environment.GetEnvironmentVariable("OPENAI_API_KEY")!;string model = "gpt-image-2.5-sunburst";ImageClient client = new(model, key);GeneratedImage image = await client.GenerateImageAsync( "A children's book drawing of a veterinarian using a stethoscope to " + "listen to the heartbeat of a baby otter.");await File.WriteAllBytesAsync("otter.png", image.ImageBytes.ToArray());
1
2
3
4
5
6
7
8
9
10
11
12
13require "base64"require "openai"client = OpenAI::Client.newresult = client.images.generate( model: "gpt-image-2.5-sunburst", prompt: "A watercolor robot reading in a library")generated_image = result.data&.first or raise "No image returned"File.binwrite( "generated-image.png", Base64.strict_decode64(generated_image.b64_json))
1
2
3
4
5
6
7curl -X POST "https://api.openai.com/v1/images/generations" \
    -H "Authorization: Bearer $OPENAI_API_KEY" \
    -H "Content-type: application/json" \
    -d '{
        "model": "gpt-image-2.5-sunburst",
        "prompt": "A children'\''s book drawing of a veterinarian using a stethoscope to listen to the heartbeat of a baby otter."
    }' | jq -r '.data[0].b64_json' | base64 --decode > otter.png
1
2
3
4
5openai images generate \
  --model gpt-image-2.5-sunburst \
  --prompt "A children's book drawing of a veterinarian using a stethoscope to listen to the heartbeat of a baby otter." \
  --raw-output \
  --transform 'data.0.b64_json' | base64 --decode > otter.png
Responses API
生成圖像
Python
1
2
3
4
5
6
7
8
9
10
11
12
13
14
15
16
17
18
19
20
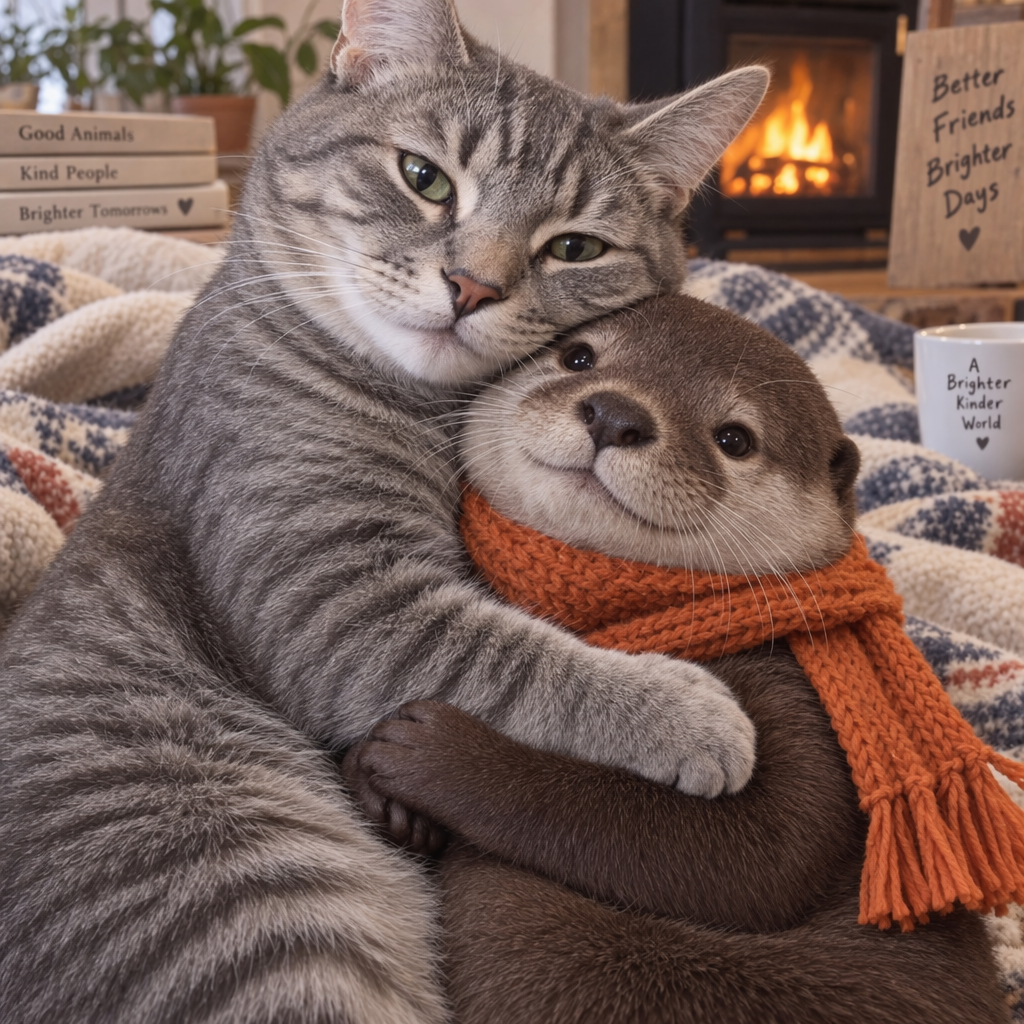
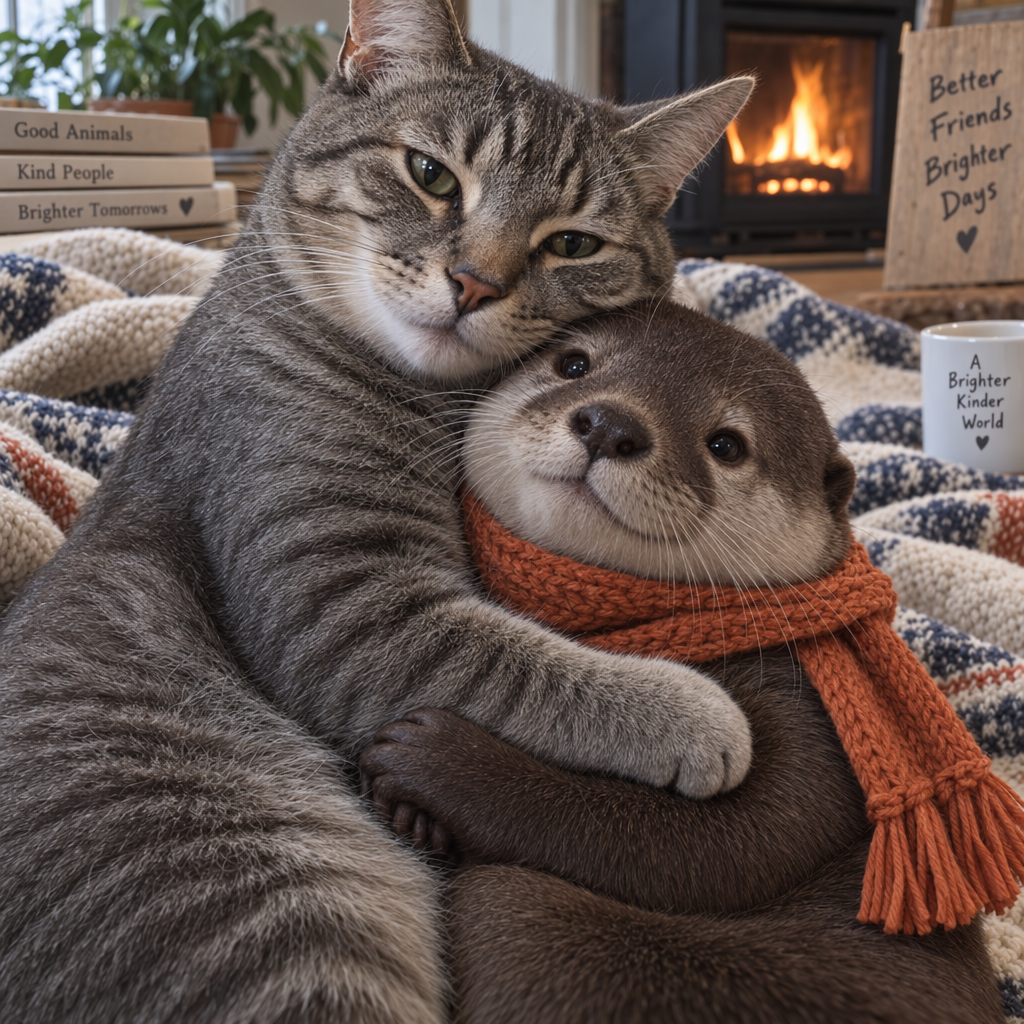
21import OpenAI from "openai";const openai = new OpenAI();const response = await openai.responses.create({ model: "gpt-6-astra", input: "Generate an image of gray tabby cat hugging an otter with an orange scarf", tools: [{ type: "image_generation", model: "gpt-image-2.5-sunburst" }],});// Save the image to a fileconst imageData = response.output .filter((output) => output.type === "image_generation_call") .map((output) => output.result);if (imageData.length > 0) { const imageBase64 = imageData[0]; if (!imageBase64) throw new Error("Image generation returned no image."); const fs = await import("fs"); fs.writeFileSync("otter.png", Buffer.from(imageBase64, "base64"));}
1
2
3
4
5
6
7
8
9
10
11
12
13
14
15
16
17
18
19
20
21
22from openai import OpenAIimport base64client = OpenAI()response = client.responses.create(model="gpt-6-astra",input="Generate an image of gray tabby cat hugging an otter with an orange scarf",tools=[{"type": "image_generation", "model": "gpt-image-2.5-sunburst"}],)# Save the image to a fileimage_data = [ output.resultfor output in response.outputif output.type =="image_generation_call"]if image_data: image_base64 = image_data[0]withopen("otter.png", "wb") as f: f.write(base64.b64decode(image_base64))
1
2
3
4
5
6
7
8
9
10
11
12
13
14
15
16
17
18
19
20
21
22
23
24
25
26
27
28
29
30
31
32
33
34
35
36
37
38
39
40
41
42package mainimport ( "context" "encoding/base64" "os" "github.com/openai/openai-go/v3" "github.com/openai/openai-go/v3/responses")func main() { client := openai.NewClient() response, err := client.Responses.New(context.Background(), responses.ResponseNewParams{ Model: "gpt-6-astra", Input: responses.ResponseNewParamsInputUnion{ OfString: openai.String("Generate an image of gray tabby cat hugging an otter with an orange scarf"), }, Tools: []responses.ToolUnionParam{{OfImageGeneration: &responses.ToolImageGenerationParam{Model: "gpt-image-2.5-sunburst"}}}, }) if err != nil { panic(err) } saveFirstGeneratedImage(response, "otter.png")}func saveFirstGeneratedImage(response *responses.Response, filename string) { for _, output := range response.Output { if output.Type != "image_generation_call" { continue } image, err := base64.StdEncoding.DecodeString(output.AsImageGenerationCall().Result) if err != nil { panic(err) } if err := os.WriteFile(filename, image, 0o600); err != nil { panic(err) } return } panic("response did not include an image generation call")}
1
2
3
4
5
6
7
8
9
10
11
12
13
14
15
16
17
18
19
20using OpenAI.Responses;#pragma warning disable OPENAI001string key = Environment.GetEnvironmentVariable("OPENAI_API_KEY")!;ResponsesClient client = new(key);CreateResponseOptions options = new() { Model = "gpt-6-astra" };options.InputItems.Add( ResponseItem.CreateUserMessageItem( "Generate an image of a gray tabby cat hugging an otter with an orange scarf." ));options.Tools.Add(ResponseTool.CreateImageGenerationTool(model: "gpt-image-2.5-sunburst"));ResponseResult response = await client.CreateResponseAsync(options);ImageGenerationCallResponseItem image = response .OutputItems.OfType<ImageGenerationCallResponseItem>() .FirstOrDefault() ?? throw new InvalidOperationException("No generated image was returned.");await File.WriteAllBytesAsync("otter.png", image.ImageResultBytes.ToArray());
1
2
3
4
5
6
7
8
9
10
11
12
13
14
15
16
17
18
19
20
21
22
23
24require "base64"require "openai"client = OpenAI::Client.newresponse = client.responses.create( model: "gpt-6-astra", input: "Generate an image of a gray tabby cat hugging an otter with an orange scarf.", tools: [ { type: :image_generation, model: "gpt-image-2.5-sunburst" } ])image_call = response.output.find do |item| item.is_a?(OpenAI::Models::Responses::ResponseOutputItem::ImageGenerationCall)endunless image_call.is_a?(OpenAI::Models::Responses::ResponseOutputItem::ImageGenerationCall) raise "No image generation call returned"endencoded_image = image_call.result or raise "No image returned"File.binwrite("otter.png", Base64.strict_decode64(encoded_image))
多輪圖像生成
使用 Responses API 時,你可以將圖像生成工具的呼叫結果放入上下文(也可以只提供圖像 ID),或使用 previous_response_id 參數,在多輪對話中生成圖像。
這樣就能隨著對話進展,逐輪調整提示詞、套用新指示,逐步修改圖像效果。
Responses API 和 Image API 都支援串流圖像生成。你可以在 API 生成圖像的過程中,透過串流接收中間圖像,讓使用者即時看到生成進度。
你可以調整 partial_images 參數,接收 0 至 3 張中間圖像。
如果將 partial_images 設為 0,就只會收到最終圖像。
如果設為大於零的值,而完整圖像提早生成,你收到的中間圖像可能會少於要求的張數。
Responses API
以串流接收圖像
Python
1
2
3
4
5
6
7
8
9
10
11
12
13
14
15
16
17
18
19
20
21
22
23
24
25
26
27
28
29
30
31
32
33
34import OpenAI from "openai";import fs from "fs";const openai = new OpenAI();function saveBase64Image(filename: string, imageBase64: string | null) { if (!imageBase64) throw new Error("Image generation returned no image."); const imageBuffer = Buffer.from(imageBase64, "base64"); fs.writeFileSync(filename, imageBuffer);}const stream = await openai.responses.create({ model: "gpt-6-astra", input: "Draw a gorgeous image of a river made of white owl feathers, snaking its way through a serene winter landscape", stream: true, tools: [ { type: "image_generation", model: "gpt-image-2.5-sunburst", partial_images: 2 }, ],});for await (const event of stream) { if (event.type === "response.image_generation_call.partial_image") { const idx = event.partial_image_index; saveBase64Image(`river-partial-${idx}.png`, event.partial_image_b64); } else if (event.type === "response.completed") { const imageData = event.response.output .filter((output) => output.type === "image_generation_call") .map((output) => output.result); if (imageData.length > 0) { saveBase64Image("river-final.png", imageData[0]); } }}
1
2
3
4
5
6
7
8
9
10
11
12
13
14
15
16
17
18
19
20
21
22
23
24
25
26
27
28
29
30
31
32
33
34from openai import OpenAIimport base64client = OpenAI()defsave_base64_image(filename, image_base64): image_bytes = base64.b64decode(image_base64)withopen(filename, "wb") as f: f.write(image_bytes)stream = client.responses.create(model="gpt-6-astra",input="Draw a gorgeous image of a river made of white owl feathers, snaking its way through a serene winter landscape",stream=True,tools=[ {"type": "image_generation", "model": "gpt-image-2.5-sunburst", "partial_images": 2} ],)for event in stream:if event.type =="response.image_generation_call.partial_image": idx = event.partial_image_index save_base64_image(f"river-partial-{idx}.png", event.partial_image_b64)elif event.type =="response.completed": image_data = [ output.resultfor output in event.response.outputif output.type =="image_generation_call" ]if image_data: save_base64_image("river-final.png", image_data[0])
1
2
3
4
5
6
7
8
9
10
11
12
13
14
15
16
17
18
19
20
21
22
23
24
25
26
27
28
29
30
31
32
33
34
35
36
37
38
39
40
41
42
43
44
45
46
47
48
49package mainimport ( "context" "encoding/base64" "fmt" "os" "github.com/openai/openai-go/v3" "github.com/openai/openai-go/v3/responses")func main() { client := openai.NewClient() stream := client.Responses.NewStreaming(context.Background(), responses.ResponseNewParams{ Model: "gpt-6-astra", Input: responses.ResponseNewParamsInputUnion{ OfString: openai.String("Draw a gorgeous image of a river made of white owl feathers, snaking its way through a serene winter landscape"), }, Tools: []responses.ToolUnionParam{{OfImageGeneration: &responses.ToolImageGenerationParam{Model: "gpt-image-2.5-sunburst", PartialImages: openai.Int(2)}}}, }) for stream.Next() { event := stream.Current() if event.Type == "response.image_generation_call.partial_image" { partial := event.AsResponseImageGenerationCallPartialImage() saveImage(fmt.Sprintf("river-partial-%d.png", partial.PartialImageIndex), partial.PartialImageB64) } if event.Type == "response.completed" { for _, output := range event.AsResponseCompleted().Response.Output { if output.Type == "image_generation_call" { saveImage("river-final.png", output.AsImageGenerationCall().Result) } } } } if err := stream.Err(); err != nil { panic(err) }}func saveImage(filename, encoded string) { image, err := base64.StdEncoding.DecodeString(encoded) if err != nil { panic(err) } if err := os.WriteFile(filename, image, 0o600); err != nil { panic(err) }}
1
2
3
4
5
6
7
8
9
10
11
12
13
14
15
16
17
18
19
20
21
22
23
24
25
26
27
28
29
30
31
32
33require "base64"require "openai"client = OpenAI::Client.newstream = client.responses.stream( model: "gpt-6-astra", input: "Generate an image of a river made of white owl feathers.", tools: [ { type: :image_generation, model: "gpt-image-2.5-sunburst", partial_images: 2 } ])stream.each do |event| case event when OpenAI::Models::Responses::ResponseImageGenCallPartialImageEvent image = Base64.strict_decode64(event.partial_image_b64) File.binwrite("river-partial-#{event.partial_image_index}.png", image) when OpenAI::Models::Responses::ResponseCompletedEvent image_call = event.response.output.find do |item| item.is_a?(OpenAI::Models::Responses::ResponseOutputItem::ImageGenerationCall) end next unless image_call.is_a?(OpenAI::Models::Responses::ResponseOutputItem::ImageGenerationCall) File.binwrite( "river-final.png", Base64.strict_decode64(image_call.result) ) endend
Image API
以串流接收圖像
Python
1
2
3
4
5
6
7
8
9
10
11
12
13
14
15
16
17
18
19
20
21
22
23import fs from "fs";import OpenAI from "openai";const openai = new OpenAI();const prompt = "Draw a gorgeous image of a river made of white owl feathers, snaking its way through a serene winter landscape";const stream = await openai.images.generate({ prompt: prompt, model: "gpt-image-2.5-sunburst", stream: true, partial_images: 2,});for await (const event of stream) { if (event.type === "image_generation.partial_image") { const idx = event.partial_image_index; const imageBase64 = event.b64_json; if (!imageBase64) throw new Error("Image generation returned no image."); const imageBuffer = Buffer.from(imageBase64, "base64"); fs.writeFileSync(`river${idx}.png`, imageBuffer); }}
1
2
3
4
5
6
7
8
9
10
11
12
13
14
15
16
17
18
19from openai import OpenAIimport base64client = OpenAI()stream = client.images.generate(prompt="Draw a gorgeous image of a river made of white owl feathers, snaking its way through a serene winter landscape",model="gpt-image-2.5-sunburst",stream=True,partial_images=2,)for event in stream:if event.type =="image_generation.partial_image": idx = event.partial_image_index image_base64 = event.b64_json image_bytes = base64.b64decode(image_base64)withopen(f"river{idx}.png", "wb") as f: f.write(image_bytes)
1
2
3
4
5
6
7
8
9
10
11
12
13
14
15
16
17
18
19
20
21
22
23
24
25
26
27
28
29
30
31
32
33
34
35
36
37
38
39
40package mainimport ( "context" "encoding/base64" "fmt" "os" "github.com/openai/openai-go/v3")func main() { client := openai.NewClient() stream := client.Images.GenerateStreaming(context.Background(), openai.ImageGenerateParams{ Model: openai.ImageModel("gpt-image-2.5-sunburst"), Prompt: "Draw a gorgeous image of a river made of white owl feathers, snaking its way through a serene winter landscape", PartialImages: openai.Int(2), }) for stream.Next() { event := stream.Current() if event.Type != "image_generation.partial_image" { continue } partial := event.AsImageGenerationPartialImage() saveImage(fmt.Sprintf("river%d.png", partial.PartialImageIndex), partial.B64JSON) } if err := stream.Err(); err != nil { panic(err) }}func saveImage(filename, encoded string) { image, err := base64.StdEncoding.DecodeString(encoded) if err != nil { panic(err) } if err := os.WriteFile(filename, image, 0o600); err != nil { panic(err) }}
1
2
3
4
5
6
7
8
9
10
11
12
13
14
15
16
17
18
19
20
21
22
23
24
25import com.openai.client.okhttp.OpenAIOkHttpClient;import com.openai.models.images.ImageGenerateParams;import java.nio.file.Files;import java.nio.file.Path;import java.util.Base64;var params = ImageGenerateParams.builder() .prompt( "Draw a gorgeous image of a river made of white owl feathers, snaking its way through a serene winter landscape") .model("gpt-image-2.5-sunburst") .partialImages(2) .build();try (var stream = client.images().generateStreaming(params)) { var events = stream.stream().iterator(); while (events.hasNext()) { var event = events.next(); if (event.generationPartialImage().isPresent()) { var partial = event.generationPartialImage().orElseThrow(); Files.write( Path.of("river" + partial.partialImageIndex() + ".png"), Base64.getDecoder().decode(partial.b64Json())); } }}
1
2
3
4
5
6
7
8
9
10
11
12
13
14
15
16require "base64"require "openai"client = OpenAI::Client.newstream = client.images.generate_stream_raw( model: "gpt-image-2.5-sunburst", prompt: "A river made of white owl feathers in a winter landscape", partial_images: 2)stream.each do |event| next unless event.is_a?(OpenAI::Models::ImageGenPartialImageEvent) image = Base64.strict_decode64(event.b64_json) File.binwrite("river#{event.partial_image_index}.png", image)end
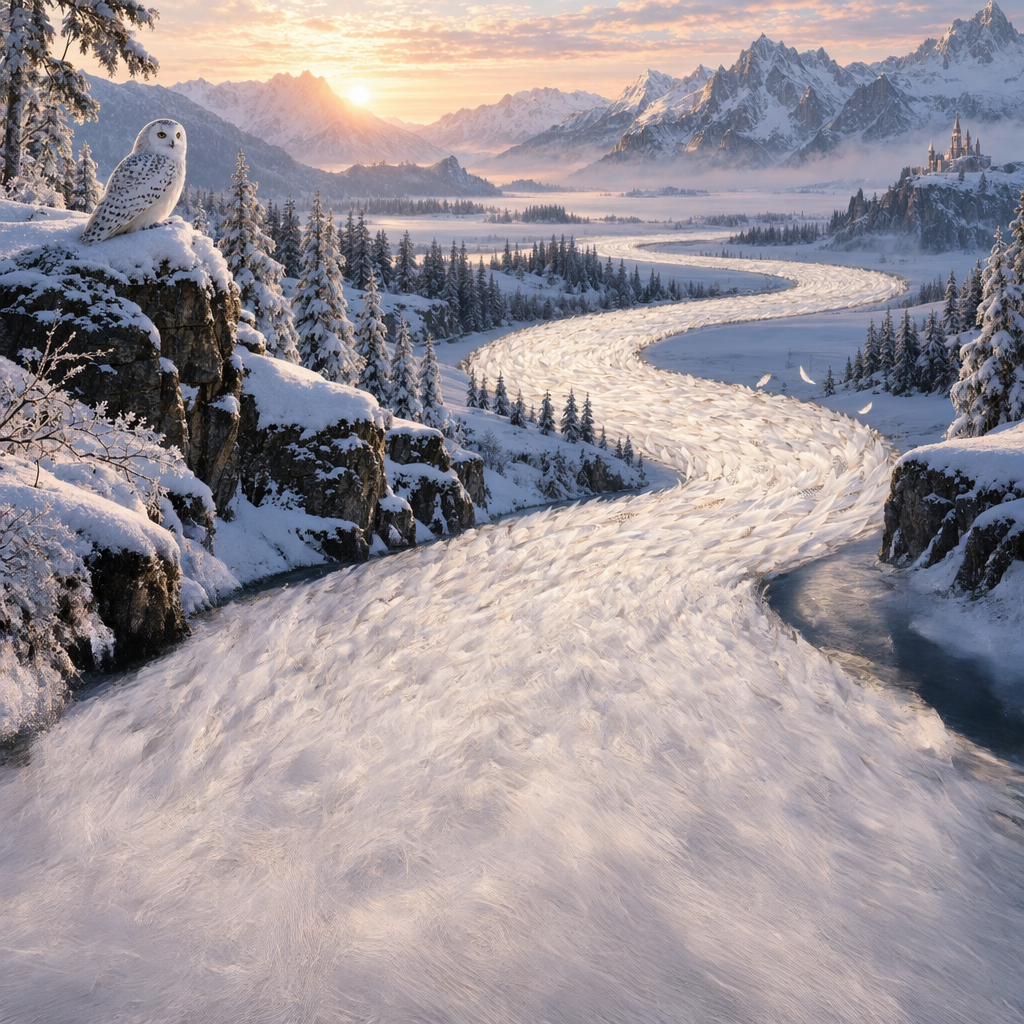
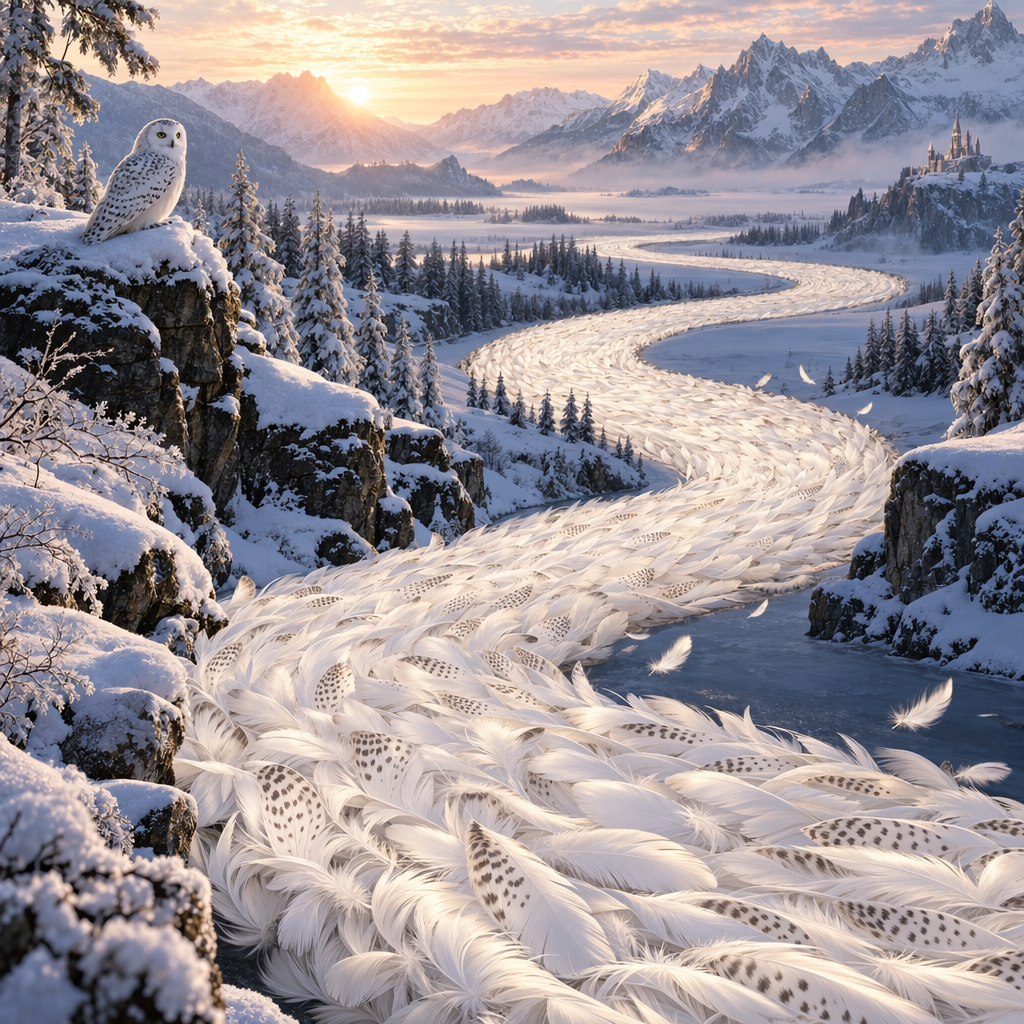
結果
第 1 張中間圖像
第 2 張中間圖像
最終圖像
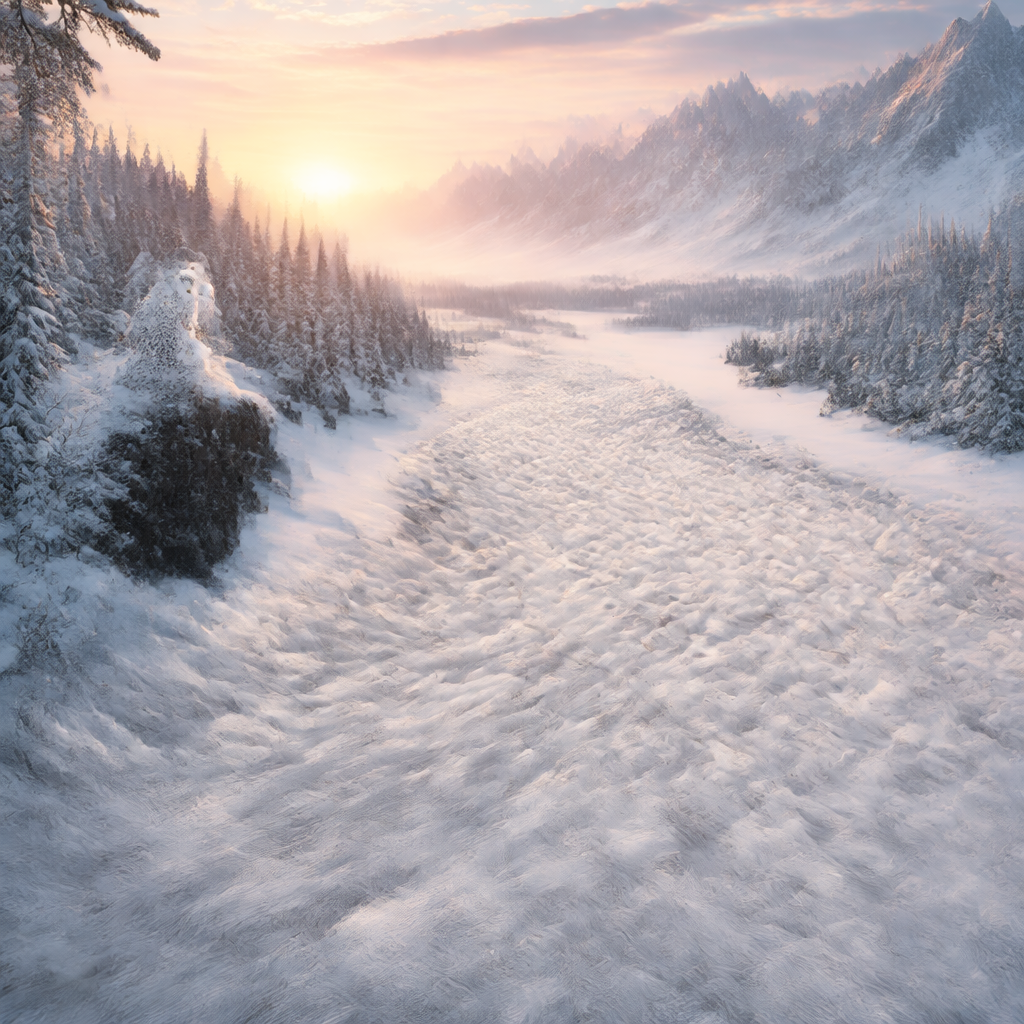
提示詞:畫一幅優美的冬日風景,一條由白色貓頭鷹羽毛構成的河流蜿蜒穿過寧靜的大地。
修訂後的提示詞
使用 Responses API 的圖像生成工具時,主模型(例如 gpt-5.5)會自動修訂提示詞,以改善生成效果。
你可以在圖像生成呼叫的 revised_prompt 欄位中取得修訂後的提示詞:
包含修訂後提示詞的回應
1
2
3
4
5
6
7{"id": "ig_123","type": "image_generation_call","status": "completed","revised_prompt": "A gray tabby cat hugging an otter. The otter is wearing an orange scarf. Both animals are cute and friendly, depicted in a warm, heartwarming style.","result": "..."}
1
2
3
4
5
6
7
8
9
10
11
12
13
14
15
16
17
18
19
20
21
22
23
24
25
26
27
28
29
30
31
32
33
34
35
36
37
38
39
40
41
42
43
44
45
46
47
48
49
50
51
52
53
54
55
56
57
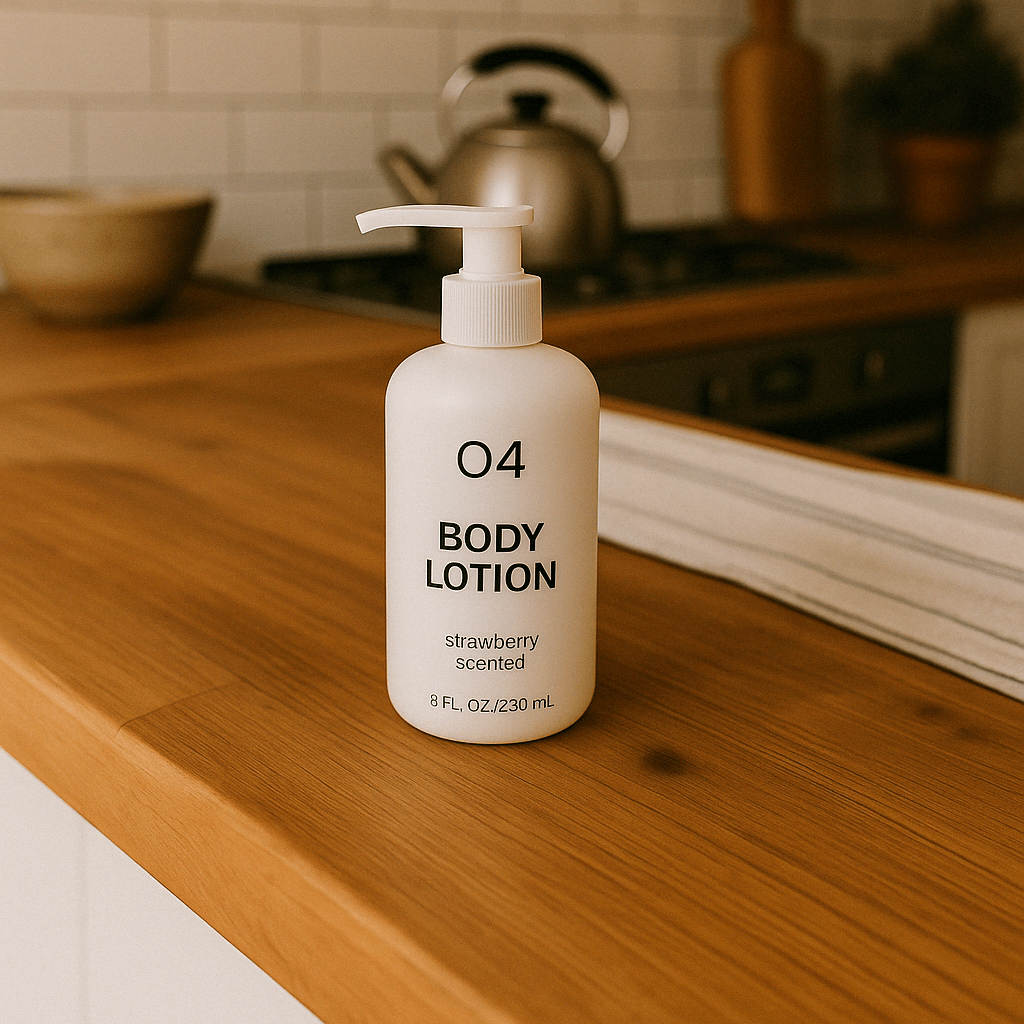
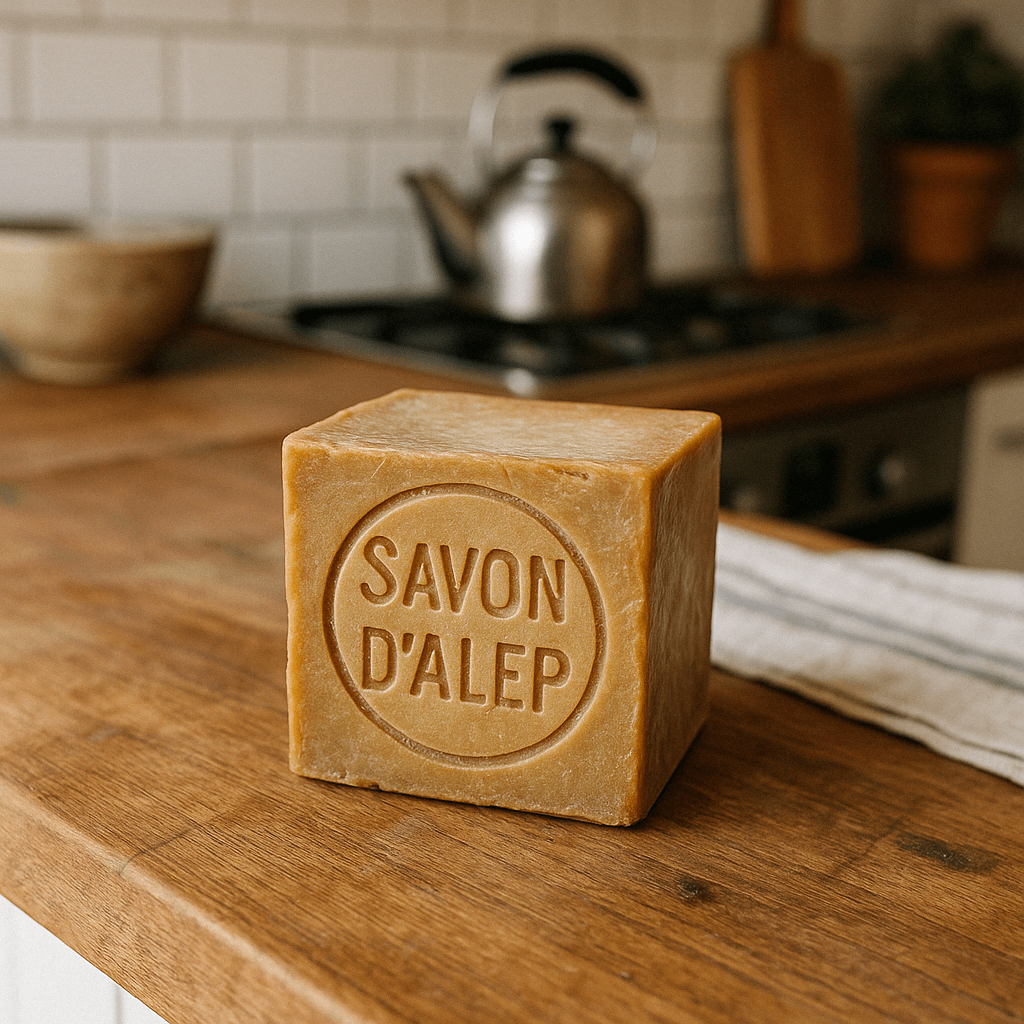
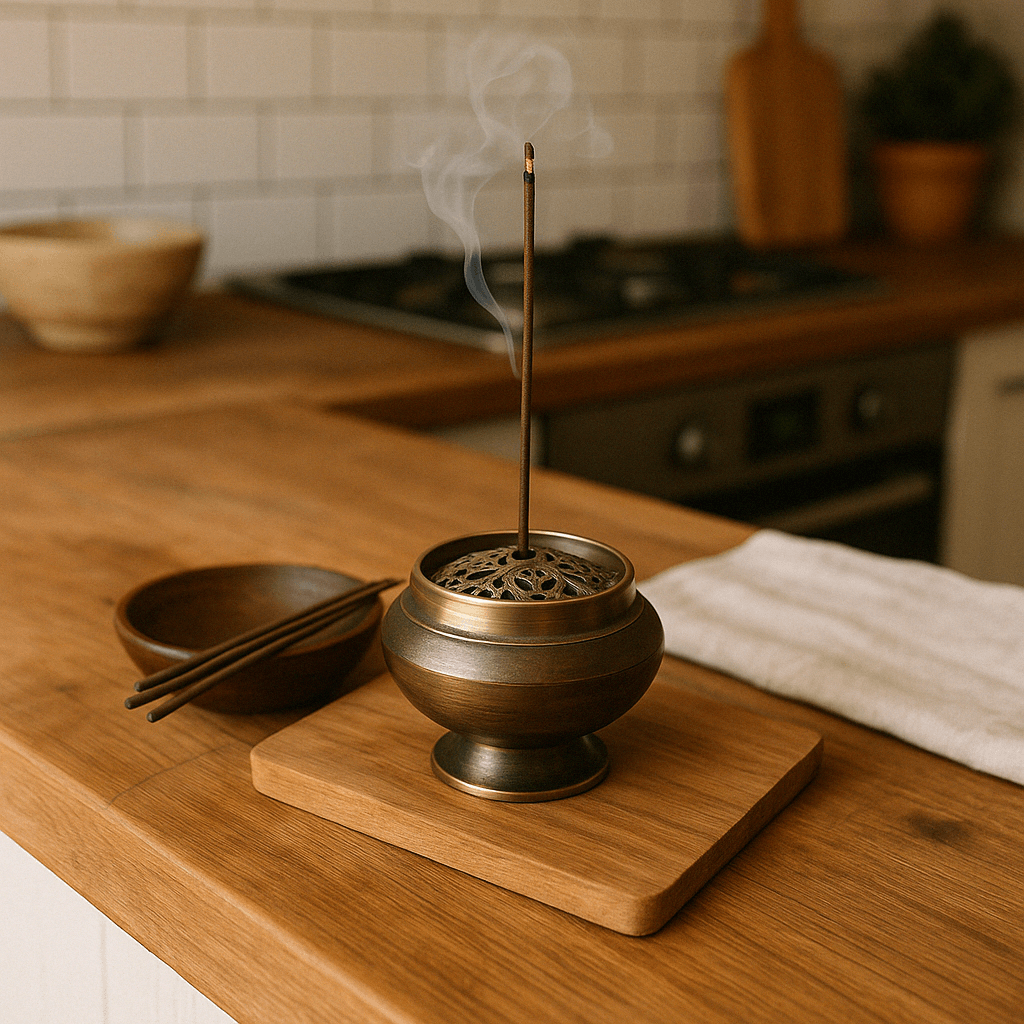
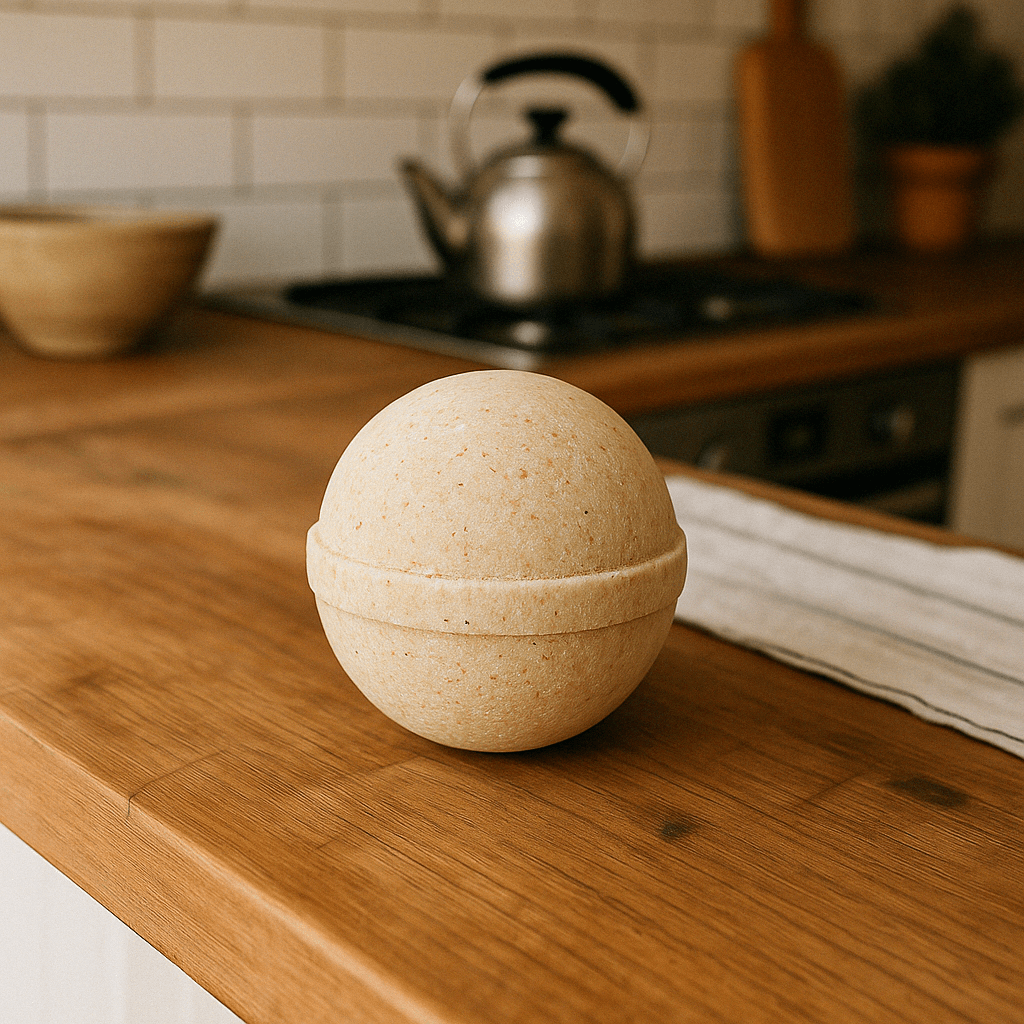
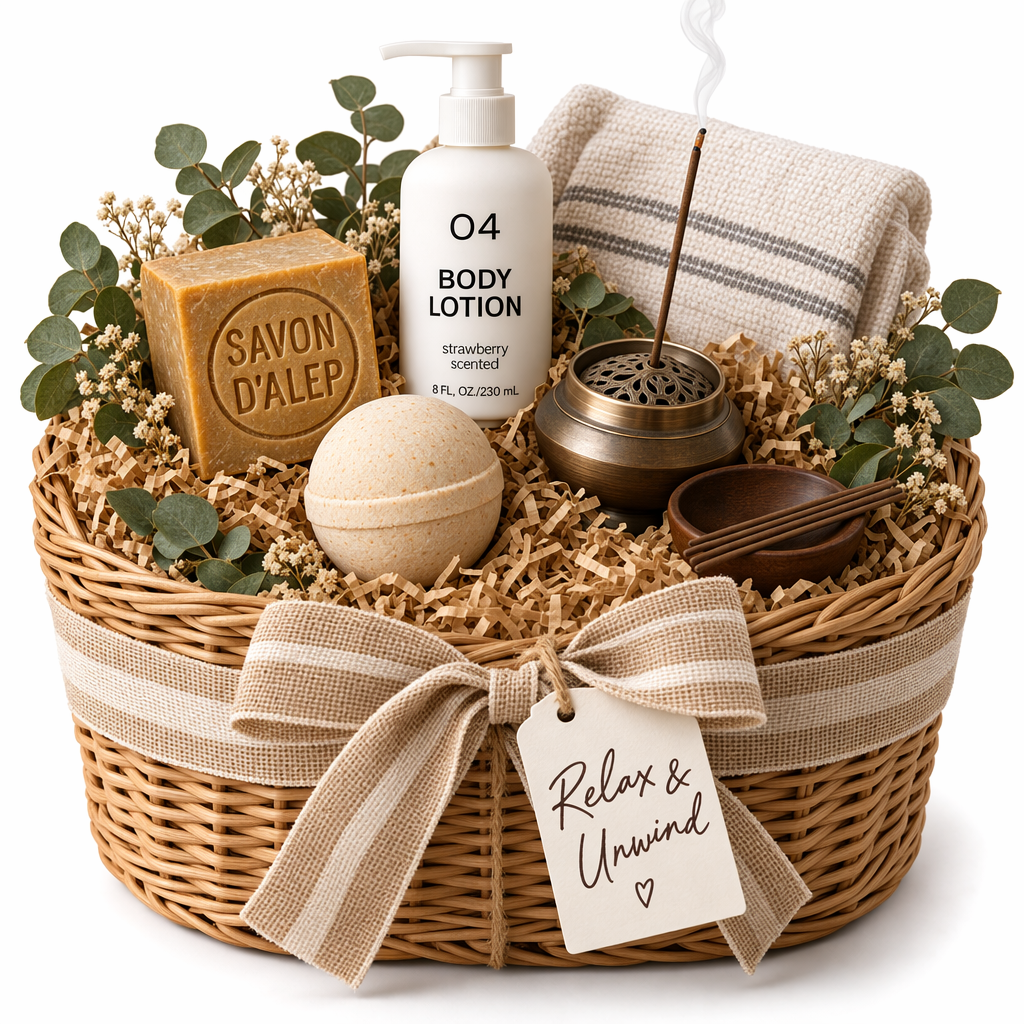
58require "base64"require "openai"require "pathname"client = OpenAI::Client.newbase64_images = ["body-lotion.png", "soap.png"].map do |path| Base64.strict_encode64(File.binread(path))endfile_ids = [ client.files.create(file: Pathname("bath-bomb.png"), purpose: :vision).id, client.files.create(file: Pathname("incense-kit.png"), purpose: :vision).id]prompt = <<~PROMPT Generate a photorealistic image of a gift basket on a white background labeled 'Relax & Unwind' with a ribbon and handwriting-like font, containing all the items in the reference pictures.PROMPTresponse = client.responses.create( model: "gpt-6-astra", input: [ { role: :user, content: [ { type: :input_text, text: prompt }, *base64_images.map do |image| { type: :input_image, image_url: "data:image/png;base64,#{image}" } end, *file_ids.map do |file_id| { type: :input_image, file_id: file_id } end ] } ], tools: [ { type: :image_generation, model: "gpt-image-2.5-sunburst" } ])image_call = response.output.find do |item| item.is_a?(OpenAI::Models::Responses::ResponseOutputItem::ImageGenerationCall)endunless image_call.is_a?(OpenAI::Models::Responses::ResponseOutputItem::ImageGenerationCall) raise "No image generation call returned"endFile.binwrite("gift-basket.png", Base64.strict_decode64(image_call.result))
Image API
編輯圖像
Python
1
2
3
4
5
6
7
8
9
10
11
12
13
14
15
16
17
18
19
20
21
22
23
24
25
26
27
28
29
30
31
32
33
34
35
36
37
38import fs from "fs";import OpenAI, { toFile } from "openai";const client = new OpenAI();const prompt = `Generate a photorealistic image of a gift basket on a white backgroundlabeled 'Relax & Unwind' with a ribbon and handwriting-like font,containing all the items in the reference pictures.`;const imageFiles = [ "fixtures/bath-bomb.png", "fixtures/body-lotion.png", "fixtures/incense-kit.png", "fixtures/soap.png",];const images = await Promise.all( imageFiles.map( async (file) => await toFile(fs.createReadStream(file), null, { type: "image/png", }) ));const response = await client.images.edit({ model: "gpt-image-2.5-sunburst", image: images, prompt,});// Save the image to a fileconst image_base64 = response.data?.[0]?.b64_json;if (!image_base64) throw new Error("Image generation returned no image.");const image_bytes = Buffer.from(image_base64, "base64");fs.writeFileSync("basket.png", image_bytes);
1
2
3
4
5
6
7
8
9
10
11
12
13
14
15
16
17
18
19
20
21
22
23
24
25
26
27
28import base64from openai import OpenAIclient = OpenAI()prompt ="""Generate a photorealistic image of a gift basket on a white backgroundlabeled 'Relax & Unwind' with a ribbon and handwriting-like font,containing all the items in the reference pictures."""result = client.images.edit(model="gpt-image-2.5-sunburst",image=[open("body-lotion.png", "rb"),open("bath-bomb.png", "rb"),open("incense-kit.png", "rb"),open("soap.png", "rb"), ],prompt=prompt,)image_base64 = result.data[0].b64_jsonimage_bytes = base64.b64decode(image_base64)# Save the image to a filewithopen("gift-basket.png", "wb") as f: f.write(image_bytes)
1
2
3
4
5
6
7
8
9
10
11
12
13
14
15
16
17
18
19
20
21
22
23
24
25
26
27
28
29
30
31
32
33
34
35
36
37
38
39
40
41
42
43
44
45
46
47
48
49
50
51
52
53
54
55
56
57
58
59
60
61
62
63
64
65package mainimport ( "context" "encoding/base64" "io" "os" "github.com/openai/openai-go/v3")func main() { client := openai.NewClient() files, closeFiles := openImages( "bath-bomb.png", "body-lotion.png", "incense-kit.png", "soap.png", ) defer closeFiles() response, err := client.Images.Edit(context.Background(), openai.ImageEditParams{ Model: openai.ImageModel("gpt-image-2.5-sunburst"), Image: openai.ImageEditParamsImageUnion{OfFileArray: files}, Prompt: "Generate a photorealistic image of a gift basket on a white background " + "labeled 'Relax & Unwind' with a ribbon and handwriting-like font, containing all the items in the reference pictures.", }) if err != nil { panic(err) } saveImage("basket.png", response.Data[0].B64JSON)}func openImages(names ...string) ([]io.Reader, func()) { images := make([]io.Reader, 0, len(names)) files := make([]*os.File, 0, len(names)) for _, name := range names { file, err := os.Open(name) if err != nil { closeFiles(files) panic(err) } images = append(images, openai.File(file, name, "image/png")) files = append(files, file) } return images, func() { closeFiles(files) }}func closeFiles(files []*os.File) { for _, file := range files { if err := file.Close(); err != nil { panic(err) } }}func saveImage(filename, encoded string) { image, err := base64.StdEncoding.DecodeString(encoded) if err != nil { panic(err) } if err := os.WriteFile(filename, image, 0o600); err != nil { panic(err) }}
1
2
3
4
5
6
7
8
9
10
11
12
13
14
15
16
17
18
19
20
21
22
23
24
25
26
27
28
29
30
31
32
33
34
35
36
37
38
39
40
41
42
43
44
45import com.openai.client.OpenAIClient;import com.openai.client.okhttp.OpenAIOkHttpClient;import com.openai.core.MultipartField;import com.openai.models.images.ImageEditParams;import java.io.IOException;import java.io.InputStream;import java.nio.file.Files;import java.nio.file.Path;import java.util.Base64;import java.util.List;Path lotion = Path.of(System.getenv("OPENAI_EXAMPLE_IMAGE_PATH"));Path soap = Path.of(System.getenv("OPENAI_EXAMPLE_IMAGE_PATH_2"));Path bathBomb = Path.of(System.getenv("OPENAI_EXAMPLE_IMAGE_PATH_3"));Path incense = Path.of(System.getenv("OPENAI_EXAMPLE_IMAGE_PATH_4"));try (InputStream lotionImage = Files.newInputStream(lotion); InputStream bathBombImage = Files.newInputStream(bathBomb); InputStream incenseImage = Files.newInputStream(incense); InputStream soapImage = Files.newInputStream(soap)) { var images = client .images() .edit( ImageEditParams.builder() .model("gpt-image-2.5-sunburst") .image( MultipartField.<ImageEditParams.Image>builder() .value( ImageEditParams.Image.ofInputStreams( List.of(lotionImage, bathBombImage, incenseImage, soapImage))) .contentType("image/png") .filename("gift-basket-reference.png") .build()) .prompt( """ Generate a photorealistic image of a gift basket on a white background labeled 'Relax & Unwind' with a ribbon and handwriting-like font, containing all the items in the reference pictures. """) .build()); Files.write( Path.of("gift-basket.png"), Base64.getDecoder().decode(images.data().orElseThrow().get(0).b64Json().orElseThrow()));}
1
2
3
4
5
6
7
8
9
10
11
12
13
14
15
16
17
18
19require "base64"require "openai"require "pathname"client = OpenAI::Client.newimages = %w[body-lotion.png bath-bomb.png incense-kit.png soap.png].map do |path| OpenAI::FilePart.new(Pathname(path), content_type: "image/png")endresult = client.images.edit( image: images, model: "gpt-image-2.5-sunburst", prompt: <<~PROMPT Generate a photorealistic image of a gift basket on a white background labeled 'Relax & Unwind' with a ribbon and handwriting-like font, containing all the items in the reference pictures. PROMPT)generated_image = result.data&.first or raise "No image returned"File.binwrite("gift-basket.png", Base64.strict_decode64(generated_image.b64_json))
1
2
3
4
5
6
7
8
9
10curl -s -D >(grep -i x-request-id >&2) \
  -o >(jq -r '.data[0].b64_json' | base64 --decode > gift-basket.png) \
  -X POST "https://api.openai.com/v1/images/edits" \
  -H "Authorization: Bearer $OPENAI_API_KEY" \
  -F "model=gpt-image-2.5-sunburst" \
  -F "image[]=@body-lotion.png" \
  -F "image[]=@bath-bomb.png" \
  -F "image[]=@incense-kit.png" \
  -F "image[]=@soap.png" \
  -F 'prompt=Generate a photorealistic image of a gift basket on a white background labeled "Relax & Unwind" with a ribbon and handwriting-like font, containing all the items in the reference pictures'
1
2
3
4
5
6
7
8
9openai images edit \
  --model gpt-image-2.5-sunburst \
  --image body-lotion.png \
  --image bath-bomb.png \
  --image incense-kit.png \
  --image soap.png \
  --prompt 'Generate a photorealistic image of a gift basket on a white background labeled "Relax & Unwind" with a ribbon and handwriting-like font, containing all the items in the reference pictures' \
  --raw-output \
  --transform 'data.0.b64_json' | base64 --decode > gift-basket.png
使用標註引導編輯
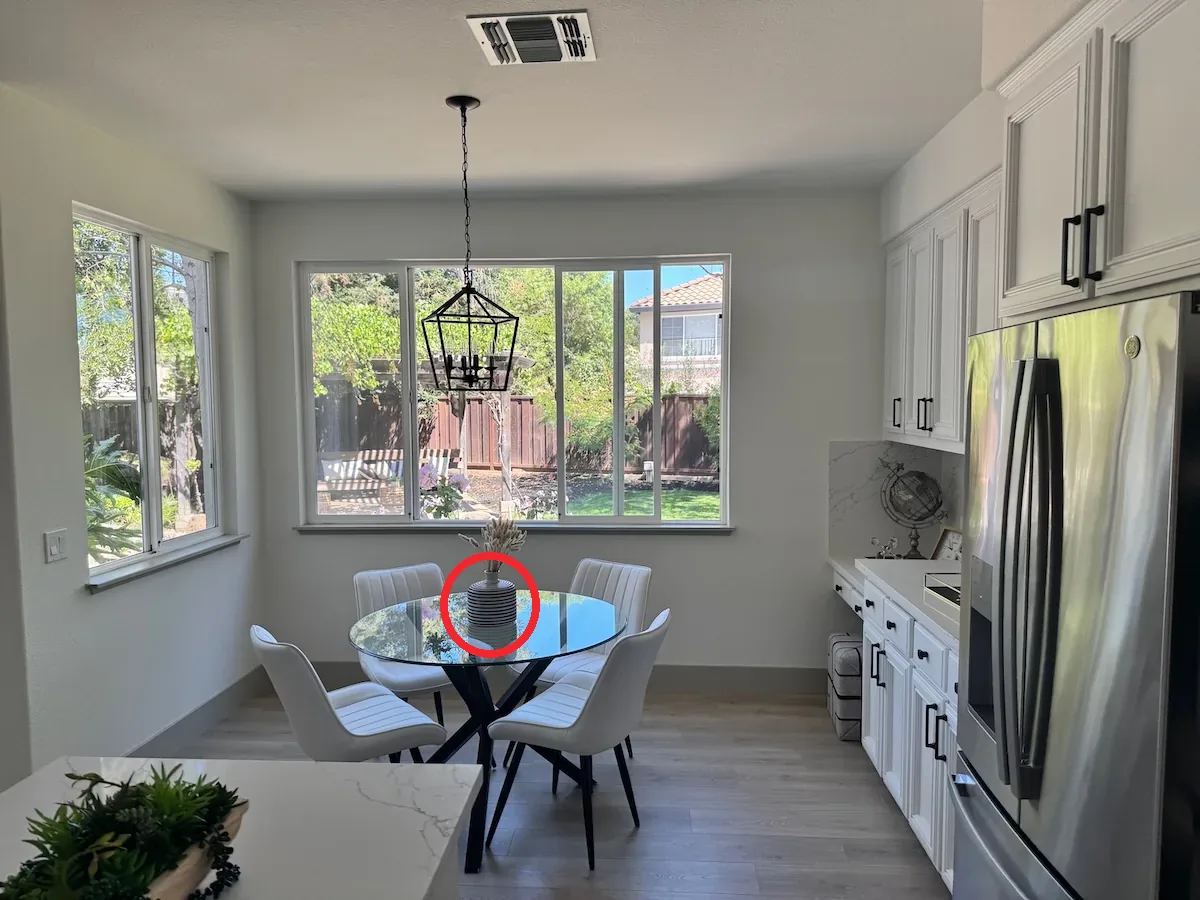
搭配支援此功能的 GPT-Image-2.5 或 GPT-Image-2.6 模型時,你可以透過 Image API 的 POST /v1/images/edits 端點,使用標註引導編輯。如果要透過 Responses API 編輯局部區域,請使用遮罩。在標註圖層上標出要修改的位置,並在 prompt 中說明要如何修改。
1
2
3
4
5
6
7
8
9
10
11
12
13
14
15
16
17
18
19
20
21import base64from pathlib import Pathfrom openai import OpenAIclient = OpenAI()overlay = Path("markup-vase-overlay-gpt-image-2-6.png")withopen("kitchen.webp", "rb") as image, overlay.open("rb") as markup: result = client.images.edit(model="gpt-image-2.6-flare",image=("kitchen.webp", image, "image/webp"),markup=(overlay.name, markup, "image/png"),quality="medium",prompt=("Recolor the striped vase inside the red circle to solid cobalt blue ceramic. ""Keep its shape, the dried stems, and the rest of the kitchen unchanged. ""Remove the red circle from the finished photo." ), )Path("vase.png").write_bytes(base64.b64decode(result.data[0].b64_json))
1
2
3
4
5
6
7
8
9
10
11
12
13
14
15
16
17
18
19
20
21
22
23
24
25
26
27
28
29
30
31client := openai.NewClient()image, err := os.Open("kitchen.webp")if err != nil { panic(err)}defer image.Close()markup, err := os.Open("markup-vase-overlay-gpt-image-2-6.png")if err != nil { panic(err)}defer markup.Close()response, err := client.Images.Edit(context.Background(), openai.ImageEditParams{ Model: openai.ImageModel("gpt-image-2.6-flare"), Image: openai.ImageEditParamsImageUnion{OfFile: openai.File(image, "kitchen.webp", "image/webp")}, Markup: openai.File(markup, "markup-vase-overlay-gpt-image-2-6.png", "image/png"), Quality: "medium", Prompt: "Recolor the striped vase inside the red circle to solid cobalt blue ceramic. " + "Keep its shape, the dried stems, and the rest of the kitchen unchanged. " + "Remove the red circle from the finished photo.",})if err != nil { panic(err)}result, err := base64.StdEncoding.DecodeString(response.Data[0].B64JSON)if err != nil { panic(err)}if err := os.WriteFile("vase.png", result, 0o600); err != nil { panic(err)}
1
2
3
4
5
6
7
8
9
10set -euo pipefailcurl --fail --silent --show-error https://api.openai.com/v1/images/edits \ -H "Authorization: Bearer $OPENAI_API_KEY" \ -F model=gpt-image-2.6-flare \ -F quality=medium \ -F 'image=@kitchen.webp;type=image/webp' \ -F 'markup=@markup-vase-overlay-gpt-image-2-6.png;type=image/png' \ -F 'prompt=Recolor the striped vase inside the red circle to solid cobalt blue ceramic. Keep its shape, the dried stems, and the rest of the kitchen unchanged. Remove the red circle from the finished photo.' | jq -er '.data[0].b64_json' | base64 --decode > vase.png
1
2
3
4
5
6
7
8
9
10
11
12
13
14
15
16
17
18
19
20
21fromPILimport Imagefrom io import BytesIO# 1. Load your black & white mask as a grayscale imagemask = Image.open("mask.png").convert("L")# 2. Convert it to RGBA so it has space for an alpha channelmask_rgba = mask.convert("RGBA")# 3. Then use the mask itself to fill that alpha channelmask_rgba.putalpha(mask)# 4. Convert the mask into bytesbuf = BytesIO()mask_rgba.save(buf, format="PNG")mask_bytes = buf.getvalue()# 5. Save the resulting fileimg_path_mask_alpha ="mask_alpha.png"withopen(img_path_mask_alpha, "wb") as f: f.write(mask_bytes)
1
2
3
4
5
6
7
8
9
10
11
12
13
14
15
16
17
18
19
20
21
22
23
24
25
26
27
28
29
30
31
32
33
34
35
36
37
38
39
40
41
42
43
44
45
46
47
48
49
50
51import OpenAI from"openai";constopenai=newOpenAI();try {// The same error handling pattern applies to image generation requests,// image edits, and Responses API tool calls that generate images.await openai.images.generate({ model: "gpt-image-2.5-sunburst", prompt: "Create a poster humiliating my coworker with insulting captions", });} catch (error) {if (!(error instanceofOpenAI.APIError) || error.code !=="moderation_blocked" ) {throw error; }constmoderationDetails= error.error &&"moderation_details"in error.error? (error.error.moderation_details as {categories?:string[];moderation_stage?:string; }):undefined;constcategories= moderationDetails?.categories ?? [];conststage= moderationDetails?.moderation_stage;let hint ="This request could not be completed because it did not meet safety requirements.";if (categories.includes("harassment")) { hint ="Try removing abusive or targeting language and focus on neutral visual details instead."; } elseif (stage ==="input") { hint ="Try revising the prompt or input images and submit the request again."; } elseif (stage ==="output") { hint ="The generated result was blocked by a safety check. Try changing the prompt and generating again."; } console.error("Image generation blocked", { request_id: error?.requestID, code: error?.code, moderation_details: moderationDetails, }); console.log(hint);}
1
2
3
4
5
6
7
8
9
10
11
12
13
14
15
16
17
18
19
20
21
22
23
24
25
26
27
28
29
30
31
32
33
34
35
36
37
38
39
40import openaifrom openai import OpenAIclient = OpenAI()try: # The same error handling pattern applies to image generation requests, # image edits, and Responses API tool calls that generate images. client.images.generate( model="gpt-image-2.5-sunburst", prompt="Create a poster humiliating my coworker with insulting captions", )except openai.BadRequestError as error: if error.code != "moderation_blocked": raise error_body = error.body if isinstance(error.body, dict) else {} moderation_details = error_body.get("moderation_details") or {} categories = moderation_details.get("categories") or [] stage = moderation_details.get("moderation_stage") hint = "This request could not be completed because it did not meet safety requirements." if "harassment" in categories: hint = "Try removing abusive or targeting language and focus on neutral visual details instead." elif stage == "input": hint = "Try revising the prompt or input images and submit the request again." elif stage == "output": hint = "The generated result was blocked by a safety check. Try changing the prompt and generating again." print( "Image generation blocked", { "request_id": error.request_id, "code": error.code, "moderation_details": moderation_details, }, ) print(hint)
1
2
3
4
5
6
7
8
9
10
11
12
13
14
15
16
17
18
19
20
21
22
23
24
25
26
27
28
29
30
31
32
33
34
35
36
37
38
39
40
41
42
43
44
45
46
47
48package mainimport ( "context" "encoding/json" "errors" "fmt" "slices" "github.com/openai/openai-go/v3")func main() { client := openai.NewClient() _, err := client.Images.Generate(context.Background(), openai.ImageGenerateParams{ Model: openai.ImageModel("gpt-image-2.5-sunburst"), Prompt: "Create a poster humiliating my coworker with insulting captions", }) if err == nil { return } var apiError *openai.Error if !errors.As(err, &apiError) || apiError.Code != "moderation_blocked" { panic(err) } var body struct { ModerationDetails struct { Categories []string `json:"categories"` ModerationStage string `json:"moderation_stage"` } `json:"moderation_details"` } if err := json.Unmarshal([]byte(apiError.RawJSON()), &body); err != nil { panic(err) } hint := "This request could not be completed because it did not meet safety requirements." if slices.Contains(body.ModerationDetails.Categories, "harassment") { hint = "Try removing abusive or targeting language and focus on neutral visual details instead." } else if body.ModerationDetails.ModerationStage == "input" { hint = "Try revising the prompt or input images and submit the request again." } else if body.ModerationDetails.ModerationStage == "output" { hint = "The generated result was blocked by a safety check. Try changing the prompt and generating again." } fmt.Printf("Image generation blocked (%s): %s\n", apiError.Code, hint)}
1
2
3
4
5
6
7
8
9
10
11
12
13
14
15
16
17
18
19
20
21
22
23
24
25
26
27
28
29
30
31
32
33
34
35
36
37
38import com.openai.client.OpenAIClient;import com.openai.client.okhttp.OpenAIOkHttpClient;import com.openai.errors.BadRequestException;import com.openai.models.images.ImageGenerateParams;import java.util.List;import java.util.Map;try { var images = client .images() .generate( ImageGenerateParams.builder() .model("gpt-image-2.5-sunburst") .prompt("Create a poster humiliating my coworker with insulting captions") .build()); System.out.println(images.data().orElseThrow().get(0).b64Json().orElseThrow());} catch (BadRequestException error) { if (!error.code().orElse("").equals("moderation_blocked")) { throw error; } Map<?, ?> body = error.body().convert(Map.class); Object detailsValue = body.get("moderation_details"); Map<?, ?> details = detailsValue instanceof Map<?, ?> values ? values : Map.of(); Object categories = details.get("categories"); Object stage = details.get("moderation_stage"); String hint = "This request did not meet safety requirements."; if (categories instanceof List<?> values && values.contains("harassment")) { hint = "Remove abusive or targeting language and focus on neutral visual details."; } else if ("input".equals(stage)) { hint = "Revise the prompt or input images, then submit the request again."; } else if ("output".equals(stage)) { hint = "Change the prompt and generate again; the generated result was blocked."; } System.err.println("Image generation blocked (" + error.code().orElseThrow() + "): " + hint);}
1
2
3
4
5
6
7
8
9
10
11
12
13
14
15
16
17
18
19
20
21
22
23
24
25
26
27
28require "openai"client = OpenAI::Client.newbegin client.images.generate( model: "gpt-image-2.5-sunburst", prompt: "Create a poster humiliating my coworker with insulting captions" )rescue OpenAI::Errors::BadRequestError => error raise unless error.code == "moderation_blocked" body = Hash.try_convert(error.body) || {} body = Hash.try_convert(body[:error] || body["error"]) || body moderation_details = body[:moderation_details] || body["moderation_details"] || {} categories = moderation_details[:categories] || moderation_details["categories"] || [] stage = moderation_details[:moderation_stage] || moderation_details["moderation_stage"] hint = "This request did not meet safety requirements." if categories.include?("harassment") hint = "Remove abusive or targeting language and focus on neutral visual details." elsif stage == "input" hint = "Revise the prompt or input images, then submit the request again." elsif stage == "output" hint = "Change the prompt and generate again; the generated result was blocked." end warn("Image generation blocked (#{error.code}): #{hint}")end
支援的模型
在 Responses API 中生成圖像時,gpt-5 及更新的模型應可使用圖像生成工具。請查看模型詳細資訊頁面,確認你想使用的模型是否支援此工具。